Welcome back to 12 Months of Wreaths!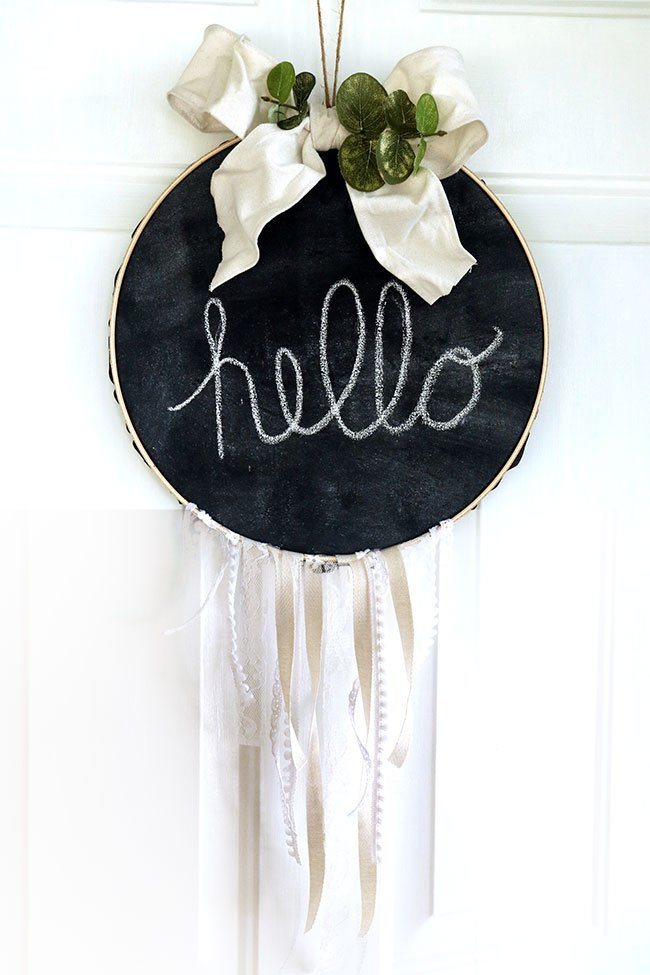 Hi everyone! Welcome back to our eighth month of 12 Months of Wreaths! Today I’m sharing a boho chalkboard hoop wreath tutorial.
Welcome to 12 Months of Wreaths – August
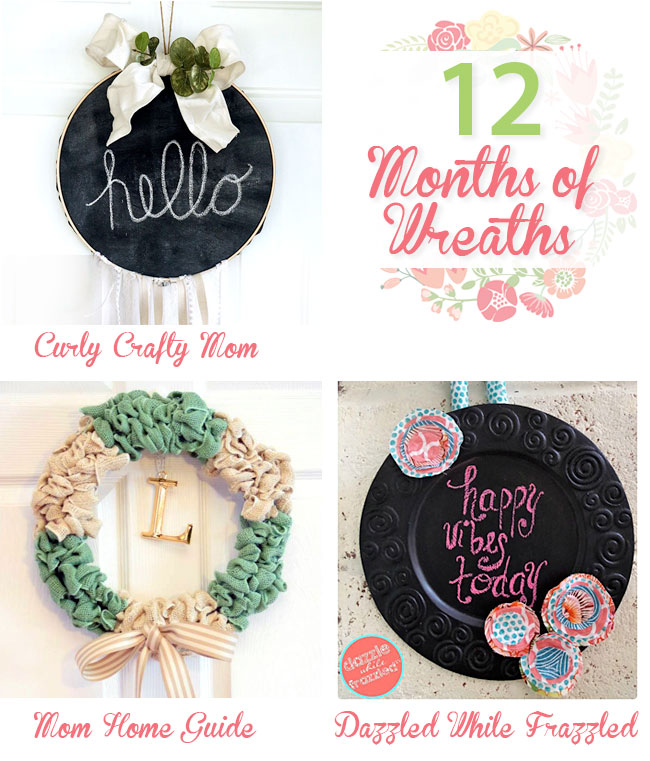
Curly Crafty Mom – Boho Chalkboard Hoop Wreath
Mom Home Guide – How to Make an Easy Burlap Bubble Wreath
Dazzled While Frazzled – Chalkboard Plate Charger Flower Wreath
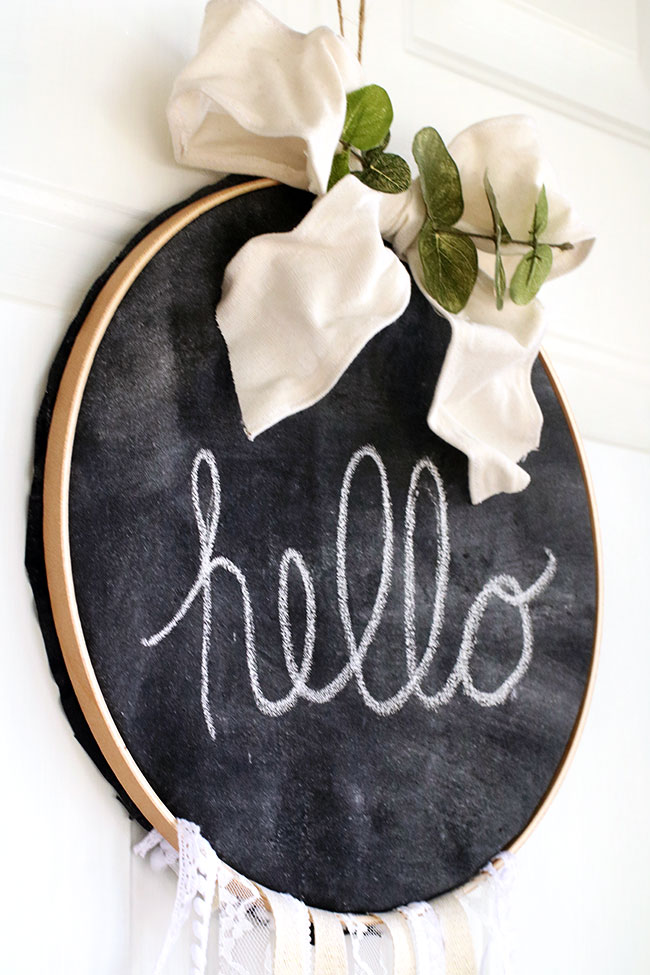
Boho Chalkboard Hoop Wreath Detail Shots
How to Make a Boho Chalkboard Hoop Wreath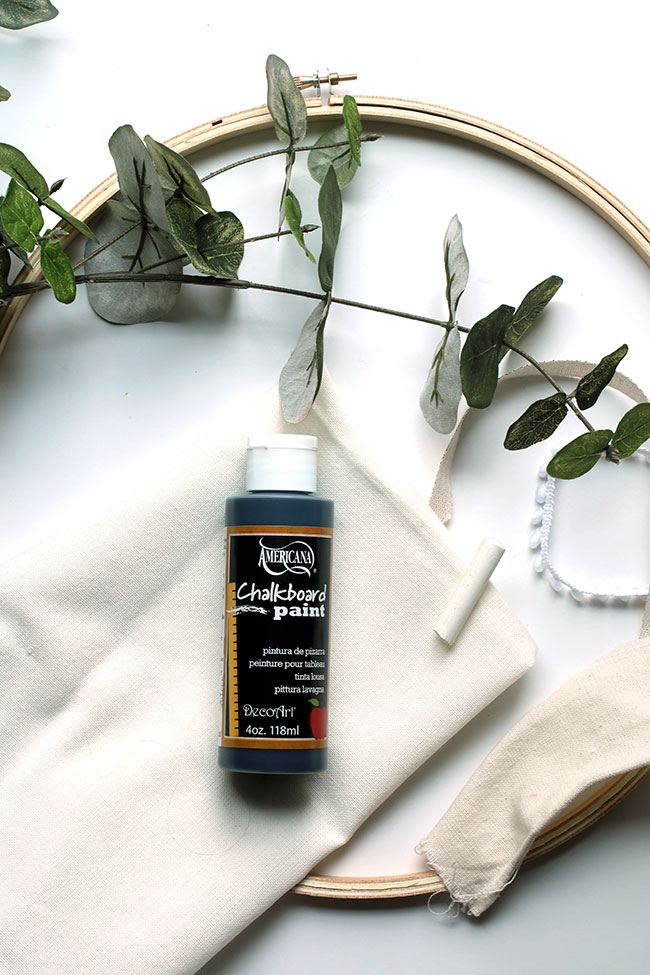
You’ll need:
- Embroidery Hoop (12″)
- Chalkboard Paint
- White Napkin (OR a thicker fabric, such as a drop cloth)
- White Chalk
- Rolls of ribbon for the boho/wind catcher at the bottom of the wreath
- Drop Cloth Ribbon (Hobby Lobby carries this!) for the bow at the top
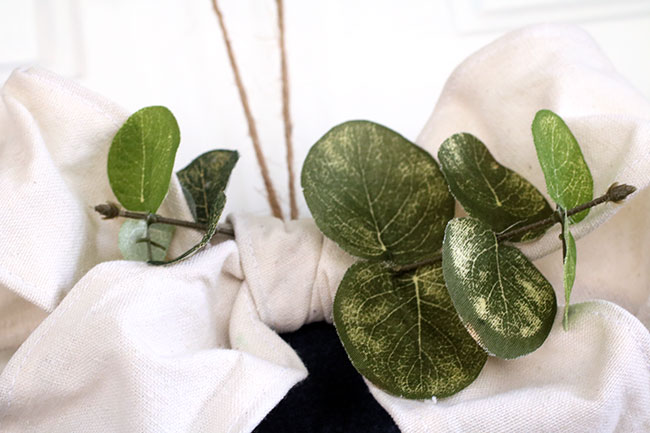
- Eucalyptus (or other greenery to tuck into the top bow)
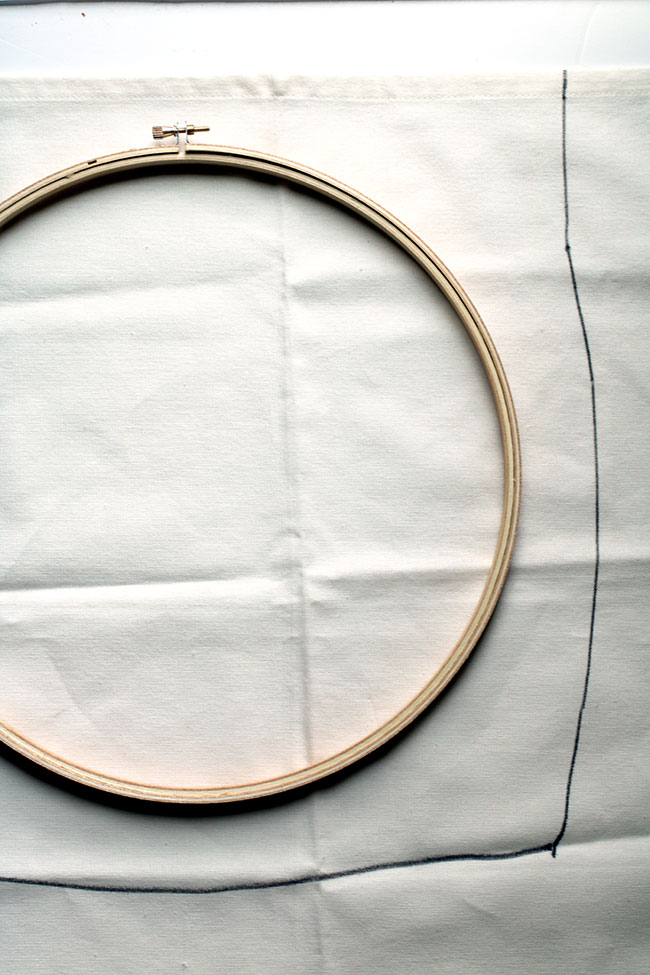
Lay your fabric napkin on the floor and with a marker, draw a square around your embroidery hoop with a little space around it. Cut it out.
You’ll want to follow the directions on the bottle of your chalkboard paint. But, usually you’ll need to paint horizontally, let it dry and then paint vertically and let it dry 24 hours.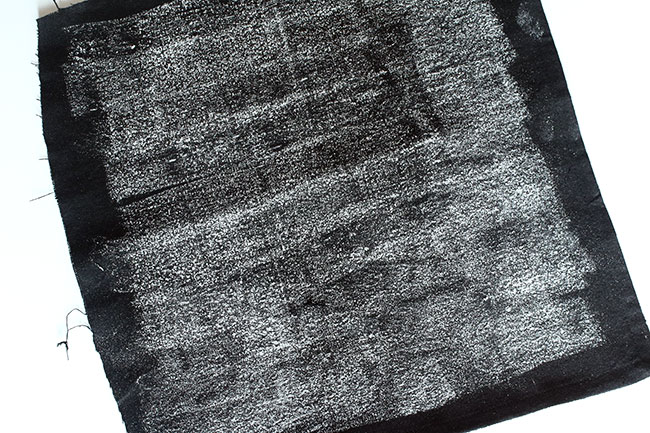
Prime the surface with chalk and then remove chalk with a damp cloth.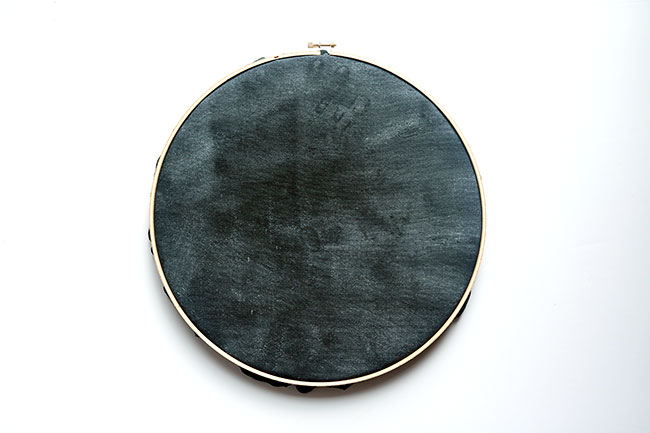
Now you can place the chalkboard painted napkin inside your embroidery hoop! Trim off the excess napkin around the hoop with fabric scissors.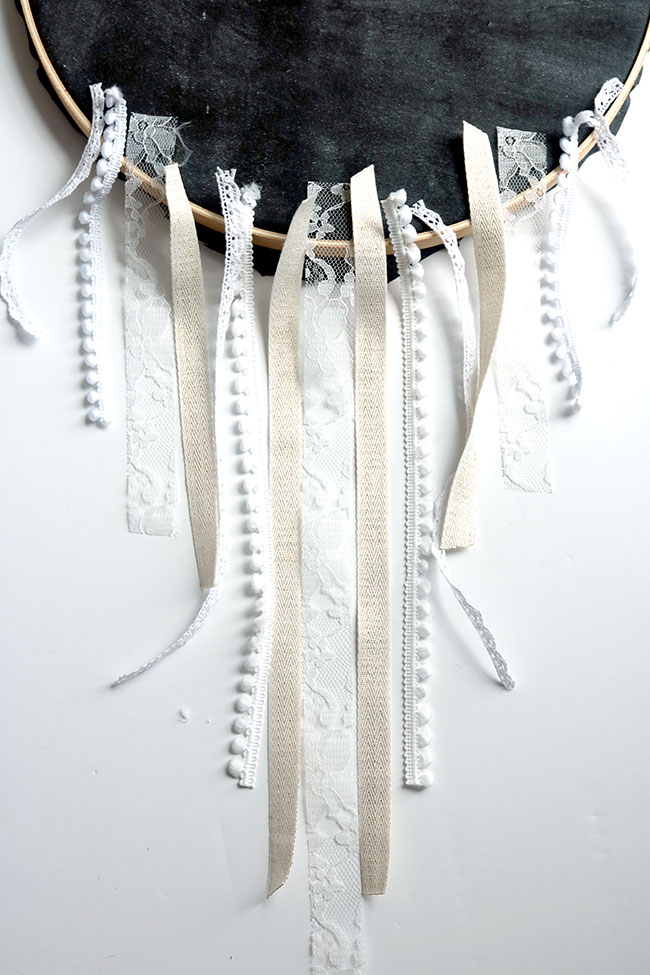
Take your ribbon and figure out the placement and length of each of them. I repeated some of the ribbon twice.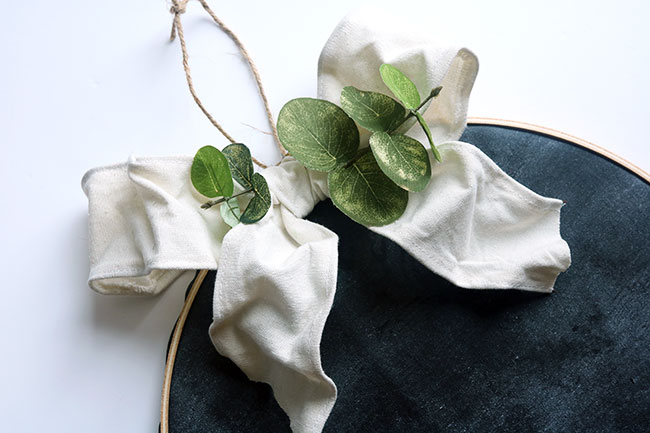
I freehanded this ribbon, but I made it from a drop cloth ribbon. I tucked some eucalyptus into it to add a little greenery.
Tuck the ribbon strands inside the embroidery hoop. It should be tight enough that you don’t need to hot glue it down, but you can if you want.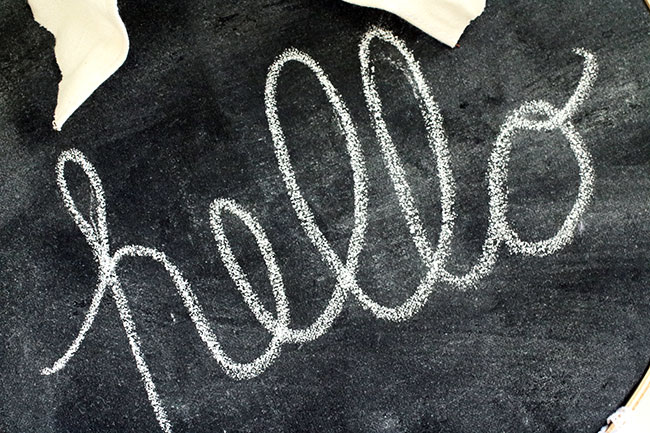
Don’t forget to write a phrase on the chalkboard! I wrote ‘hello’.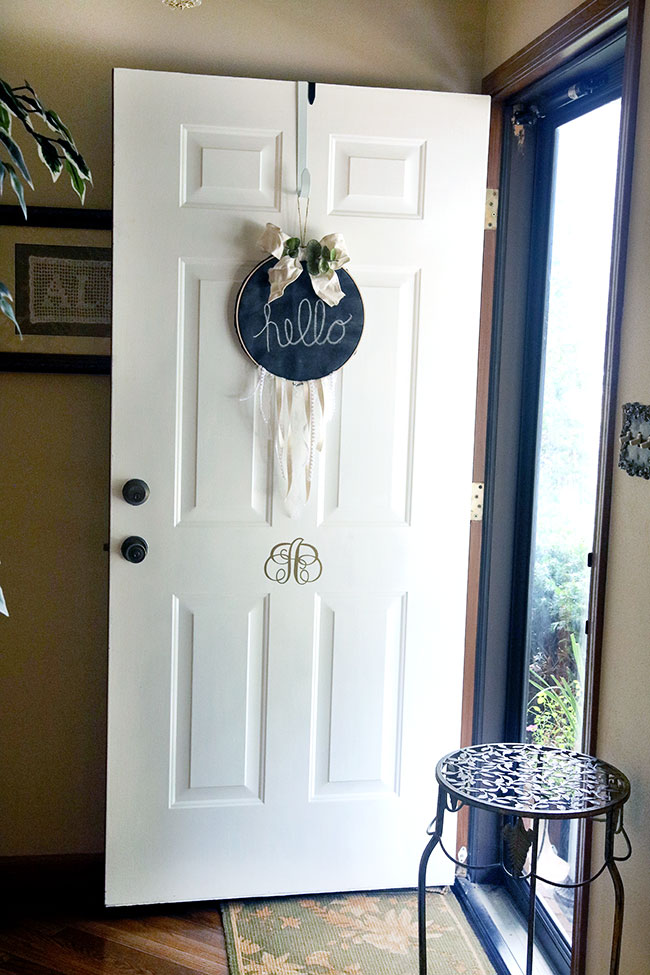
This is a darling fall wreath and my favorite yet that I’ve done from this series. Next month we’ll start to get into fall wreaths! I can’t wait!
Thanks again for joining us! We will be sharing a new wreath once a month in 2017!
Are you interested in sharing a wreath with us one (or more) months? We are accepting guest hosts! Email carrie (at) curlycraftymom (dot) com if you are interested!
SaveSave
SaveSave