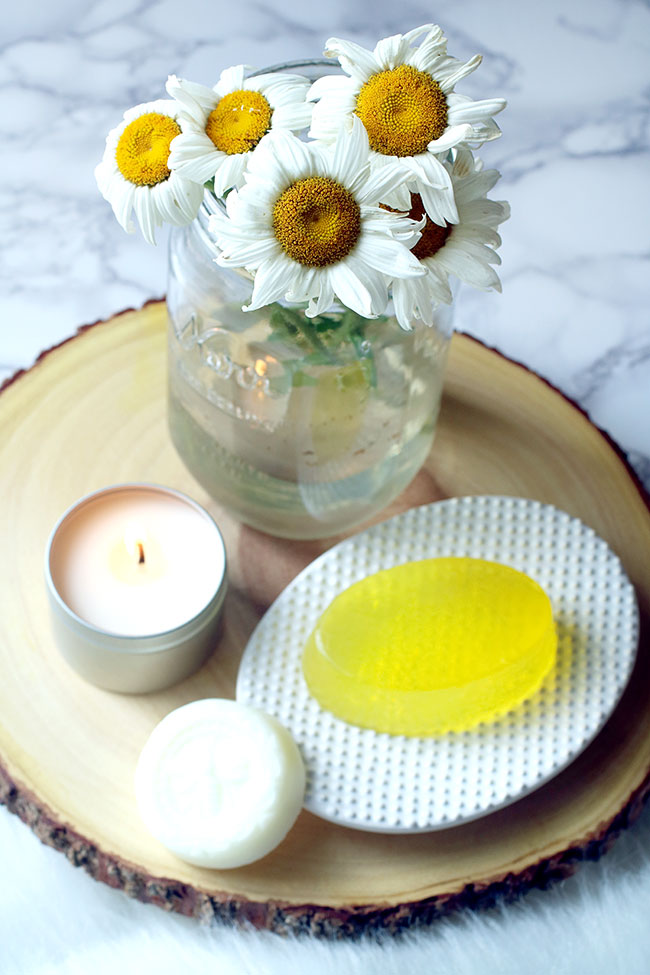
Hey everyone! This week has just flown by with the holiday and all. Today I am sharing a fun blog post about Candle and Soap Making with Cierra Candles. I had never made soap or candles before Cierra Candles contacted me, but it was so easy and I had a lot of fun!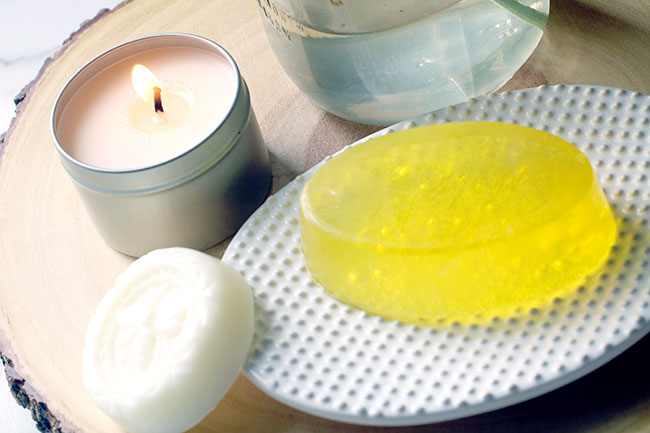
Cierra Candles has a variety of Soap Making Kits and Candle Making Kits. These would make great gifts, a girls night in activity, supervised kids activity, or for decor around the home.
Now I’m going to show you the steps on making the soap and candles and you’ll see first hand how easy it is!
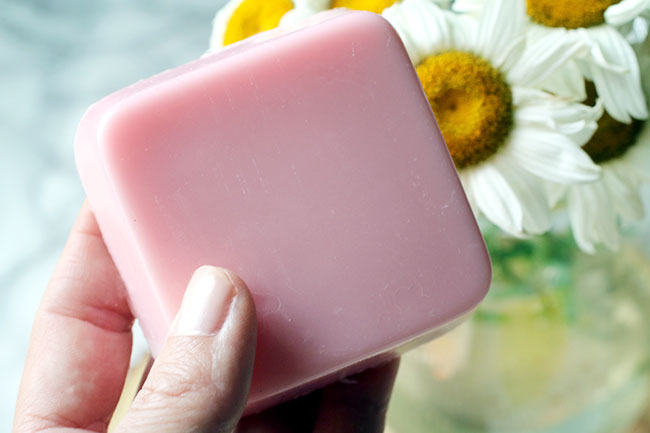
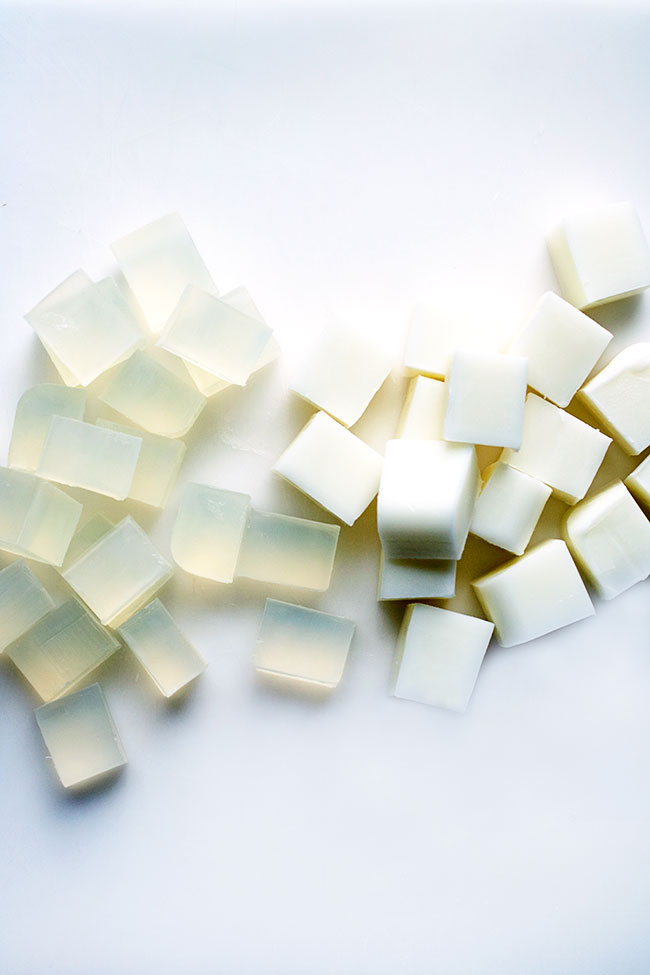
Cierra Candles makes it so fun to create your own bars of soap! You can dye them from a variety of colors that they have, add a scent and even select what kind of soap base you want to use (clear, goat’s milk, etc.). Once you’re done, you can pour them into molds to get different shapes.
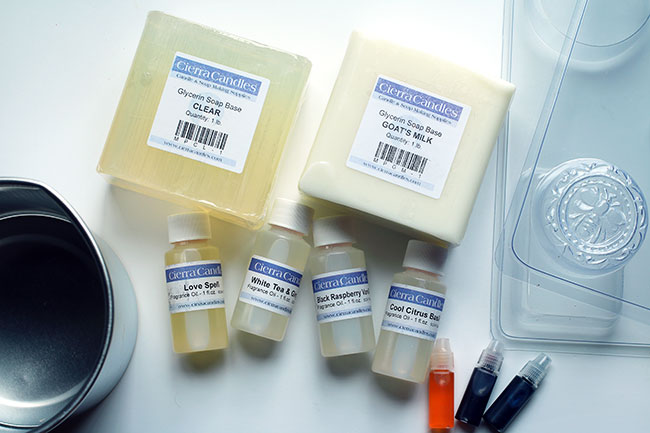
In the photo above, you’ll see what Cierra Candles sent me:
Two plastic soap molds
1 lb Goats Milk Melt and Pour Soap Base
1 lb Clear Melt and Pour Soap Base
Three vials of soap color – Blue, Red, Yellow
Four 1-ounce fragrance oils
Metal Pour Pot
Instructions
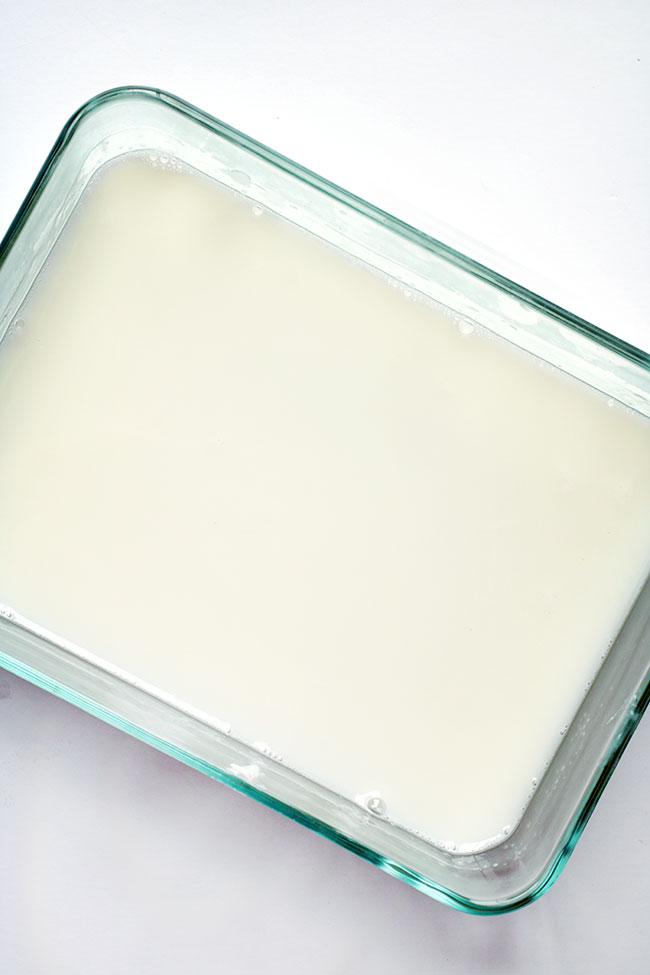
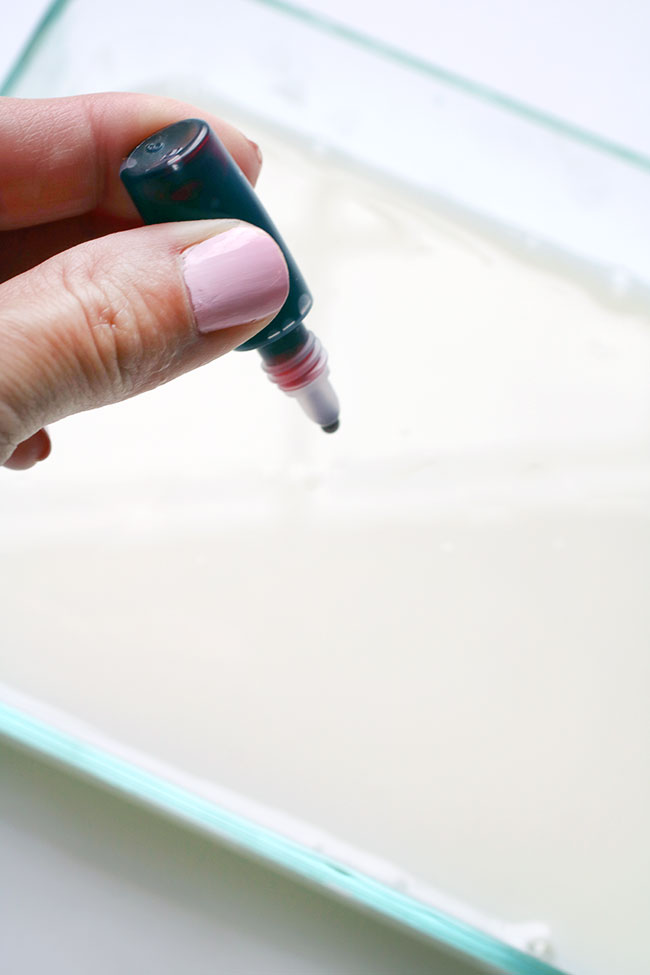
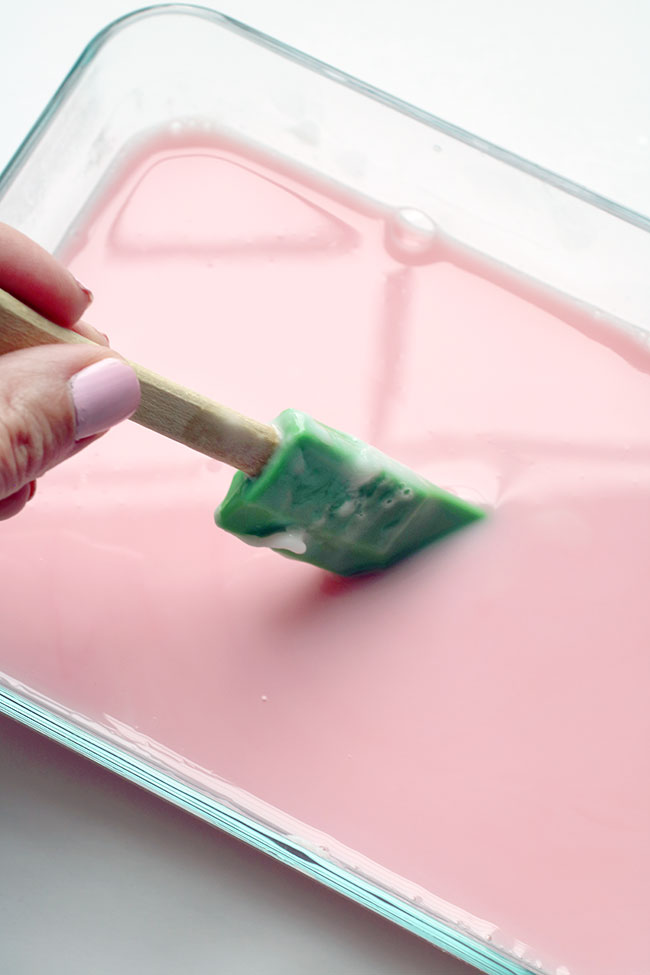
Add a couple of drops of the soap safe colorant. A little goes a long way and you can go from pastel to dark rather quickly. Stir.
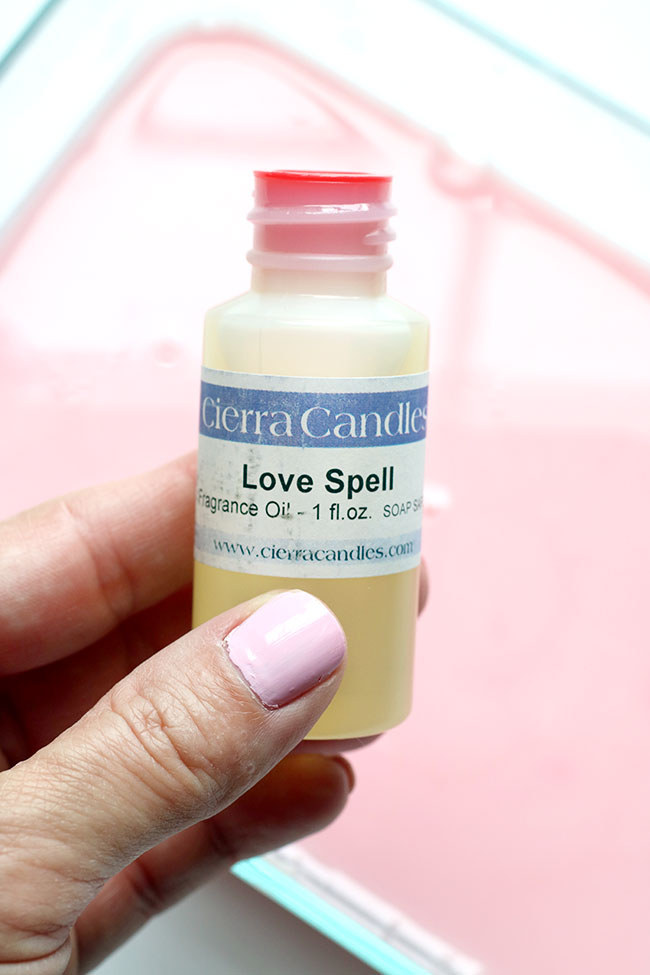
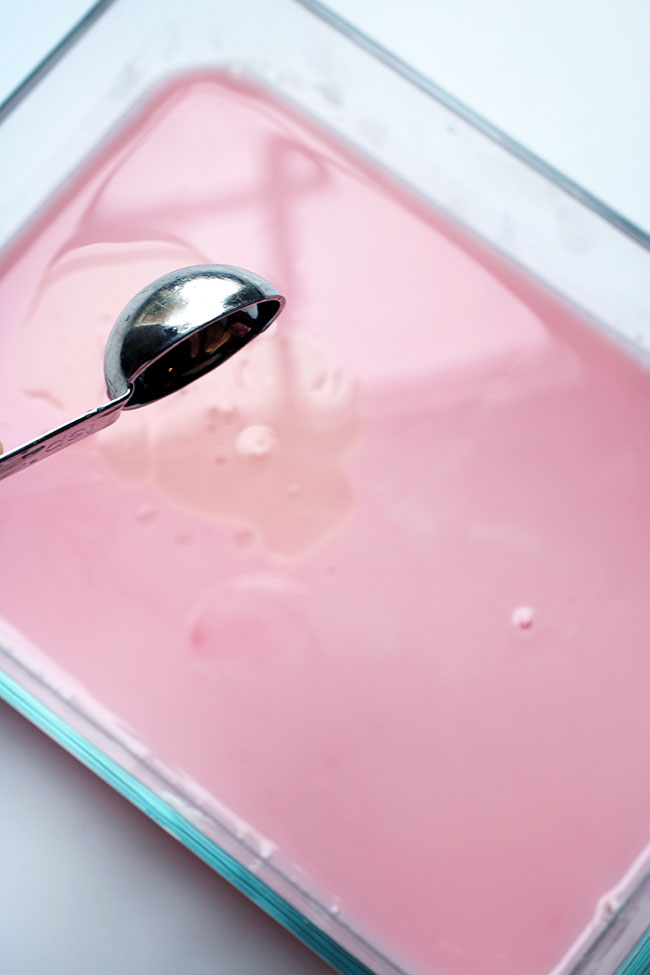
Next, your add the scent. I decided to add Love Spell. I added 1 teaspoon to the soap base.
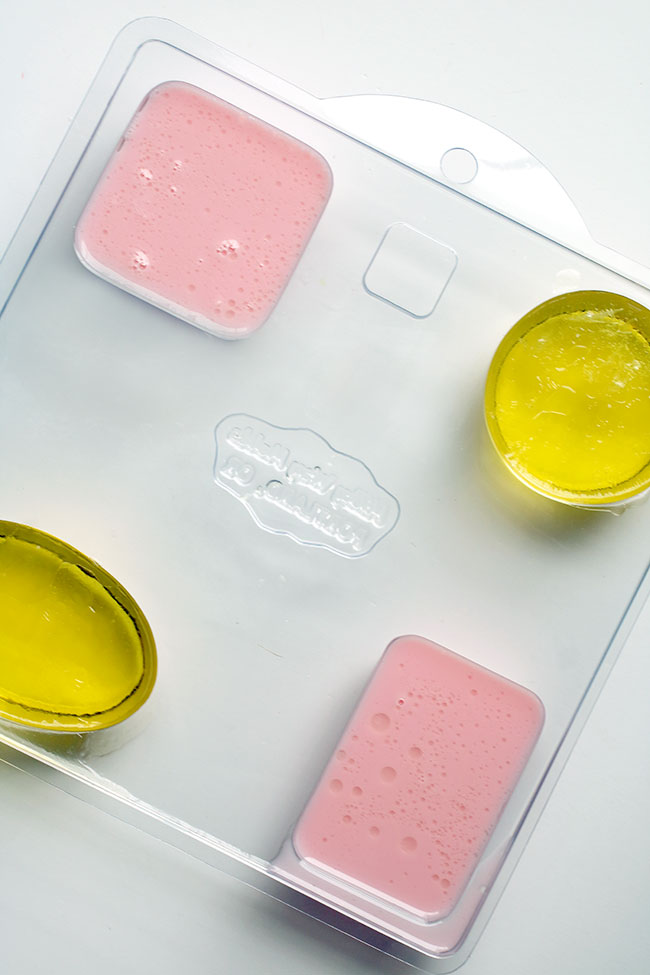
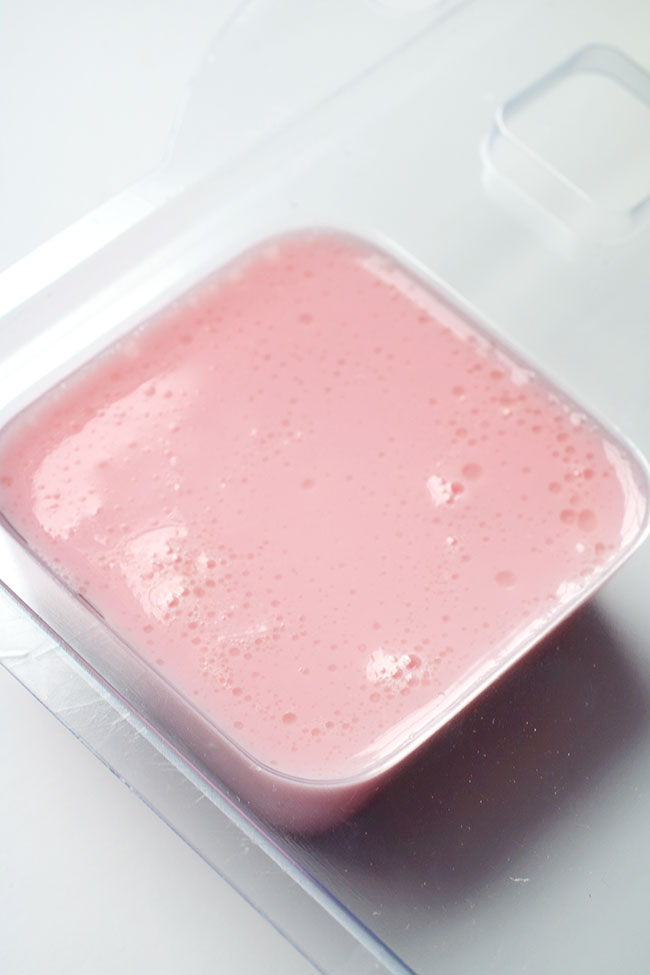
Now you can pour the soap base into the molds! I let mine harden overnight and then I popped them out of the molds. You’ll want to wrap up the soap in plastic wrap so it doesn’t collect moisture (especially in humid climates).
Making Candles
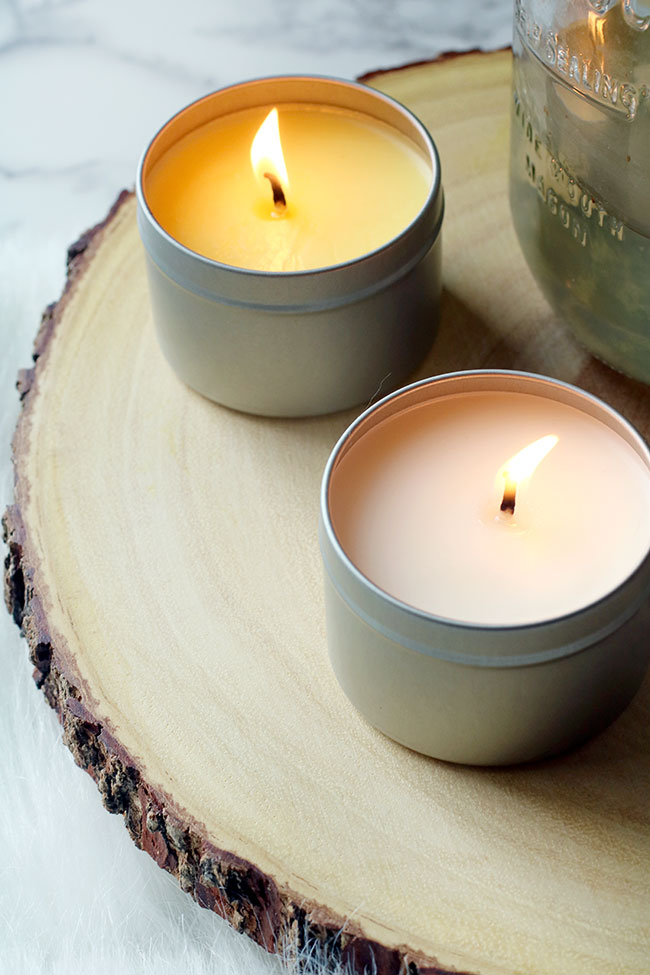
Cierra Candles makes it so easy to create your own candles! You can dye them from a variety of colors that they have, add a scent and pour the wax into a variety of items, such as a tin jar, coffee mug, glass cups, etc.
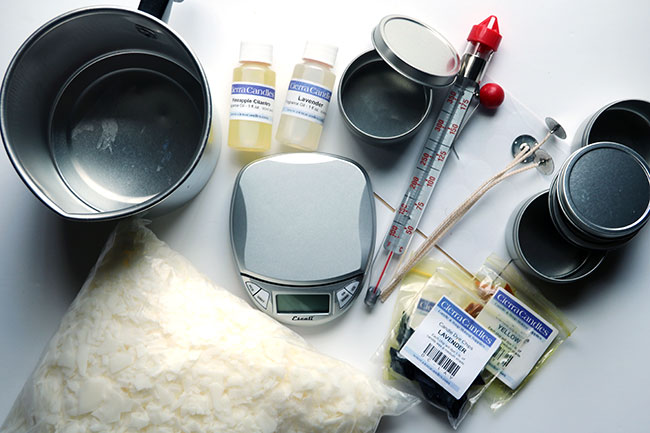
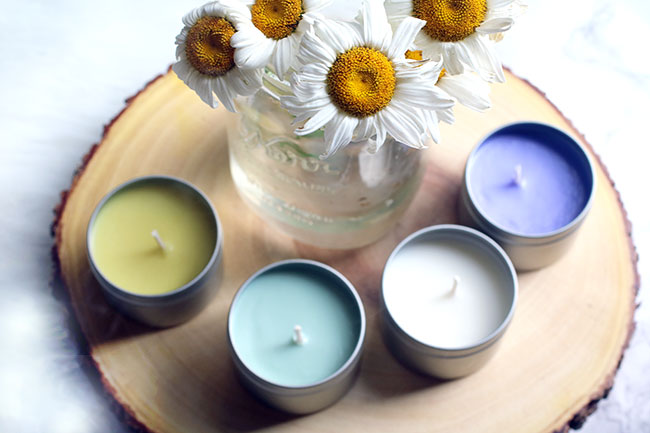
In the photo above, you’ll see what Cierra Candles sent me:
Three pounds Naturewax C-3 Soy wax
12 four-ounce tins with lids
HTP 104 Wicks
25 Wick Stickers
Three packs of candle dye chips
Four 1-ounce fragrance oils
Small Digital Scale
Candy Thermometer
Instructions
**Now I’ll share with you the steps I took to make the candles. Your kit will come with FULL instructions, so just use my directions as an extra reference.**
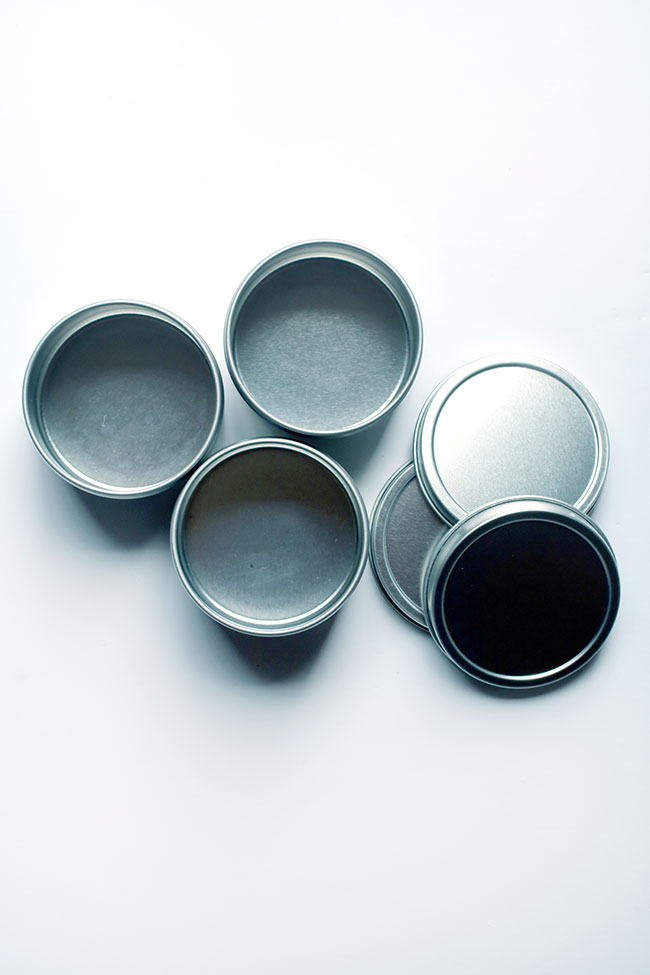
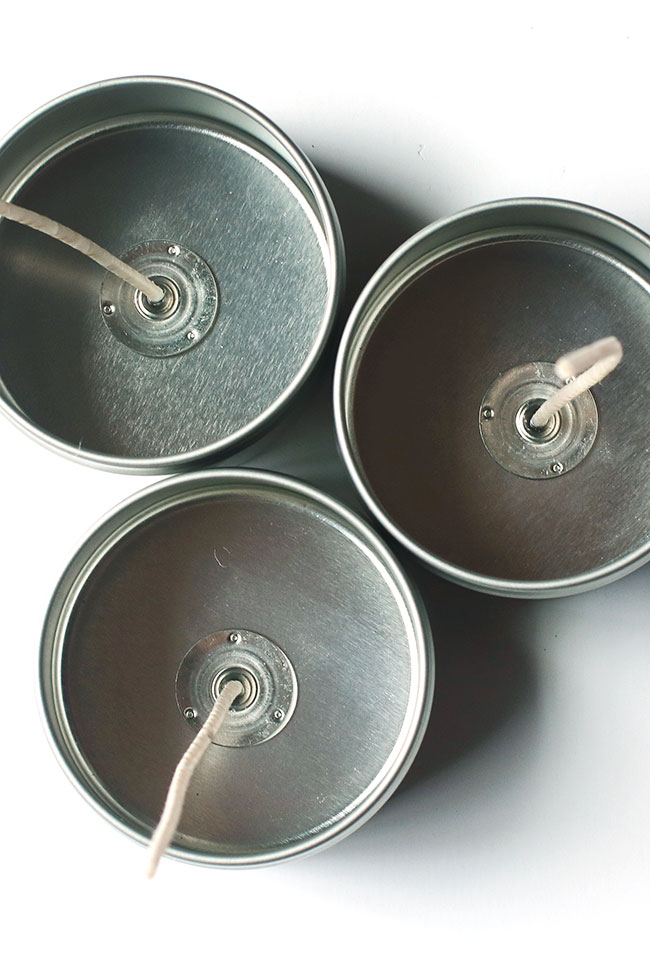
Make sure you use soap and water to clean your containers. Let them dry fully. Add a wick sticker to bottom of wick tab and adhere to inside of container.
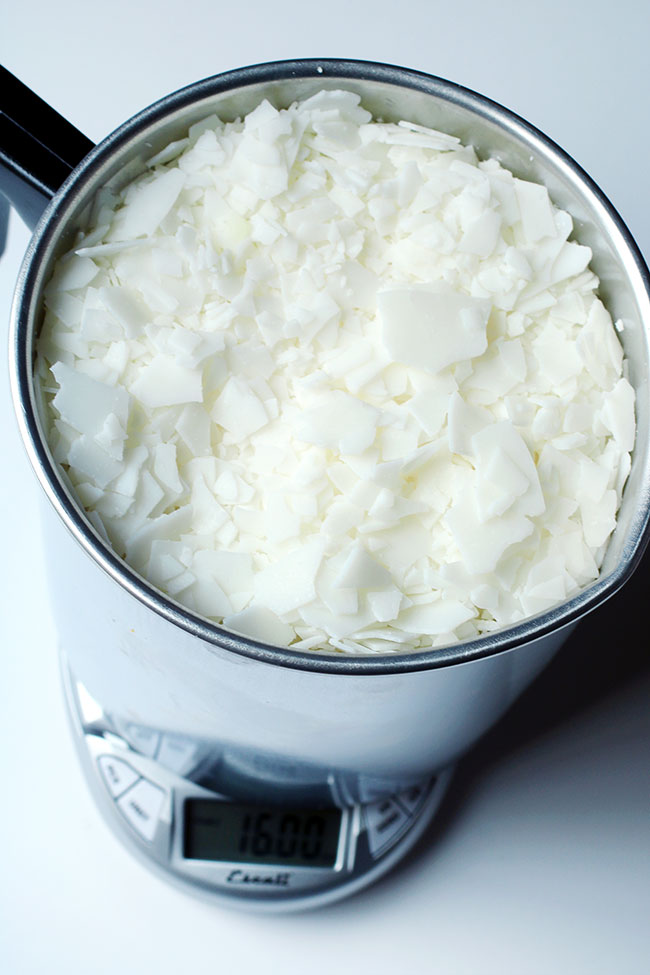
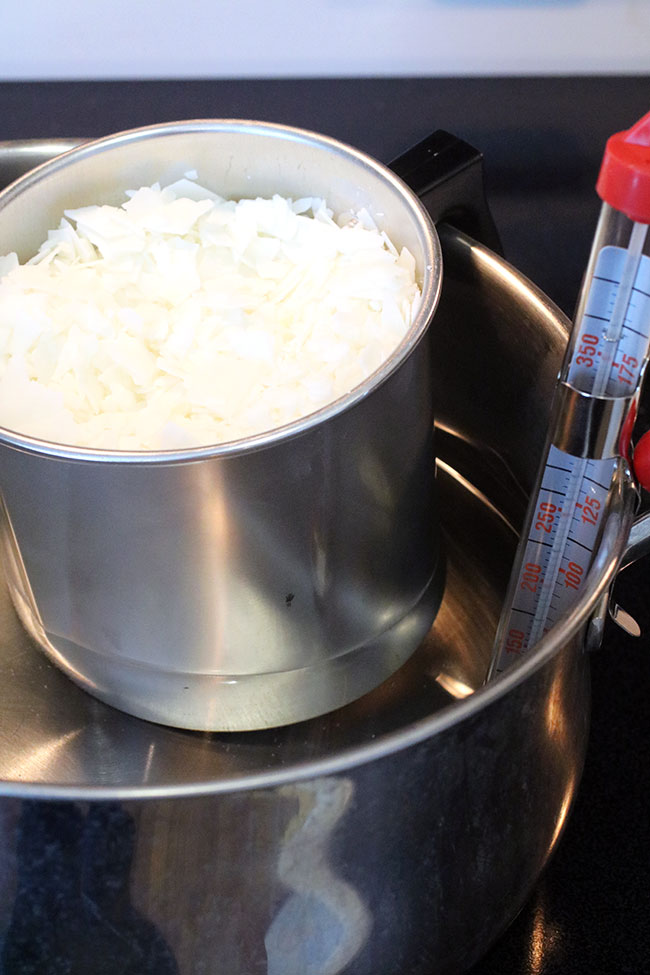
Use the scale to measure out 1 lb of wax. Set up a double boiler over medium heat. I used a candy thermometer to watch the temperature, you will want to heat the wax to around 185 F. Once it has gotten to this temperature you’ll remove the wax from the heat.
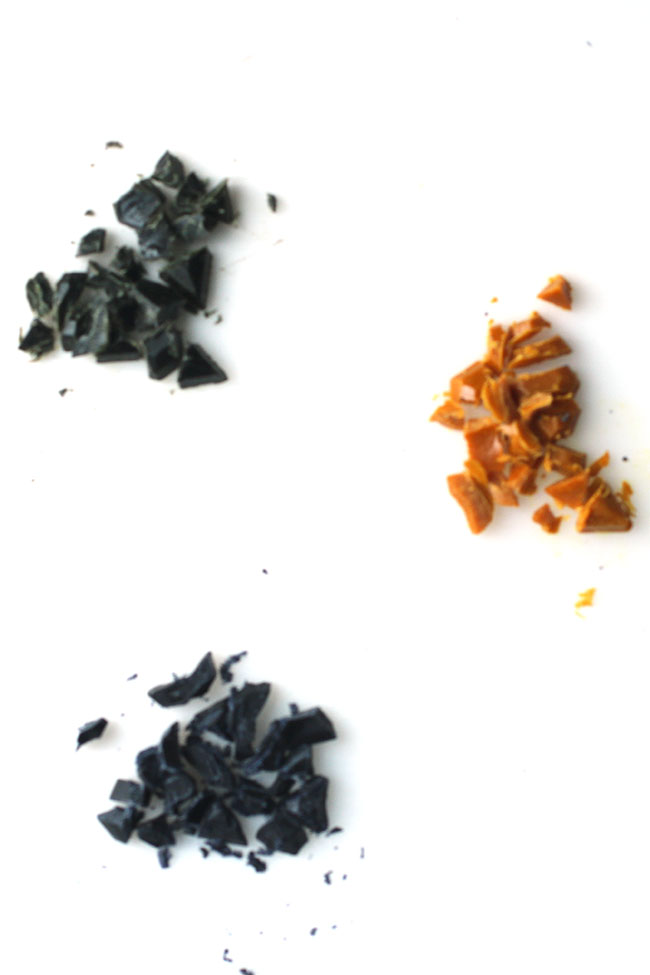
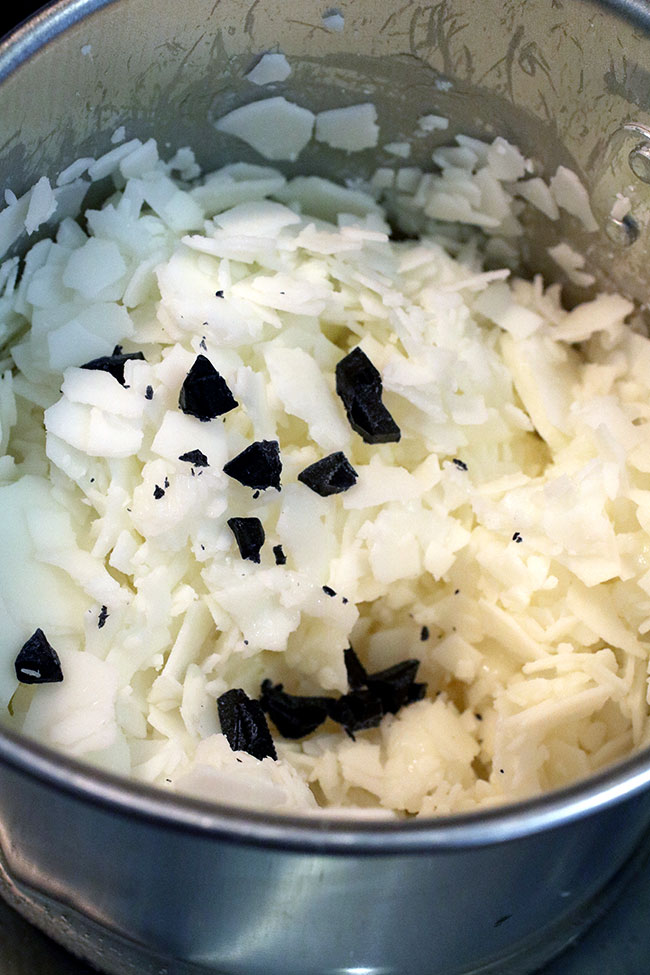
While the wax is melting, cut up a dye chip. Stir in to blend well.
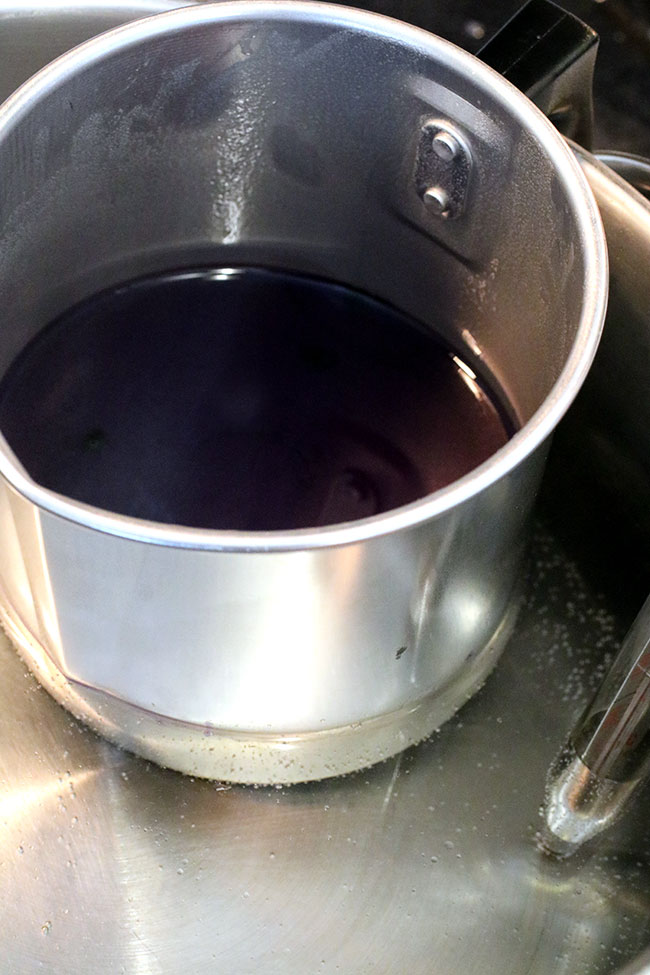
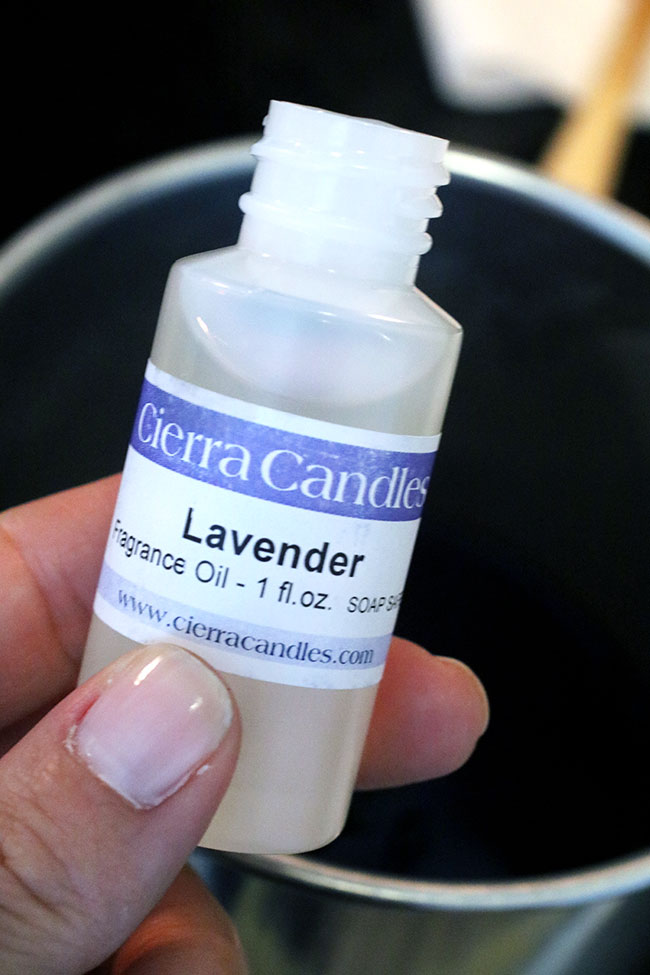
Once the wax has reached 185 F, you can remove it from the heat source. Select your fragrance oil and add it to the wax. Stir for a full 2 minutes.
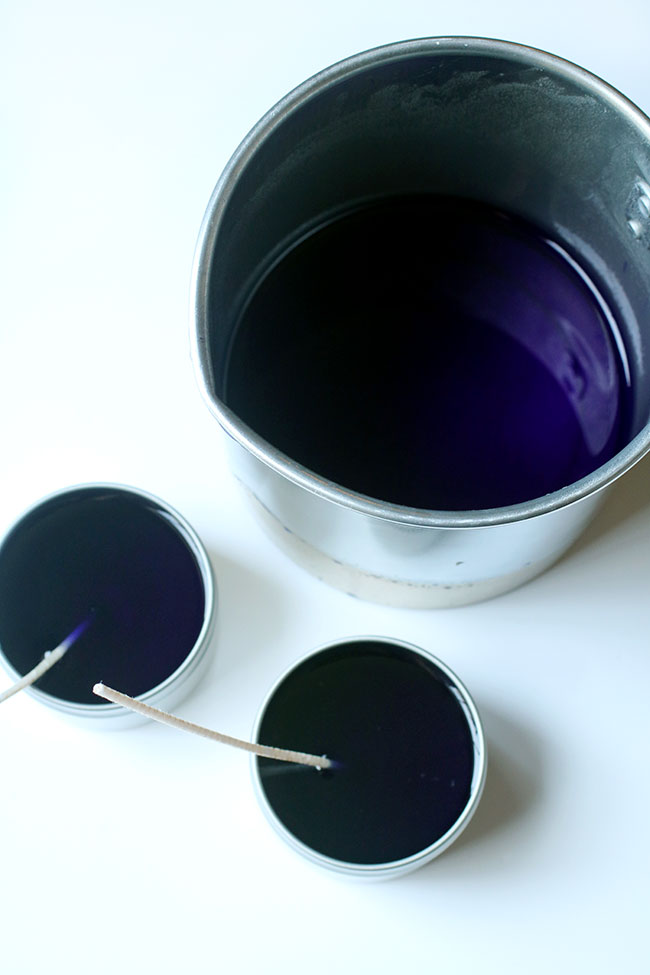
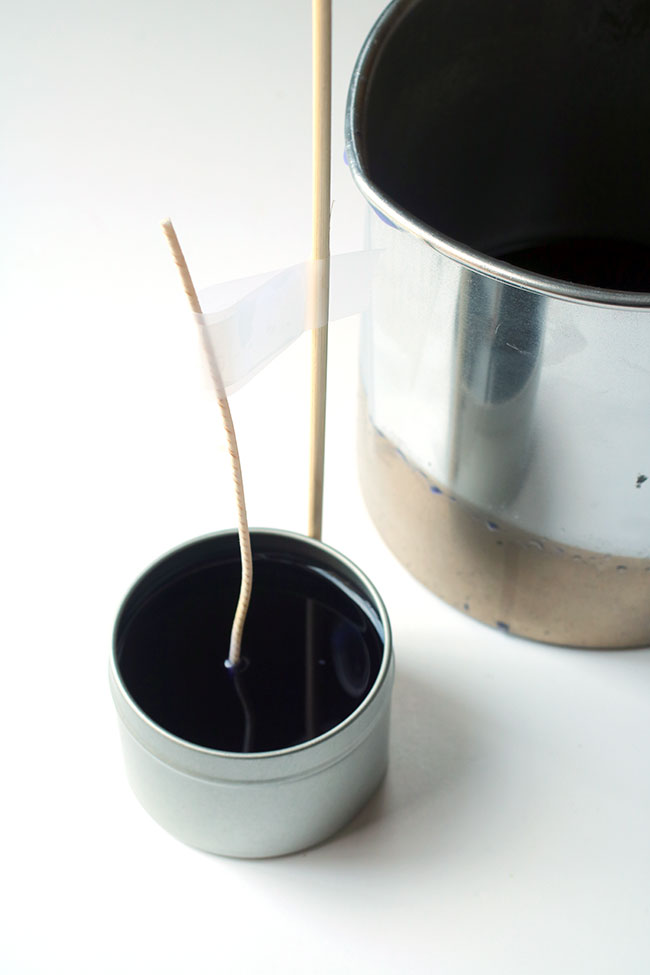
Now you can pour the wax into your vessels. If the wick starts to fall, use a straw or skewer with tape to straighten it up.
The center spring of a clothespin also fits nicely over the wick and sits on top of the tin to hold the wick in place.
 Let the candles completely cool before you try the wick and let it cure for at least 72 hour before burning.
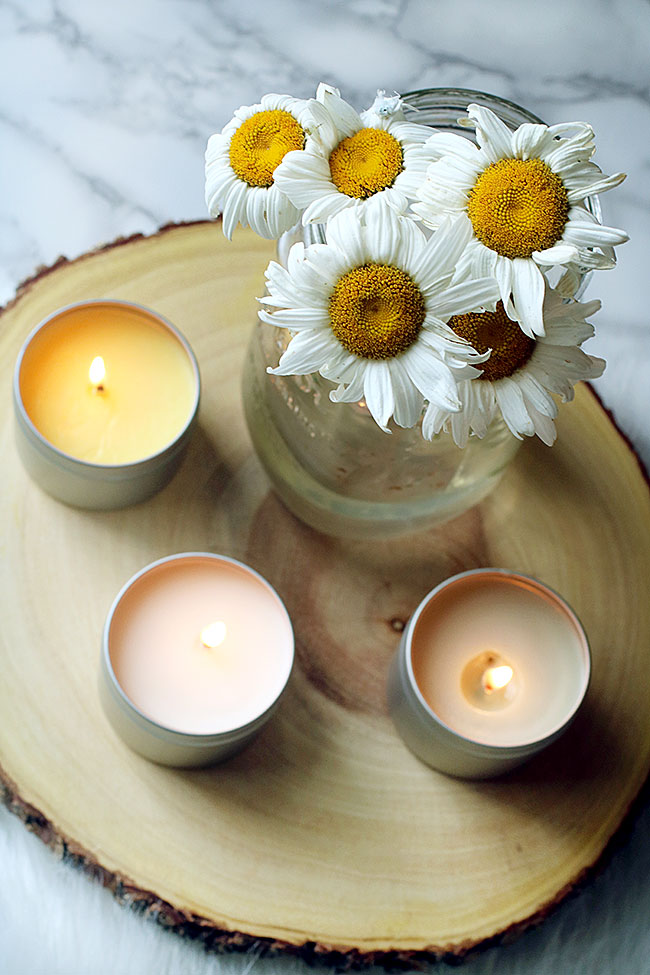
I hope you’ve enjoyed reading about my experience with making soap and candles from Cierra Candles. Be sure to check out their website Soap Making Kits and Candle Making Kits. You can also order candle making supplies, soap making supplies, fragrance oils for candles, fragrance oils for soap, soap colorants, soy wax and more on their site.
* This post is sponsored by Cierra Candles, an online shop for candles and soaps.