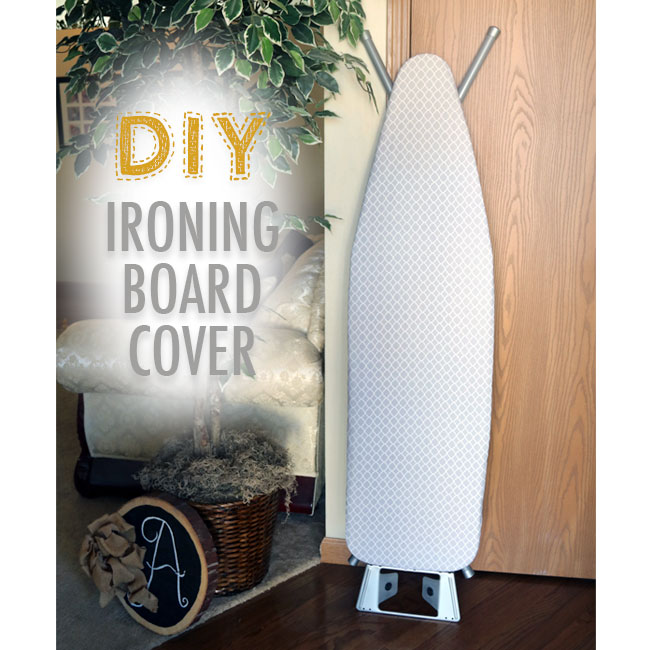
There are some projects that I have been wanting to do forever around here… and one of them was to replace the yucky ironing board cover with a new one. This was such a simple project, so I am not sure why it took me a year or two to finally just DO it. Now that I know how easy it is, I may just replace it out every year or two! A fresh new ironing board cover makes ironing so much more fun! Ok, ironing is still not fun… but, it is so simple to do and you get to select what fabric you want on it. You can’t beat that.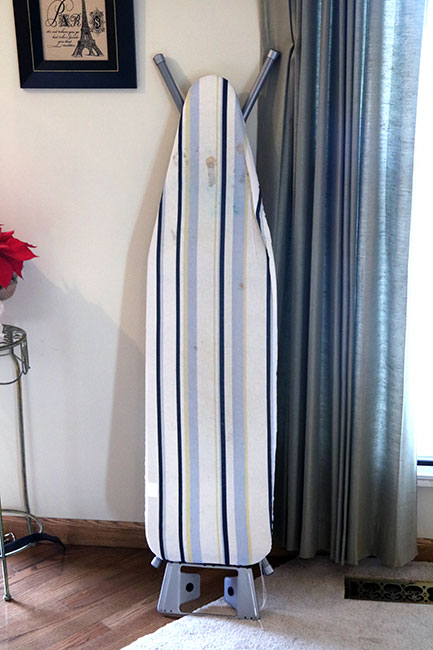
Old Board. New board. What a difference!
Supplies:
1 1/2 yards of fabric, or just measure your old ironing board cover and buy fabric that is 3″ longer on each side
1 1/2 yard 1/4″ Elastic or use old elastic or string from previous ironing board cover
Padding (if you want to replace the old padding, make sure it is fire resistant)
Fabric Scissors
Sewing Machine
Iron (I would assume you’d have this, if you have an ironing board!)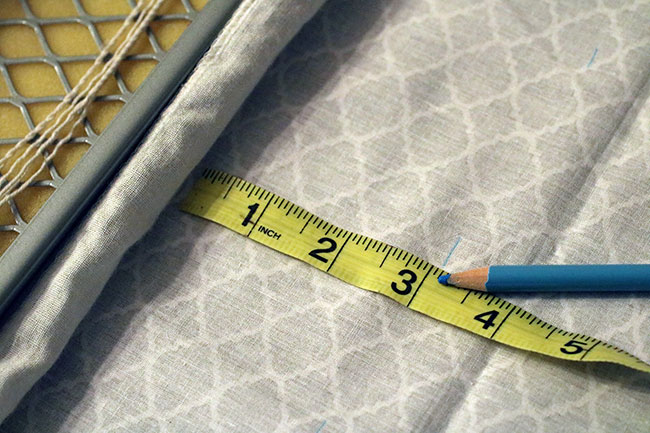
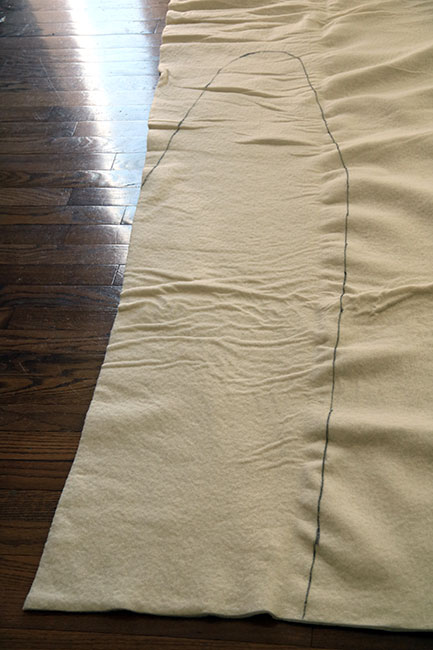
Lay down your ironing board on top of your fabric. Measure out 3″ all the way around the ironing board and trace around it with a fabric pencil or marker. Cut out with fabric scissors. Iron (so there is no wrinkles).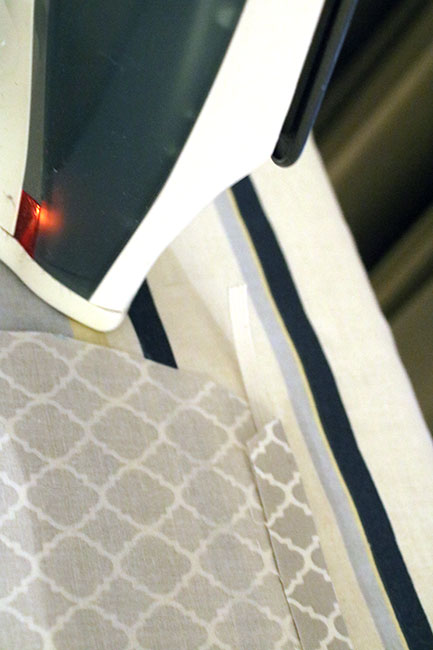
Iron a 1″ hem around entire piece of fabric. Use your iron to make it crisp.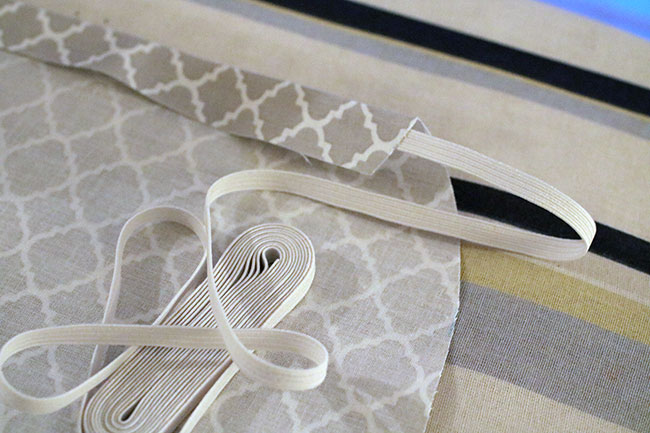
Your elastic should fit perfectly inside the pocket of the fabric.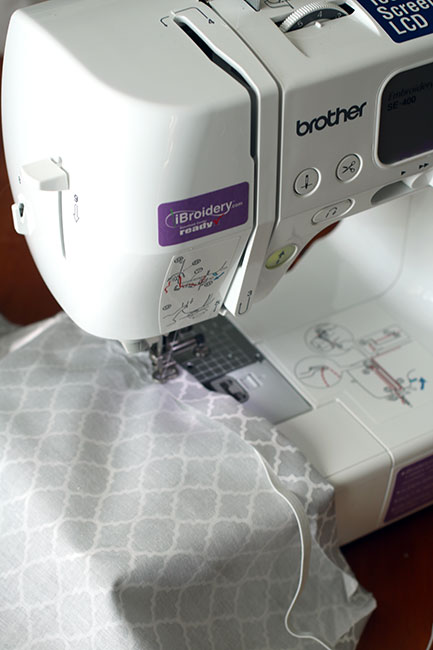
Use your sewing machine and sew the hem shut. While doing this, keep the elastic inside, so that it is sealed inside the fabric.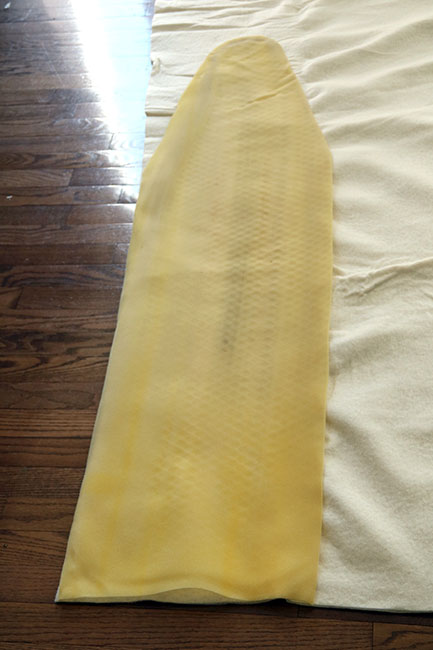
Next, roll out the new padding you bought, lay the old pad on top and trace around it.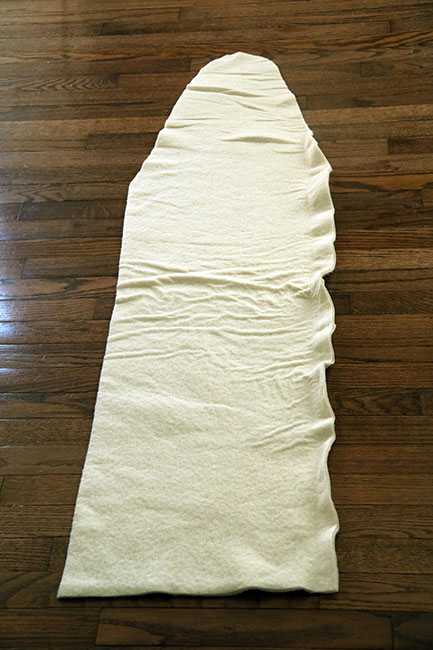
Cut it out and you have a new pad for your ironing board. Now, just place this pad on top of the board and wrap your new ironing board cover on top of it!
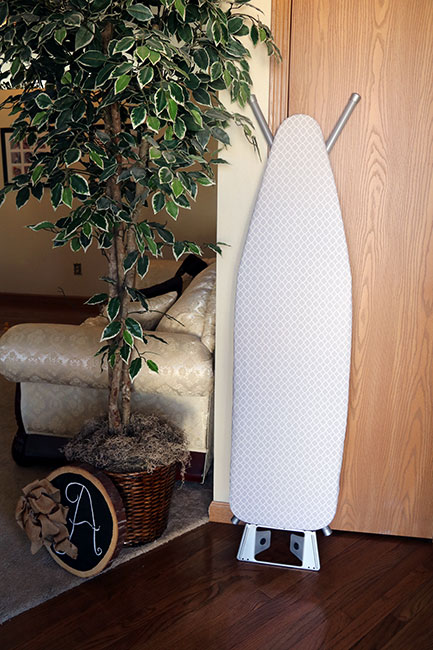
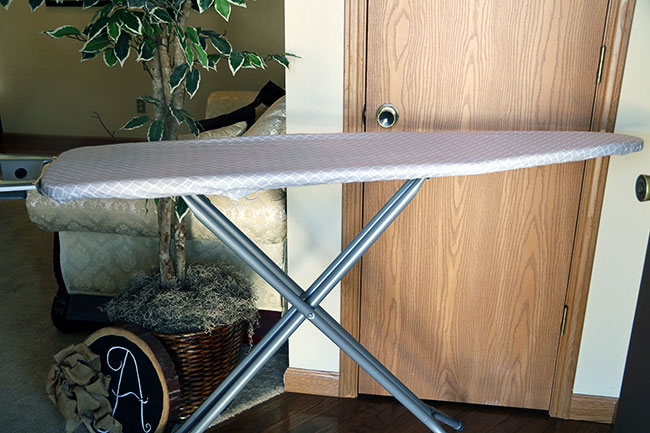
And, here is my new ironing board! I love it! I decided to select a neutral fabric that would blend in easily. I keep the ironing board hung up on a door, but when it is out I like for it to blend in… so, I decided to stay away from loud fabrics and chose a light color and simple pattern. I am really pleased with how it turned out.
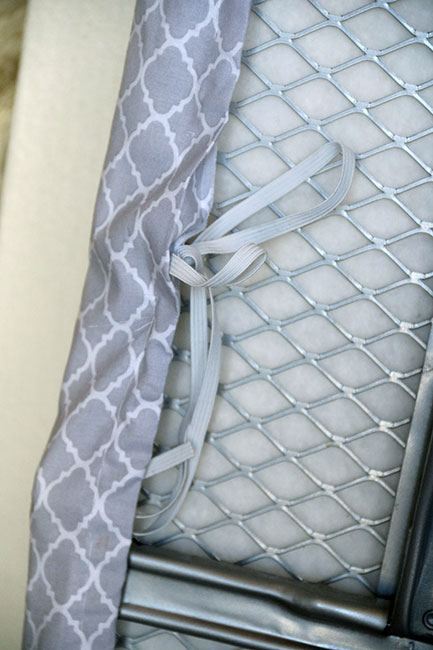
Here is the back side of the ironing board and a photo of the elastic being tightened and tied.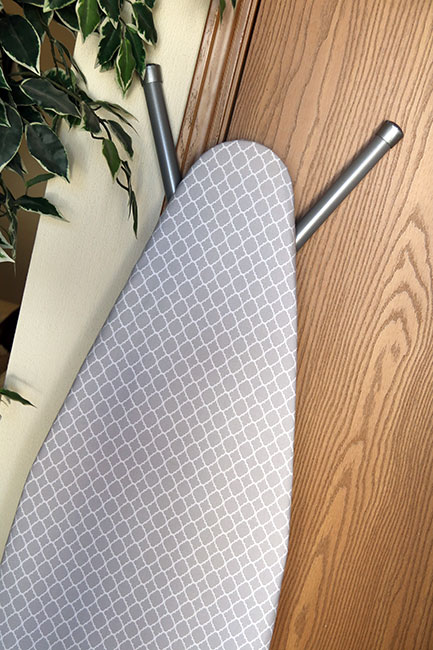
And, there you have it. A brand spanking new ironing board cover. Yes, you know you want to make one, too!
To see which parties I have linked up with, click HERE.