First, I have a couple of announcements:
Paris from My Big Fat Life is the winner of the 1 Free Month of Blossom Box Kids!
Rachel from Garay Treasures is the winner of the 8×10″ Canvas from Canvas Champ!
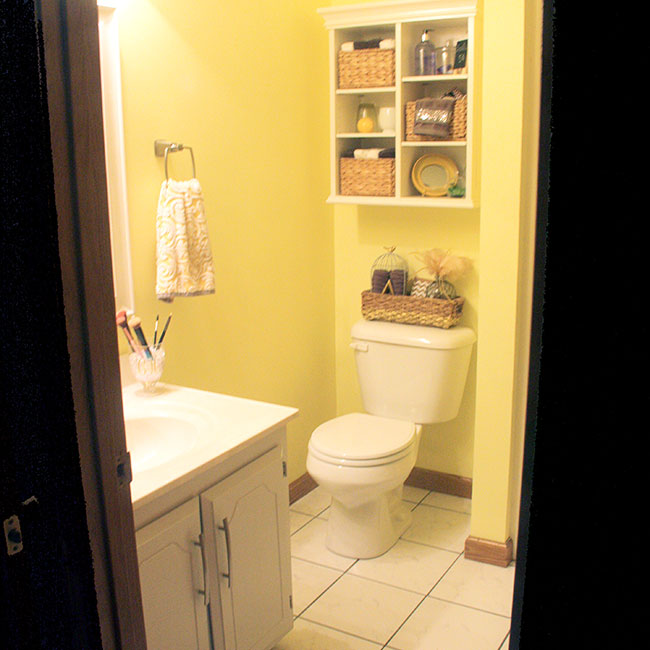
Well, I finally did it GIRLS!!! I painted my master bathroom vanity! It has only been 2 (maybe plus) years in the workings. Yes, I was dragging my feet BIG time on it. But, after I line the bottom of the vanity (see more on that below), I consider the Master Bathroom DONE. Which… hmmm… that may mean its the ONLY room I consider done in the entire house. That’s kinda scary, but I guess normal for a DIY/crafting blogger 🙂 I will do a post on the entire bathroom reveal in a couple of weeks.
Ready for a Before and After Photo?
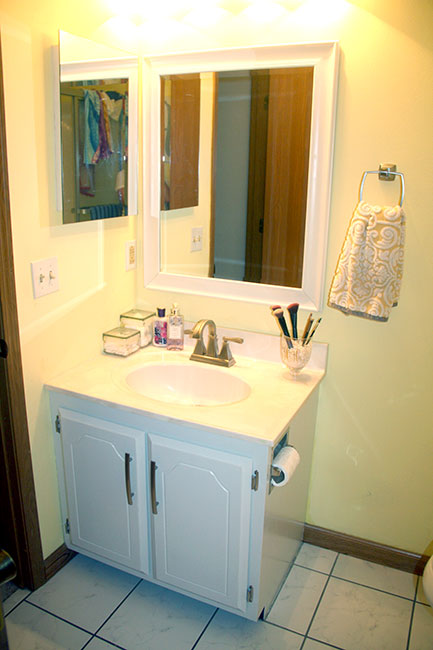
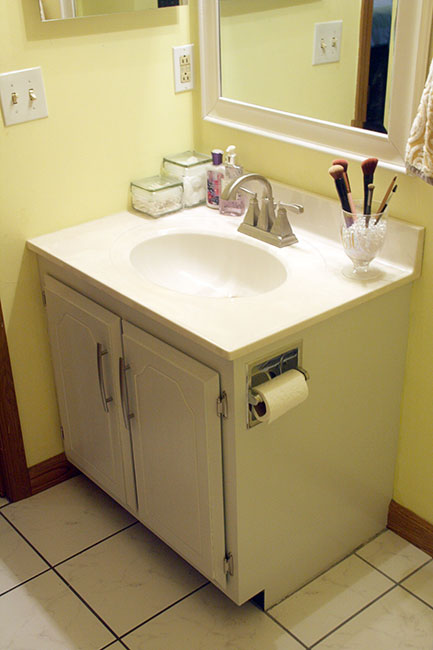
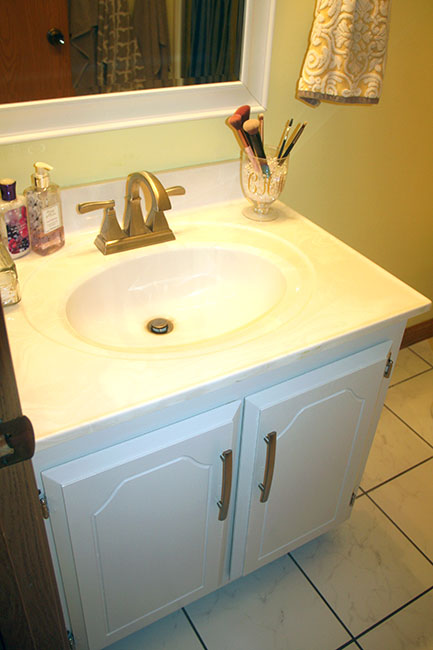
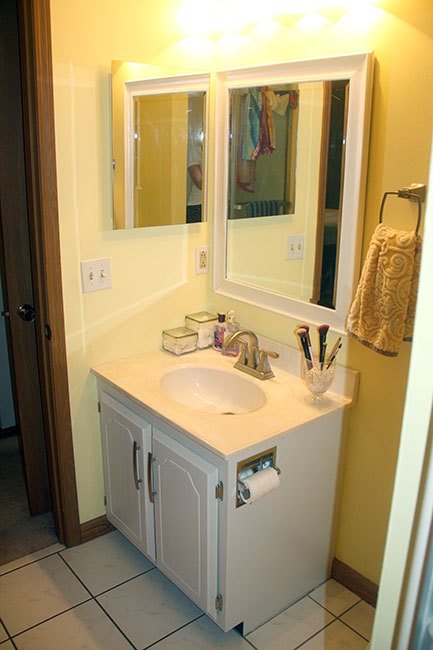
This is the bathroom vanity now.
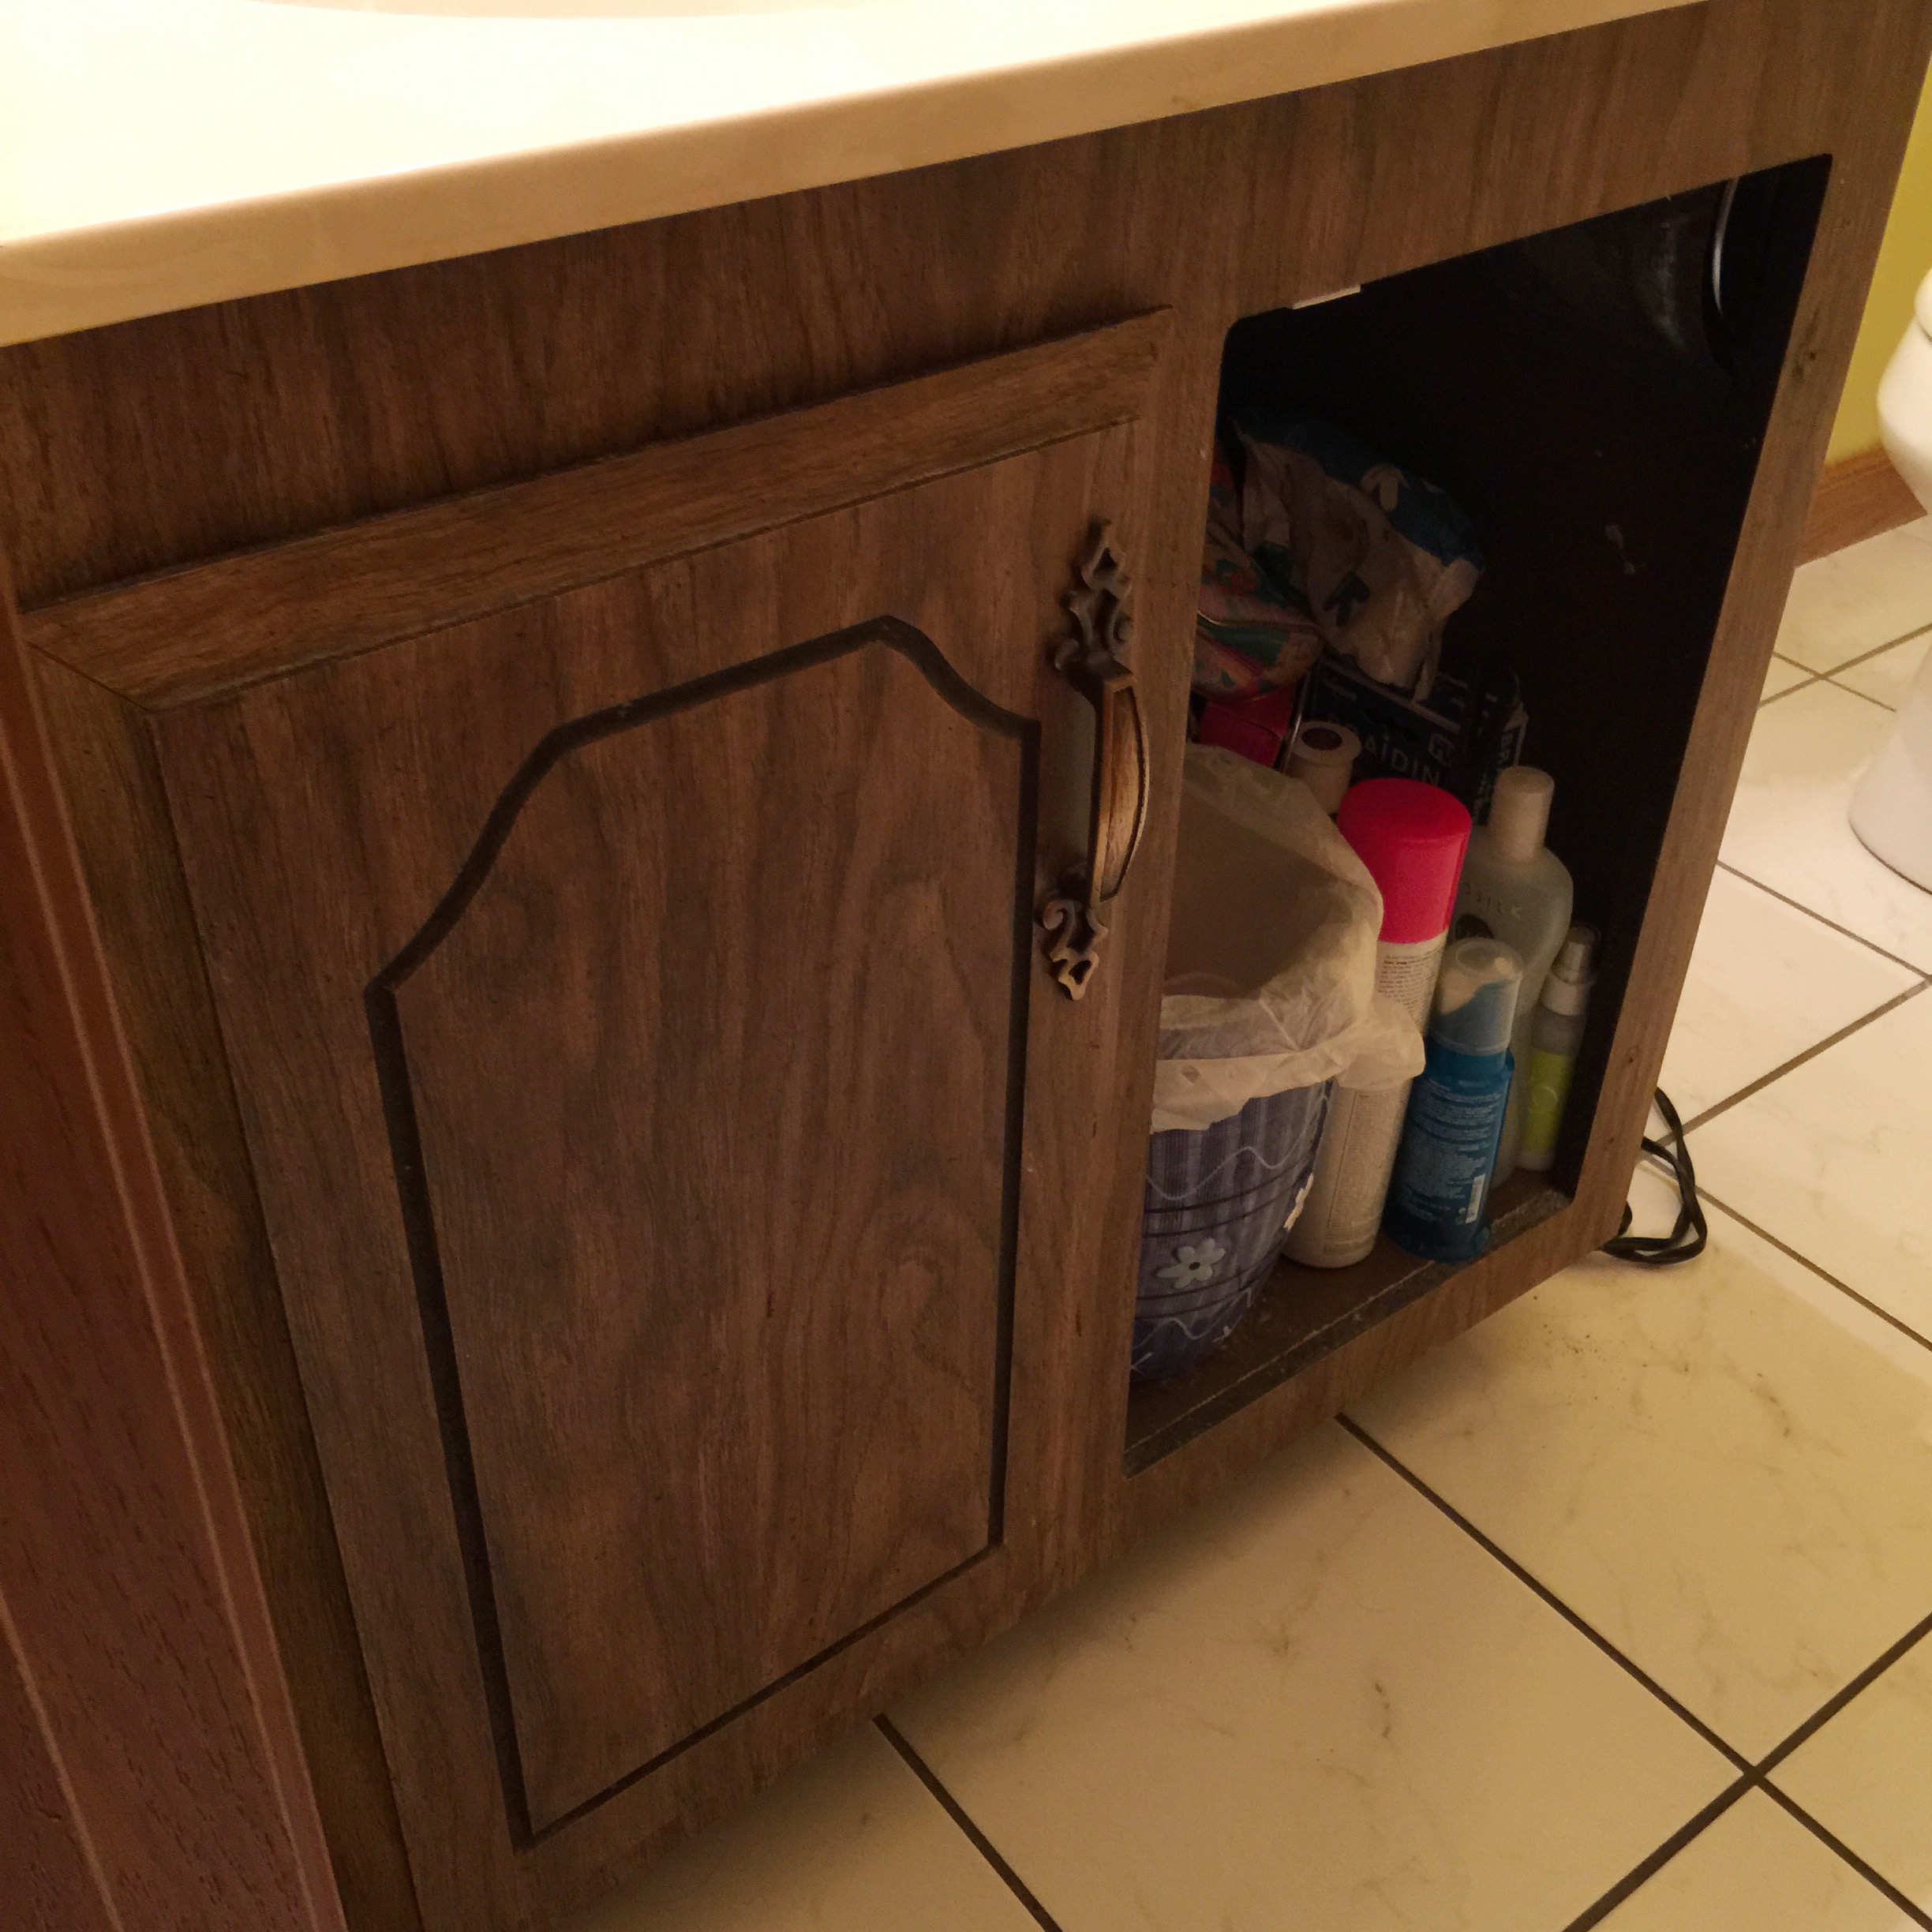
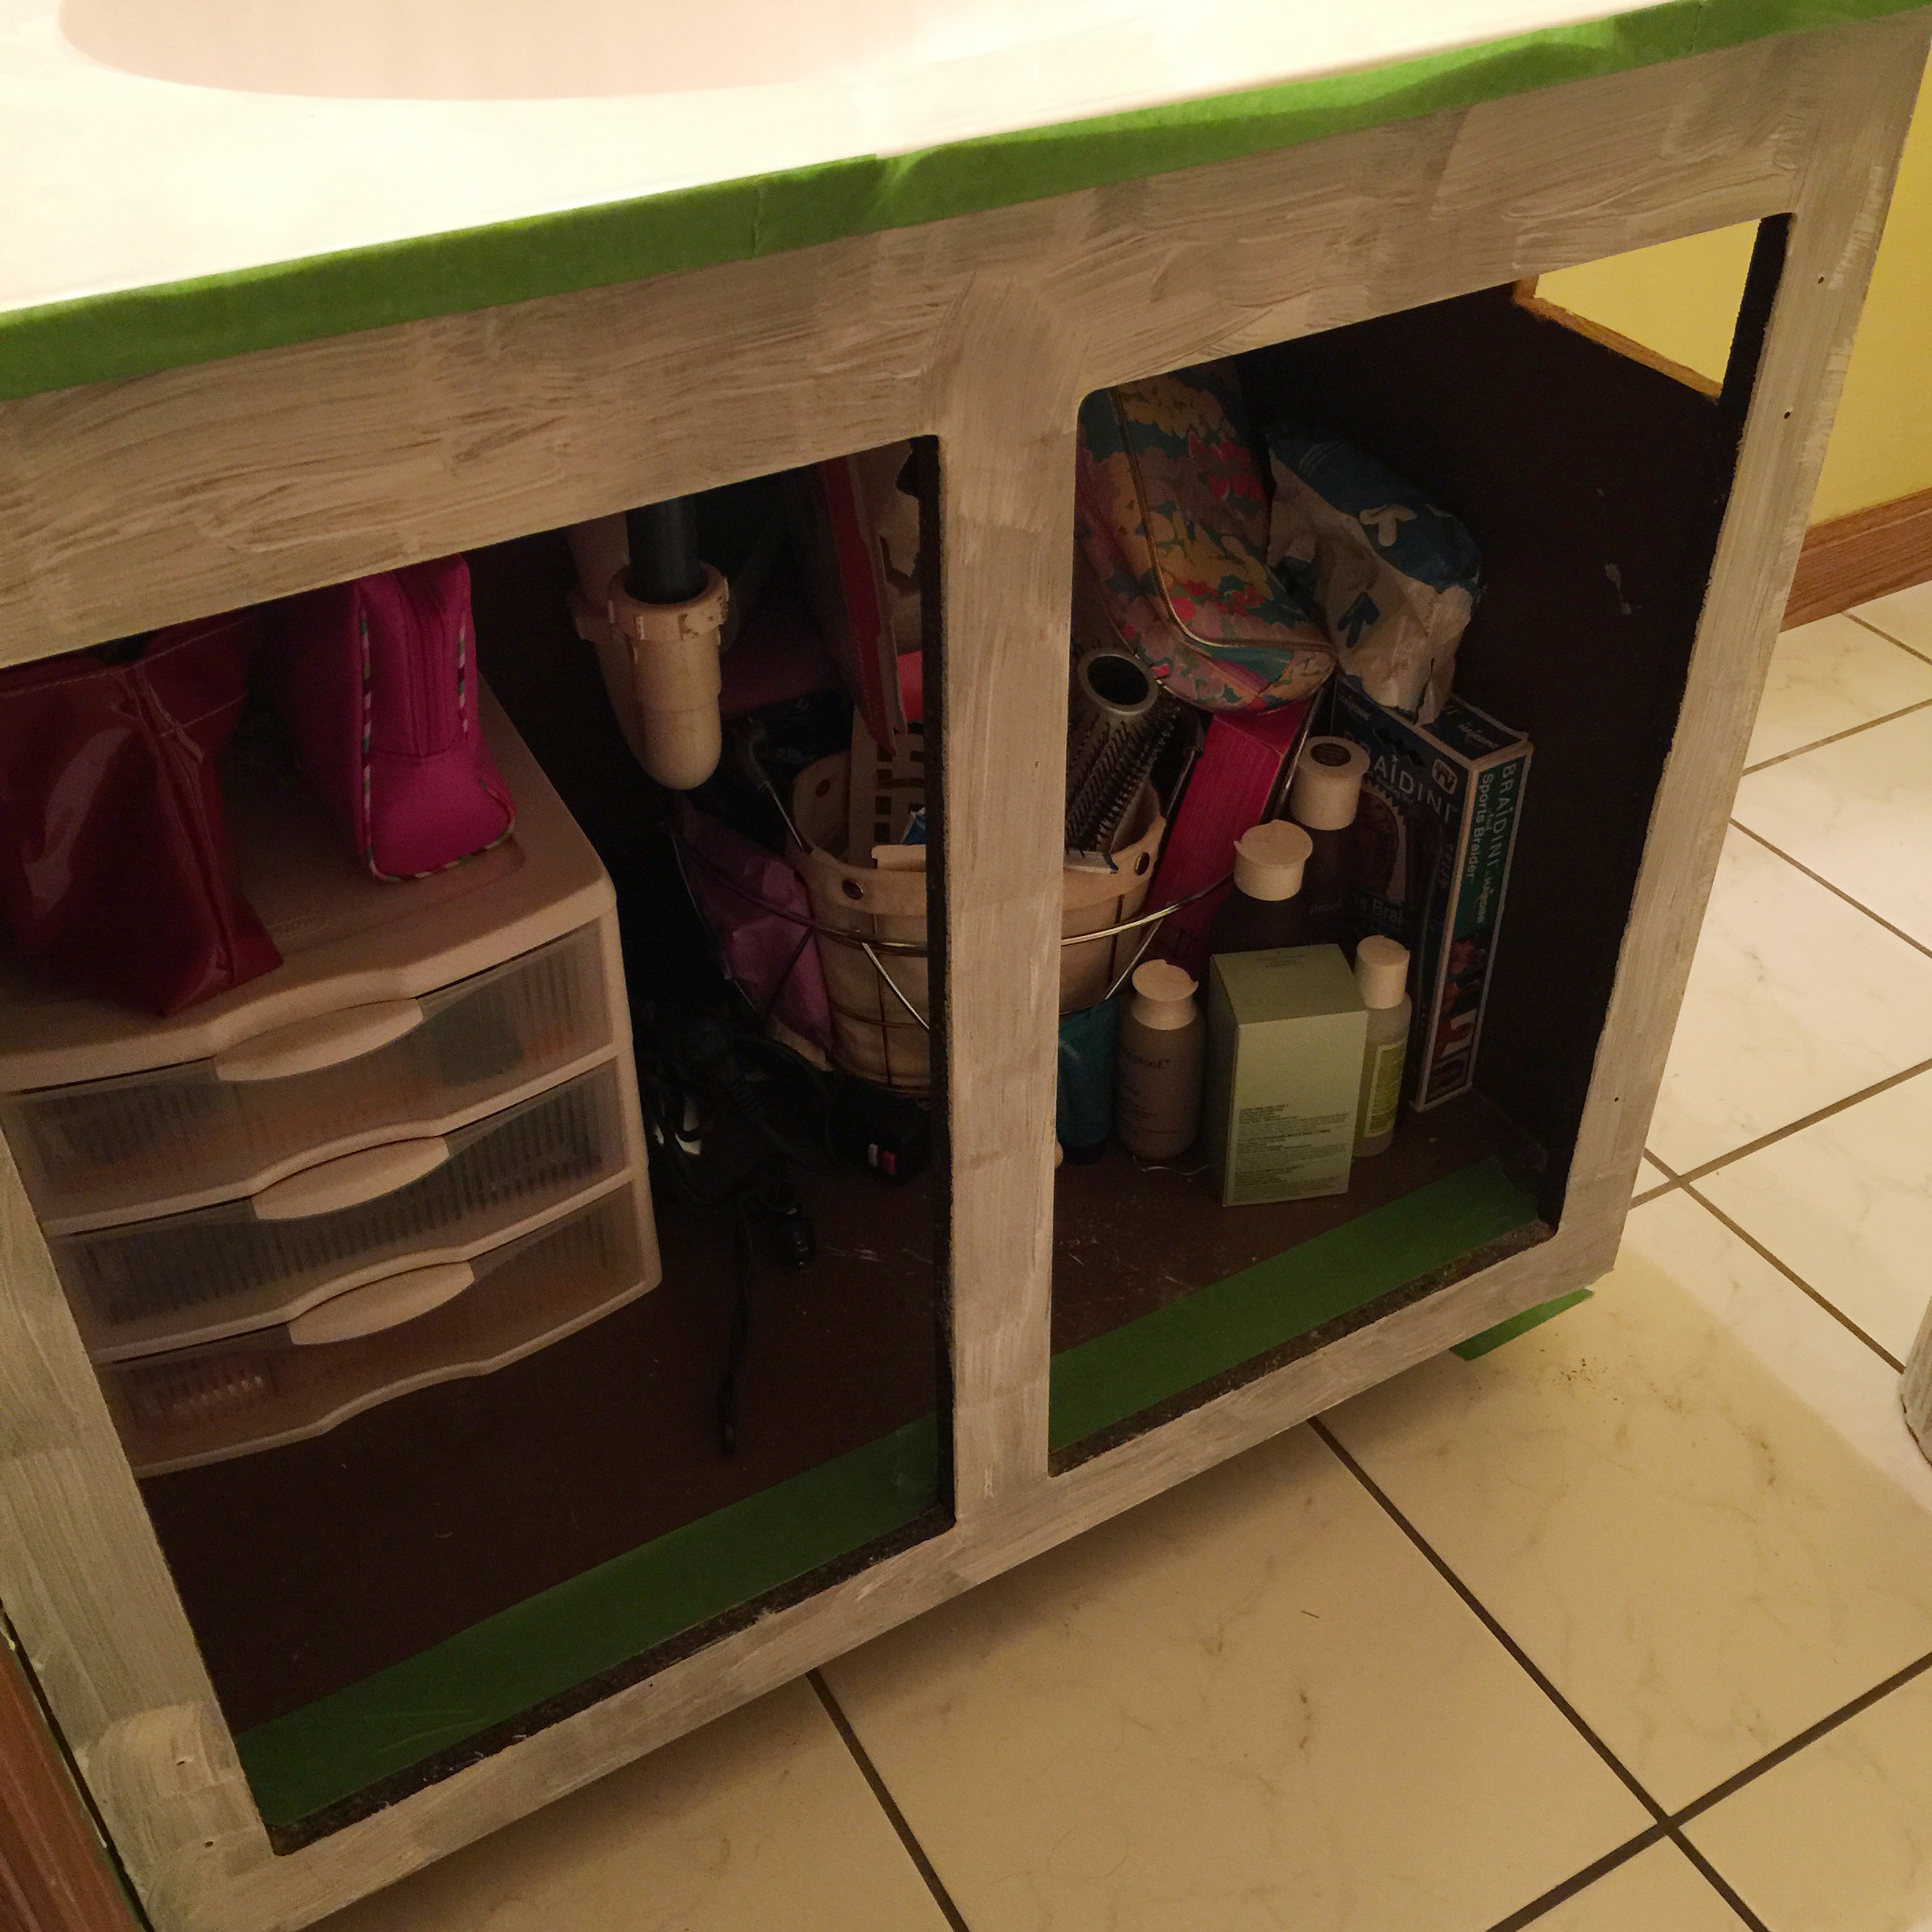
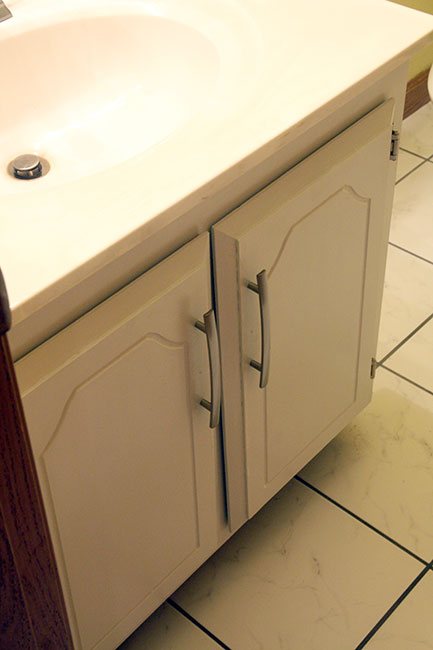
Here is the before… ok, I know a door is missing, it wasn’t like that… I forgot to take a before photo before my husband started to take the doors off. Oops! AND, I know it looks a little messy in there. I plan to straighten that up soon, too, when I do the liner on the bottom of the vanity. It’ll be a good time to take everything out and toss some things… plus, believe it or not, the other side of the vanity is really orderly!
So, are you ready for a little tutorial? It was pretty simple and I worked on it last Saturday and Sunday… a quick weekend project!
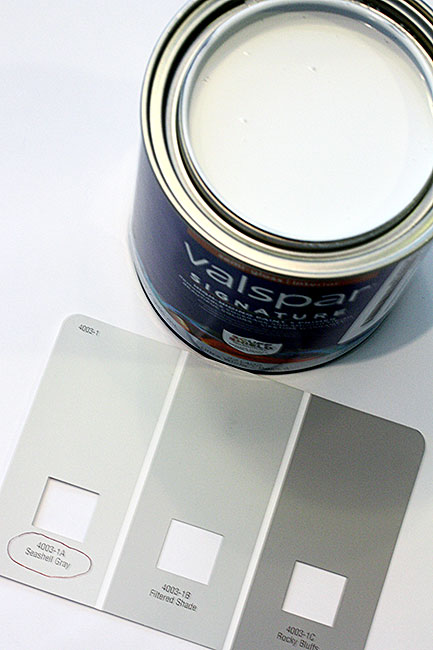
Brian and I went to Lowes on Friday evening, because I like to have all my ducks in a row for a painting project on Saturday morning. Ok, maybe I slept in… but, at least I had the paint! We used Valspar’s Seashell Gray for the color, which is one of their lightest grays.
I used Frog Tape and taped off everything… Frog Tape is the best! I don’t remove the Frog Tape when the paint is wet, I just prime, paint and then my husband scores it with his pocket knife and it comes off easy peasy! Here you’ll see I’ve applied 1 coat of primer to the vanity. I did 2 coats total of primer, with one hour of dry time in-between.
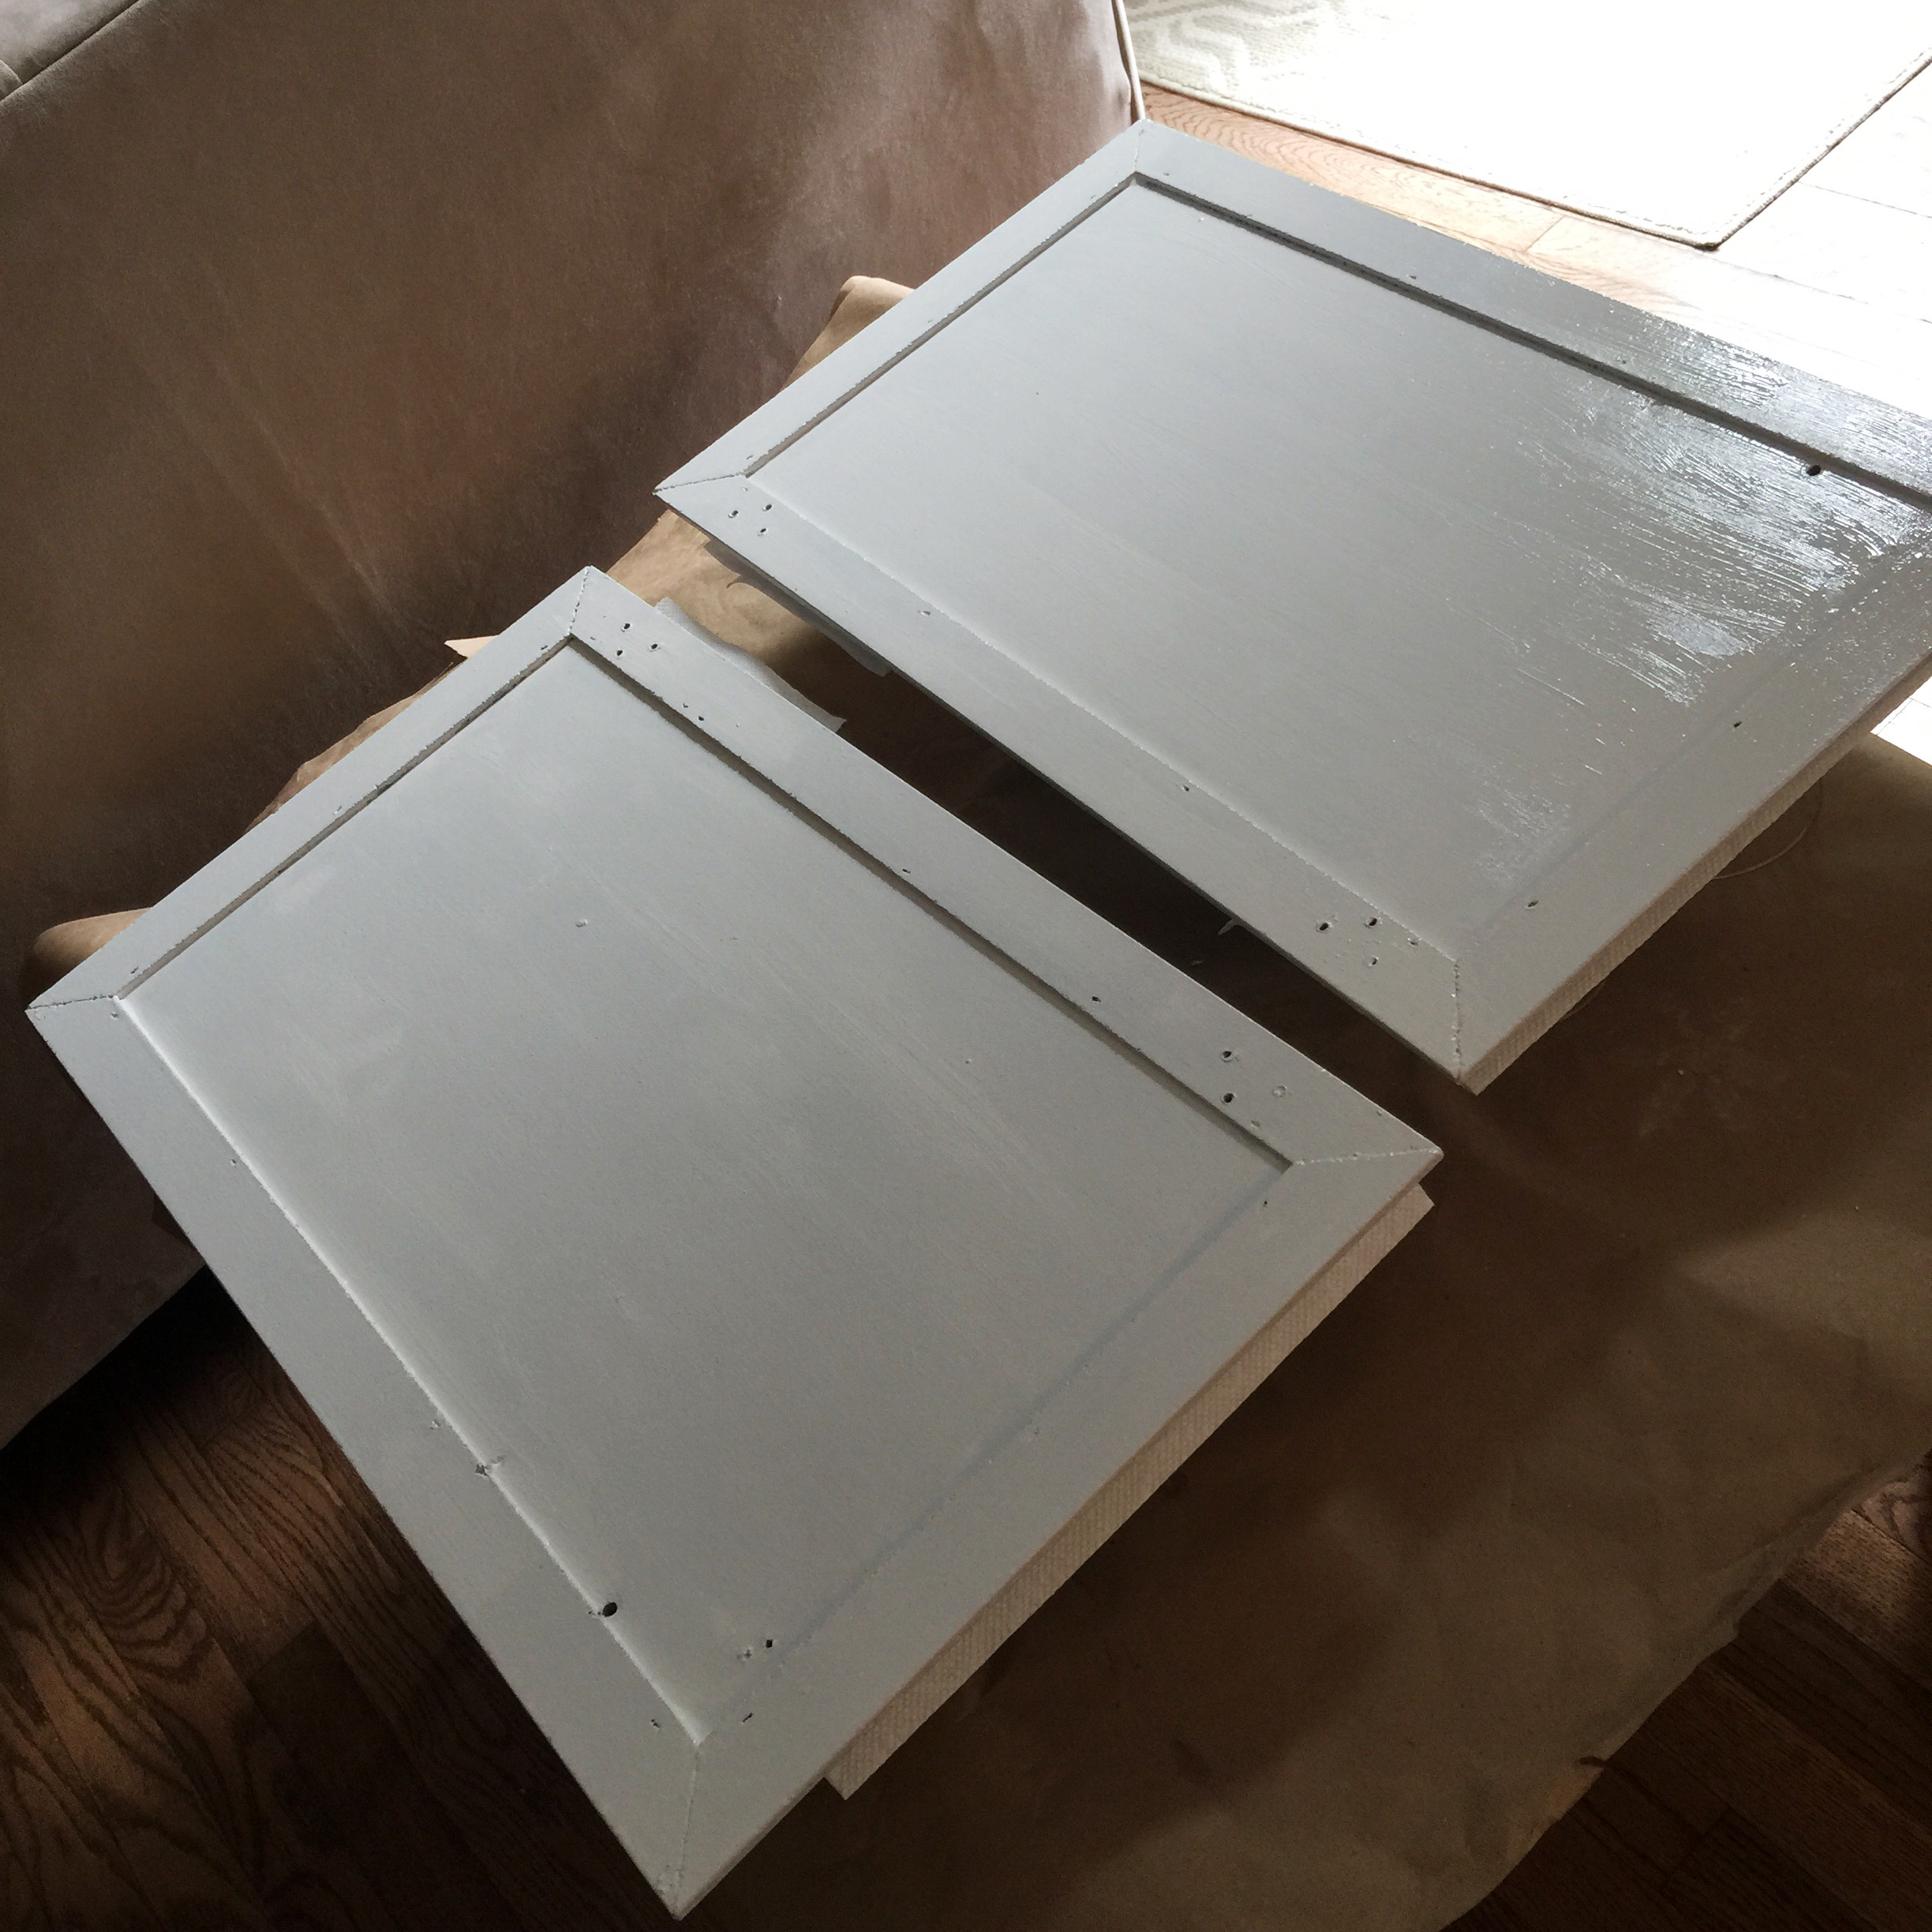
Then do the two coats of paint. I did 2 hours of dry time inbetween them. For the doors, you’ll need to paint both sides, so it will take longer than the vanity.
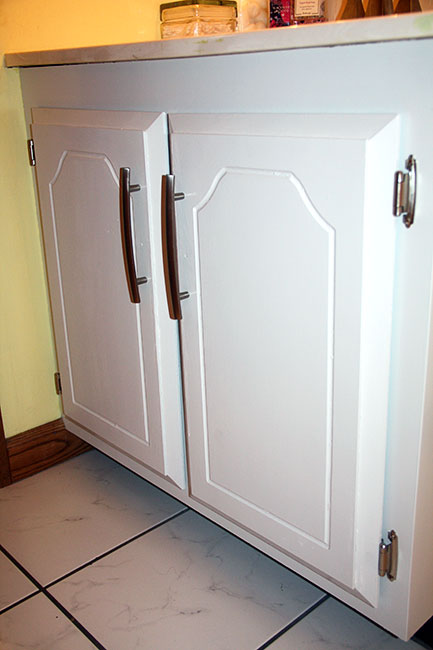
Hang the doors once they are dry. I bought new hinges for the doors, since the olds ones were black and not silver.
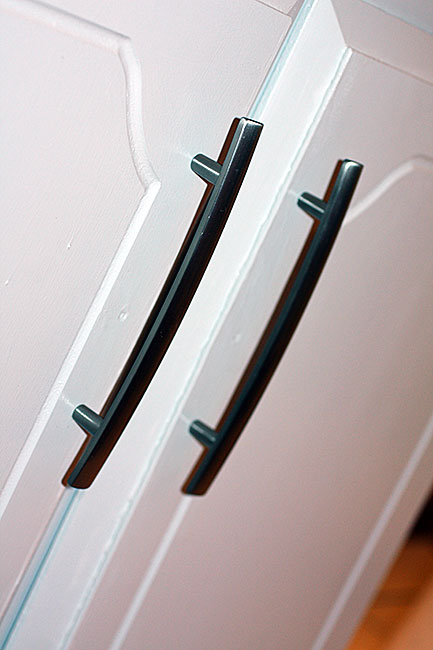
Put on the handles. These were so fun to pick out at Lowes and I love their long and sleek look compared to our old ugly handles!
And, here are some more photos for your pleasure!
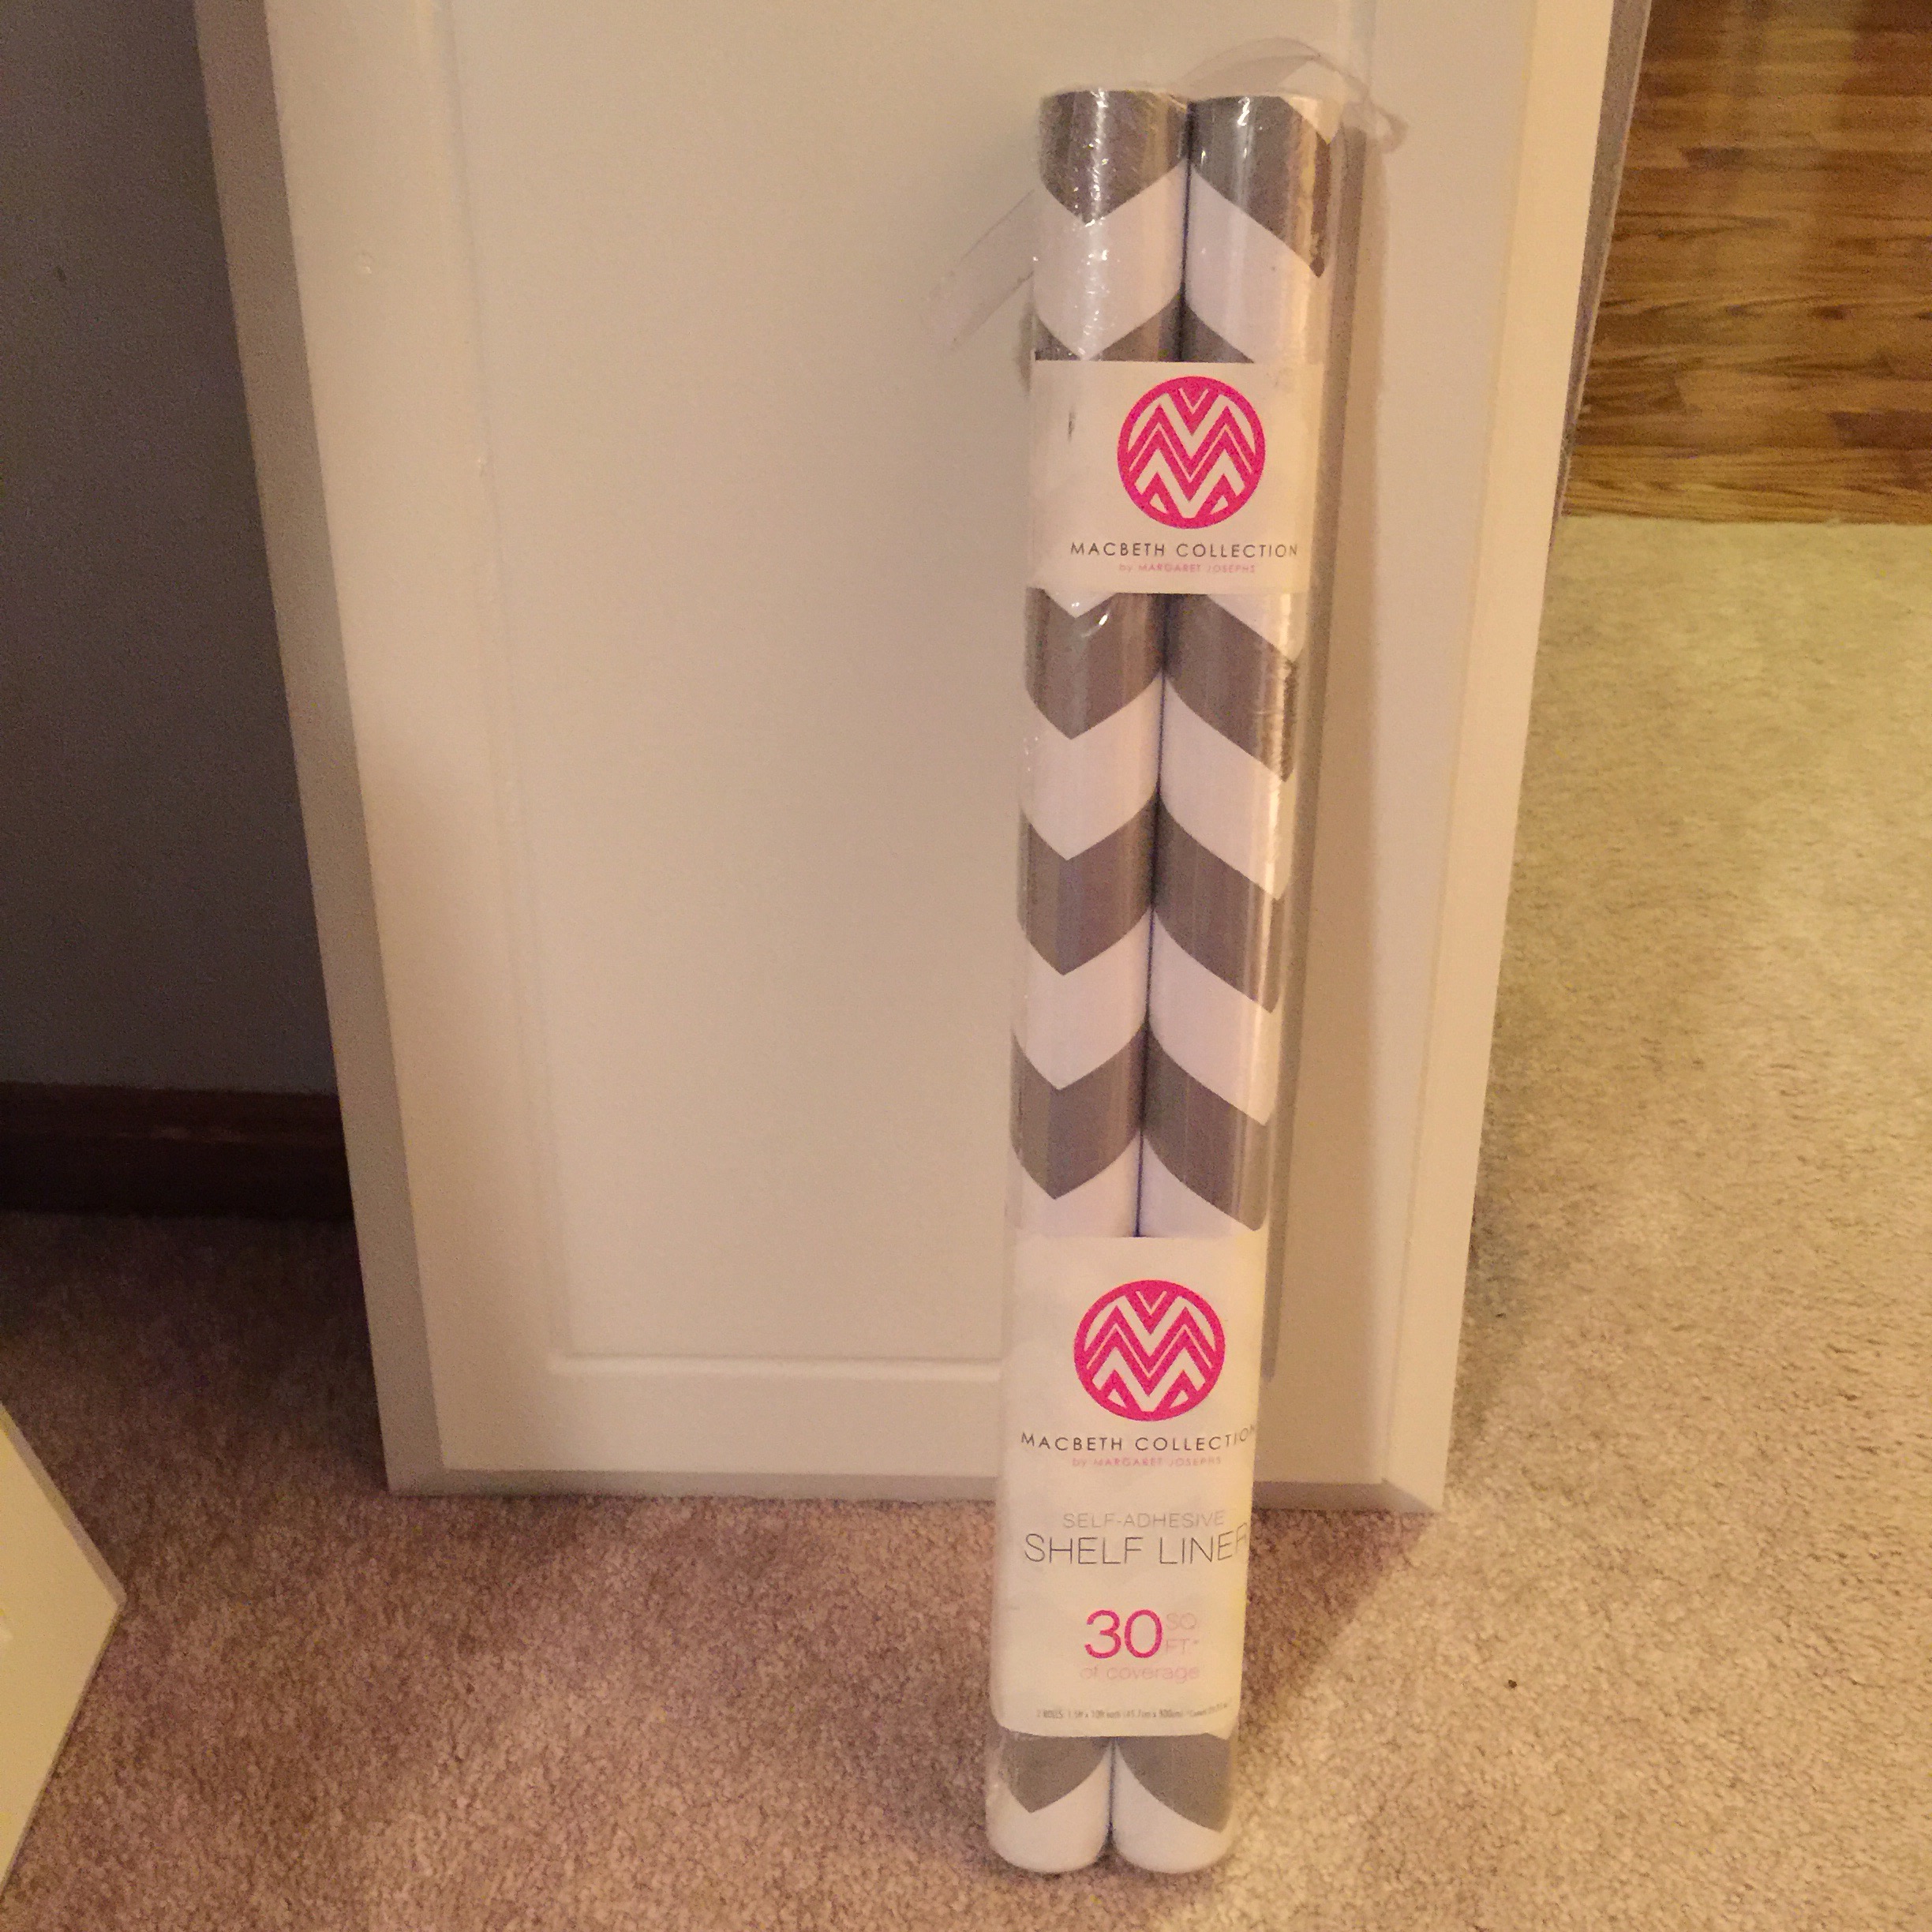
This is the liner I purchased at Hobby Lobby that I’ll be lining the bottom of the inside of the vanity with.
I can’t wait to share the Master Bathroom Reveal with y’all in a couple weeks!
To see which parties I have linked up with, click HERE.
And, now you have your own chance at winning one card of your choice from reinCARDnation! Sorry, U.S. only!