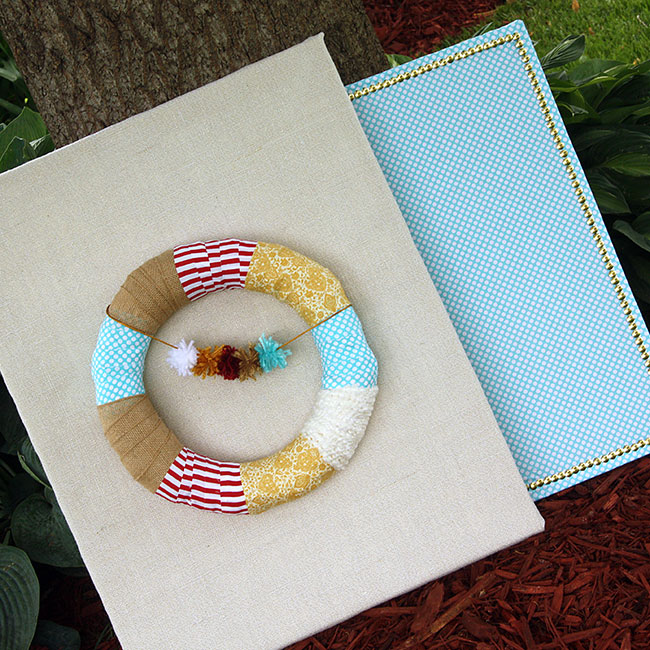
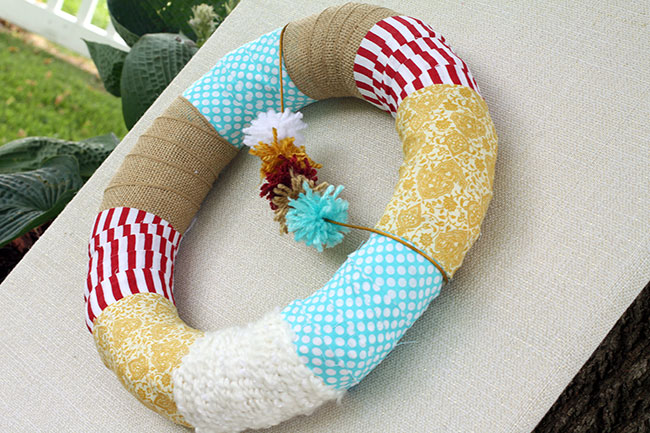
If you follow me on Instagram (or, if you don’t and want to- click HERE), you’ll know that I’ve been working on my office downstairs. It took me quite some time to go through everything down there, because it had become a ‘dumping’ ground for everything since the kids were born. So, after going through papers, organizing various items and donating items that I didn’t need anymore… it was time to do a little decorating! I decided I wanted the walls to be functional yet have a little color in what I hung on them… so, I’ve been working on some wall art that I’ll hang once I get everything finished. Pictured above you’ll see my latest and greatest, a burlap covered canvas with a wreath hung on it and a matching fabric pin board that I made a few weeks ago. The pin board was made with fabric that I had leftover when I made the wreath! I love how they match in a way that isn’t obvious. If you’re interested in making your own fabric covered pin board, I have a tutorial HERE for one that I made for my daughters room.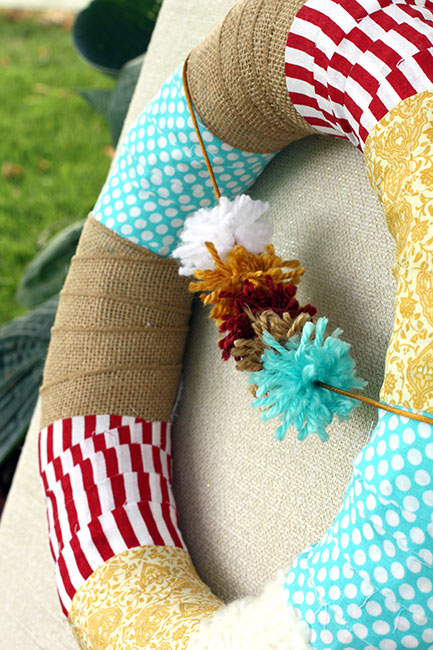
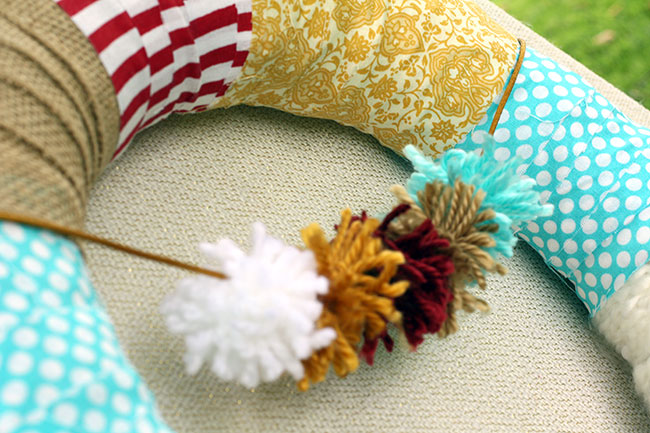
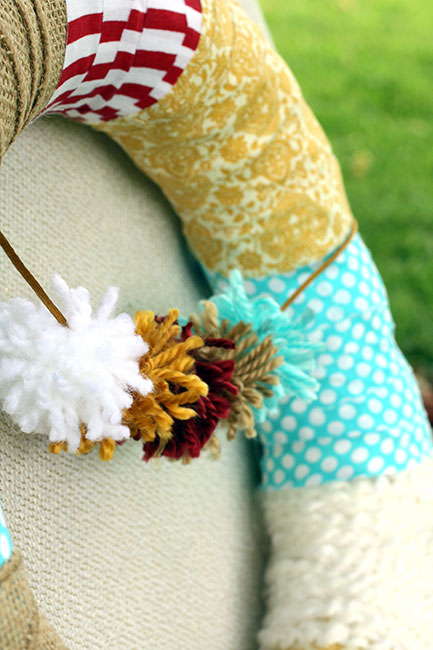
If you’ve been a long time follower of this blog, then you will remember this scrappy pom pom wreath (see post HERE) that I made last fall. All along, I had intended on using this wreath in my office and the colors are actually the colors that I plan to use when decorating my office. I’m also excited about all of the different textures in this scrappy wreath and I hope to showcase those on the walls of my office, too!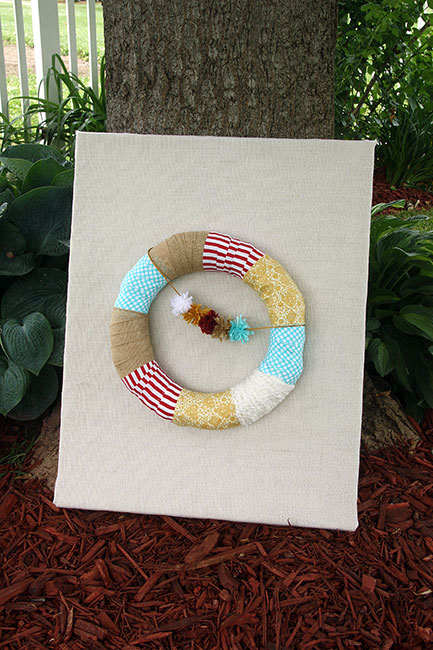
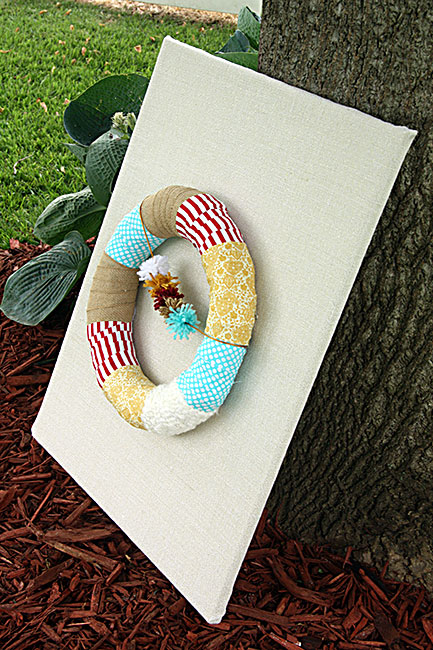
This board is pretty massive and will take up a lot of wall space. The burlap that I chose has a hint of gold stitched in, which I think really adds to the richness of it. 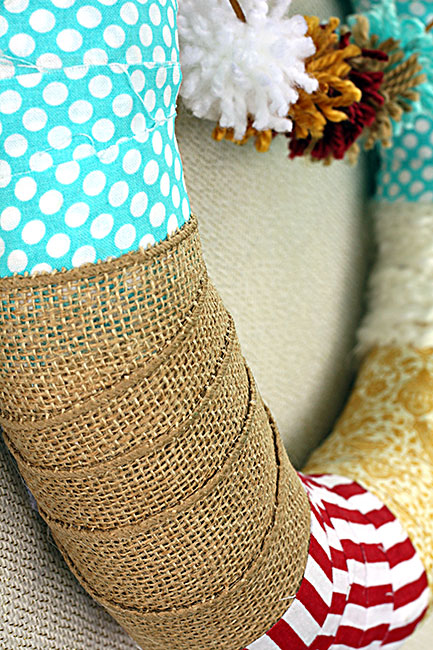
At first I was going to match the burlap on the canvas to the burlap on the wreath, but when I was at the store I realized it’d be too dark.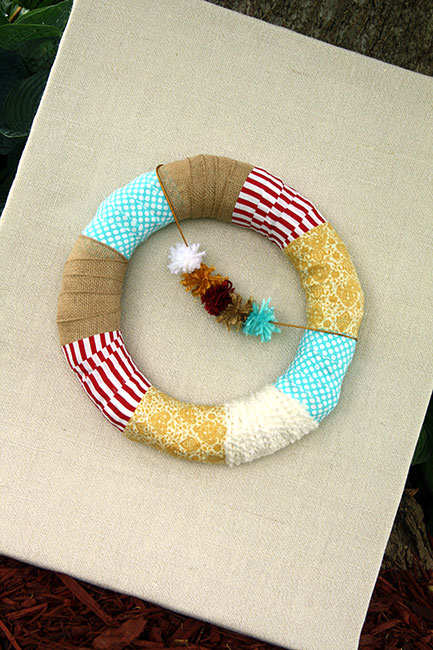
I also thought about adding a bow to the top of the board and making it look like the wreath was hanging from it. However, I like that I pinned the wreath to the burlap on the board and how open it looks around it. I could even use this board as an extra pin board.
Are you ready to learn how I made this burlap covered canvas and how I attached the wreath? Let me tell you, it was SO quick and easy!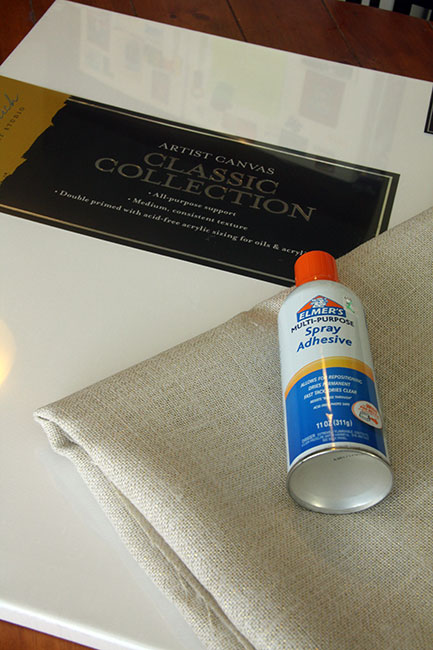
First, you’ll need a large canvas, a wreath and some spray mount. I also used some pins that I didn’t add in this photo, but I’ll go over them when we get to that part of the process.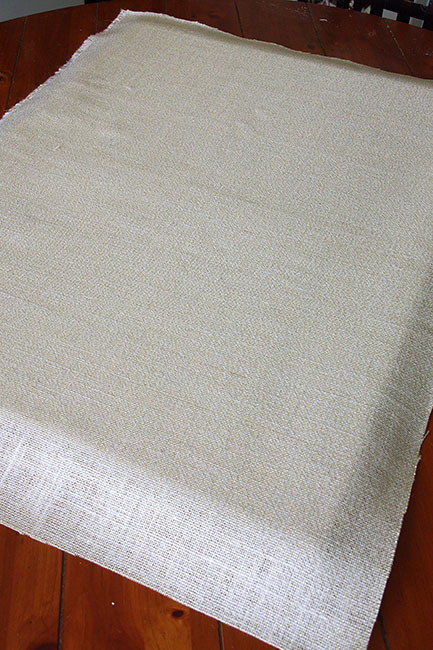
When you are at the store buying your burlap, make sure your canvas isn’t larger than the width of the burlap! Cut the burlap down so that there is a few inches on each side hanging off your canvas. Then, iron the burlap to get any wrinkles or creases out of it.
Take your spray mount and spray your canvas outside. Bring it inside and cover it with your burlap.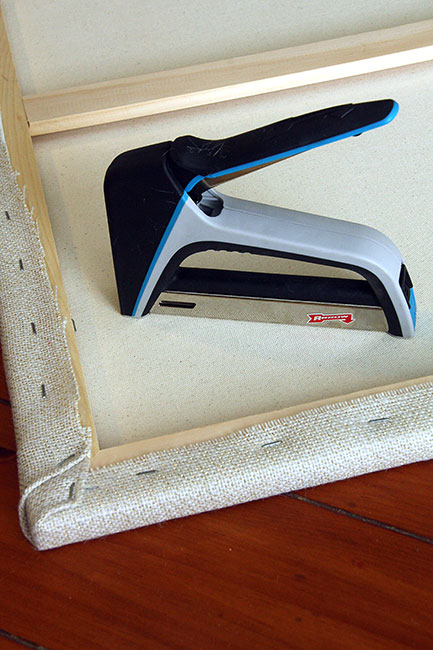
Take a staple gun and staple the burlap to the back of the board. You could also use a hot glue gun if you don’t have a staple gun.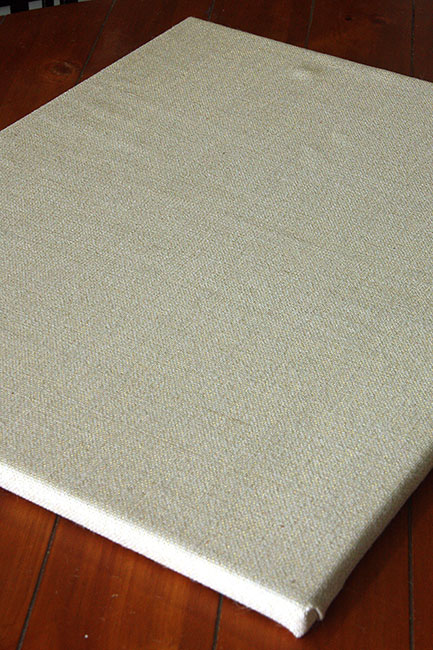
Your board will look like this when you are done.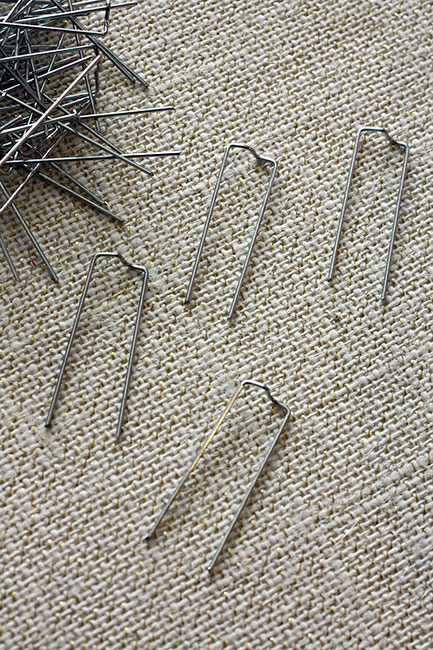
Then, to pin your wreath to the board, you’ll want to find these little hook pins. I had some at home already, because I used them when I made a balloon wreath awhile back for one of Nathan’s birthday parties.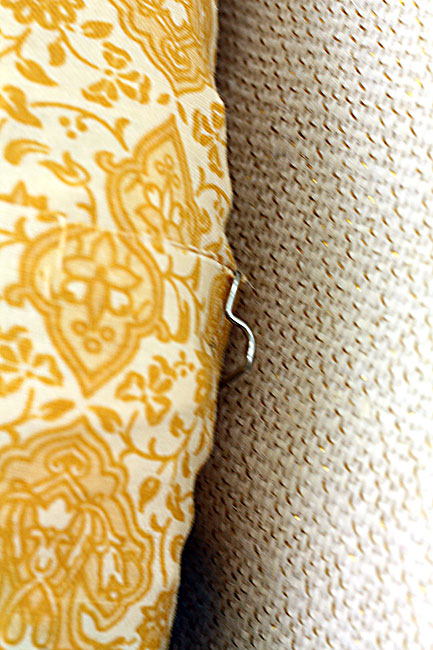
I pinned one on each side of the wreath and one on the top.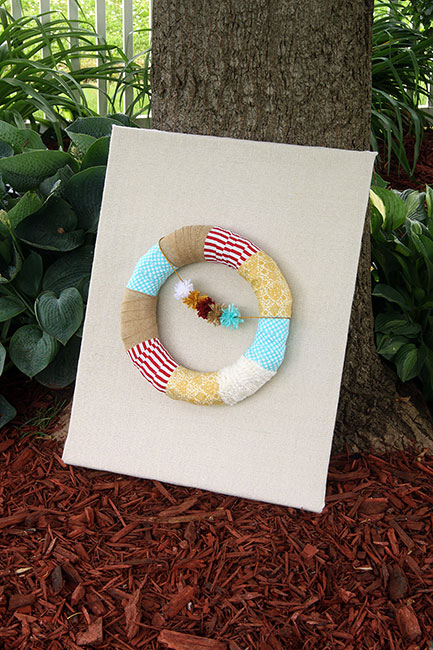
And, you have yourself a burlap canvas, complete with a pretty wreath!! I think this would look GREAT with a boxwood wreath, too or just with the burlap as a pin board.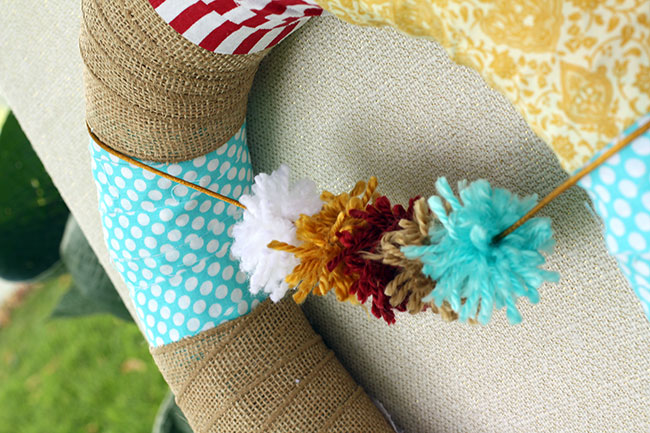
The next piece that I want to work on for my office walls is a PEG BOARD!! I am so excited about this and I’m hoping my husband can work some of his time in this summer to help me with it. Ha! 
Next week I have another Silhouette Cameo Vinyl project to share with you… its an unusual twist on an ordinary object. Can’t wait to share it! I plan to put it in my office, too.
I sort of have A LOT of projects I want to knock off the to-do list this summer. Projects that are just easier to do when its warmer! I want to paint our Master Bathroom vanity and then the makeover of that room will be DONE (its been 3 years that I’ve been working on it!). Then, I want to paint 3 pieces of furniture in Autumn’s room from a pale yellow to WHITE. I may or may not do chalk paint and give it a sanded look. AND, if I can get all that done… I’ll be happy! I will be painting A LOT this summer!
To see which parties I have linked up with, click HERE.