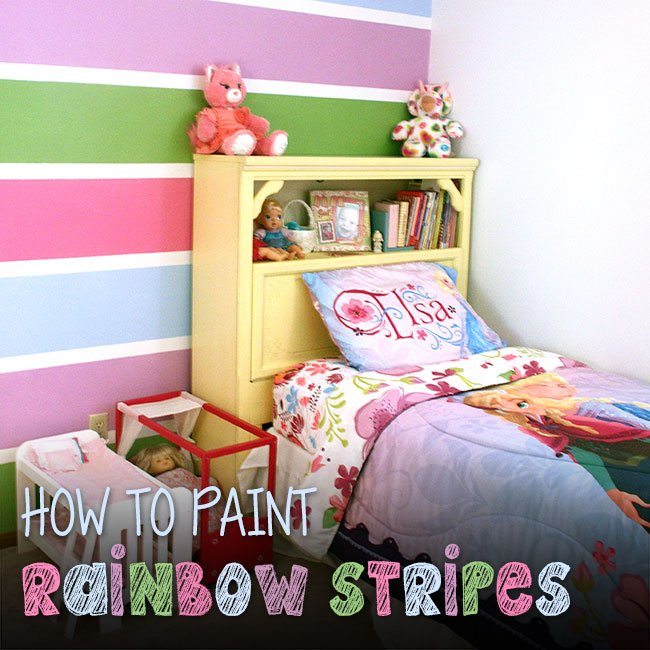
We haven’t changed my daughters room since she was a newborn! She is now 6 years old and like most 6 year olds, she LOVES Frozen. I decided to buy her some Frozen bedding and fell in love with the colors in the bedding! I didn’t want to just paint her room blue, I wanted it to still look girly and fun. I have always been in love with accent walls, especially when one wall of a room has stripes. I decided that I wanted to do a RAINBOW striped wall. When I first told my husband, he was skeptical… but, with a little frog tape and lots of color the rainbow wall was created! Read on to see more photos of my daughters room and how we got this rainbow wall to work!
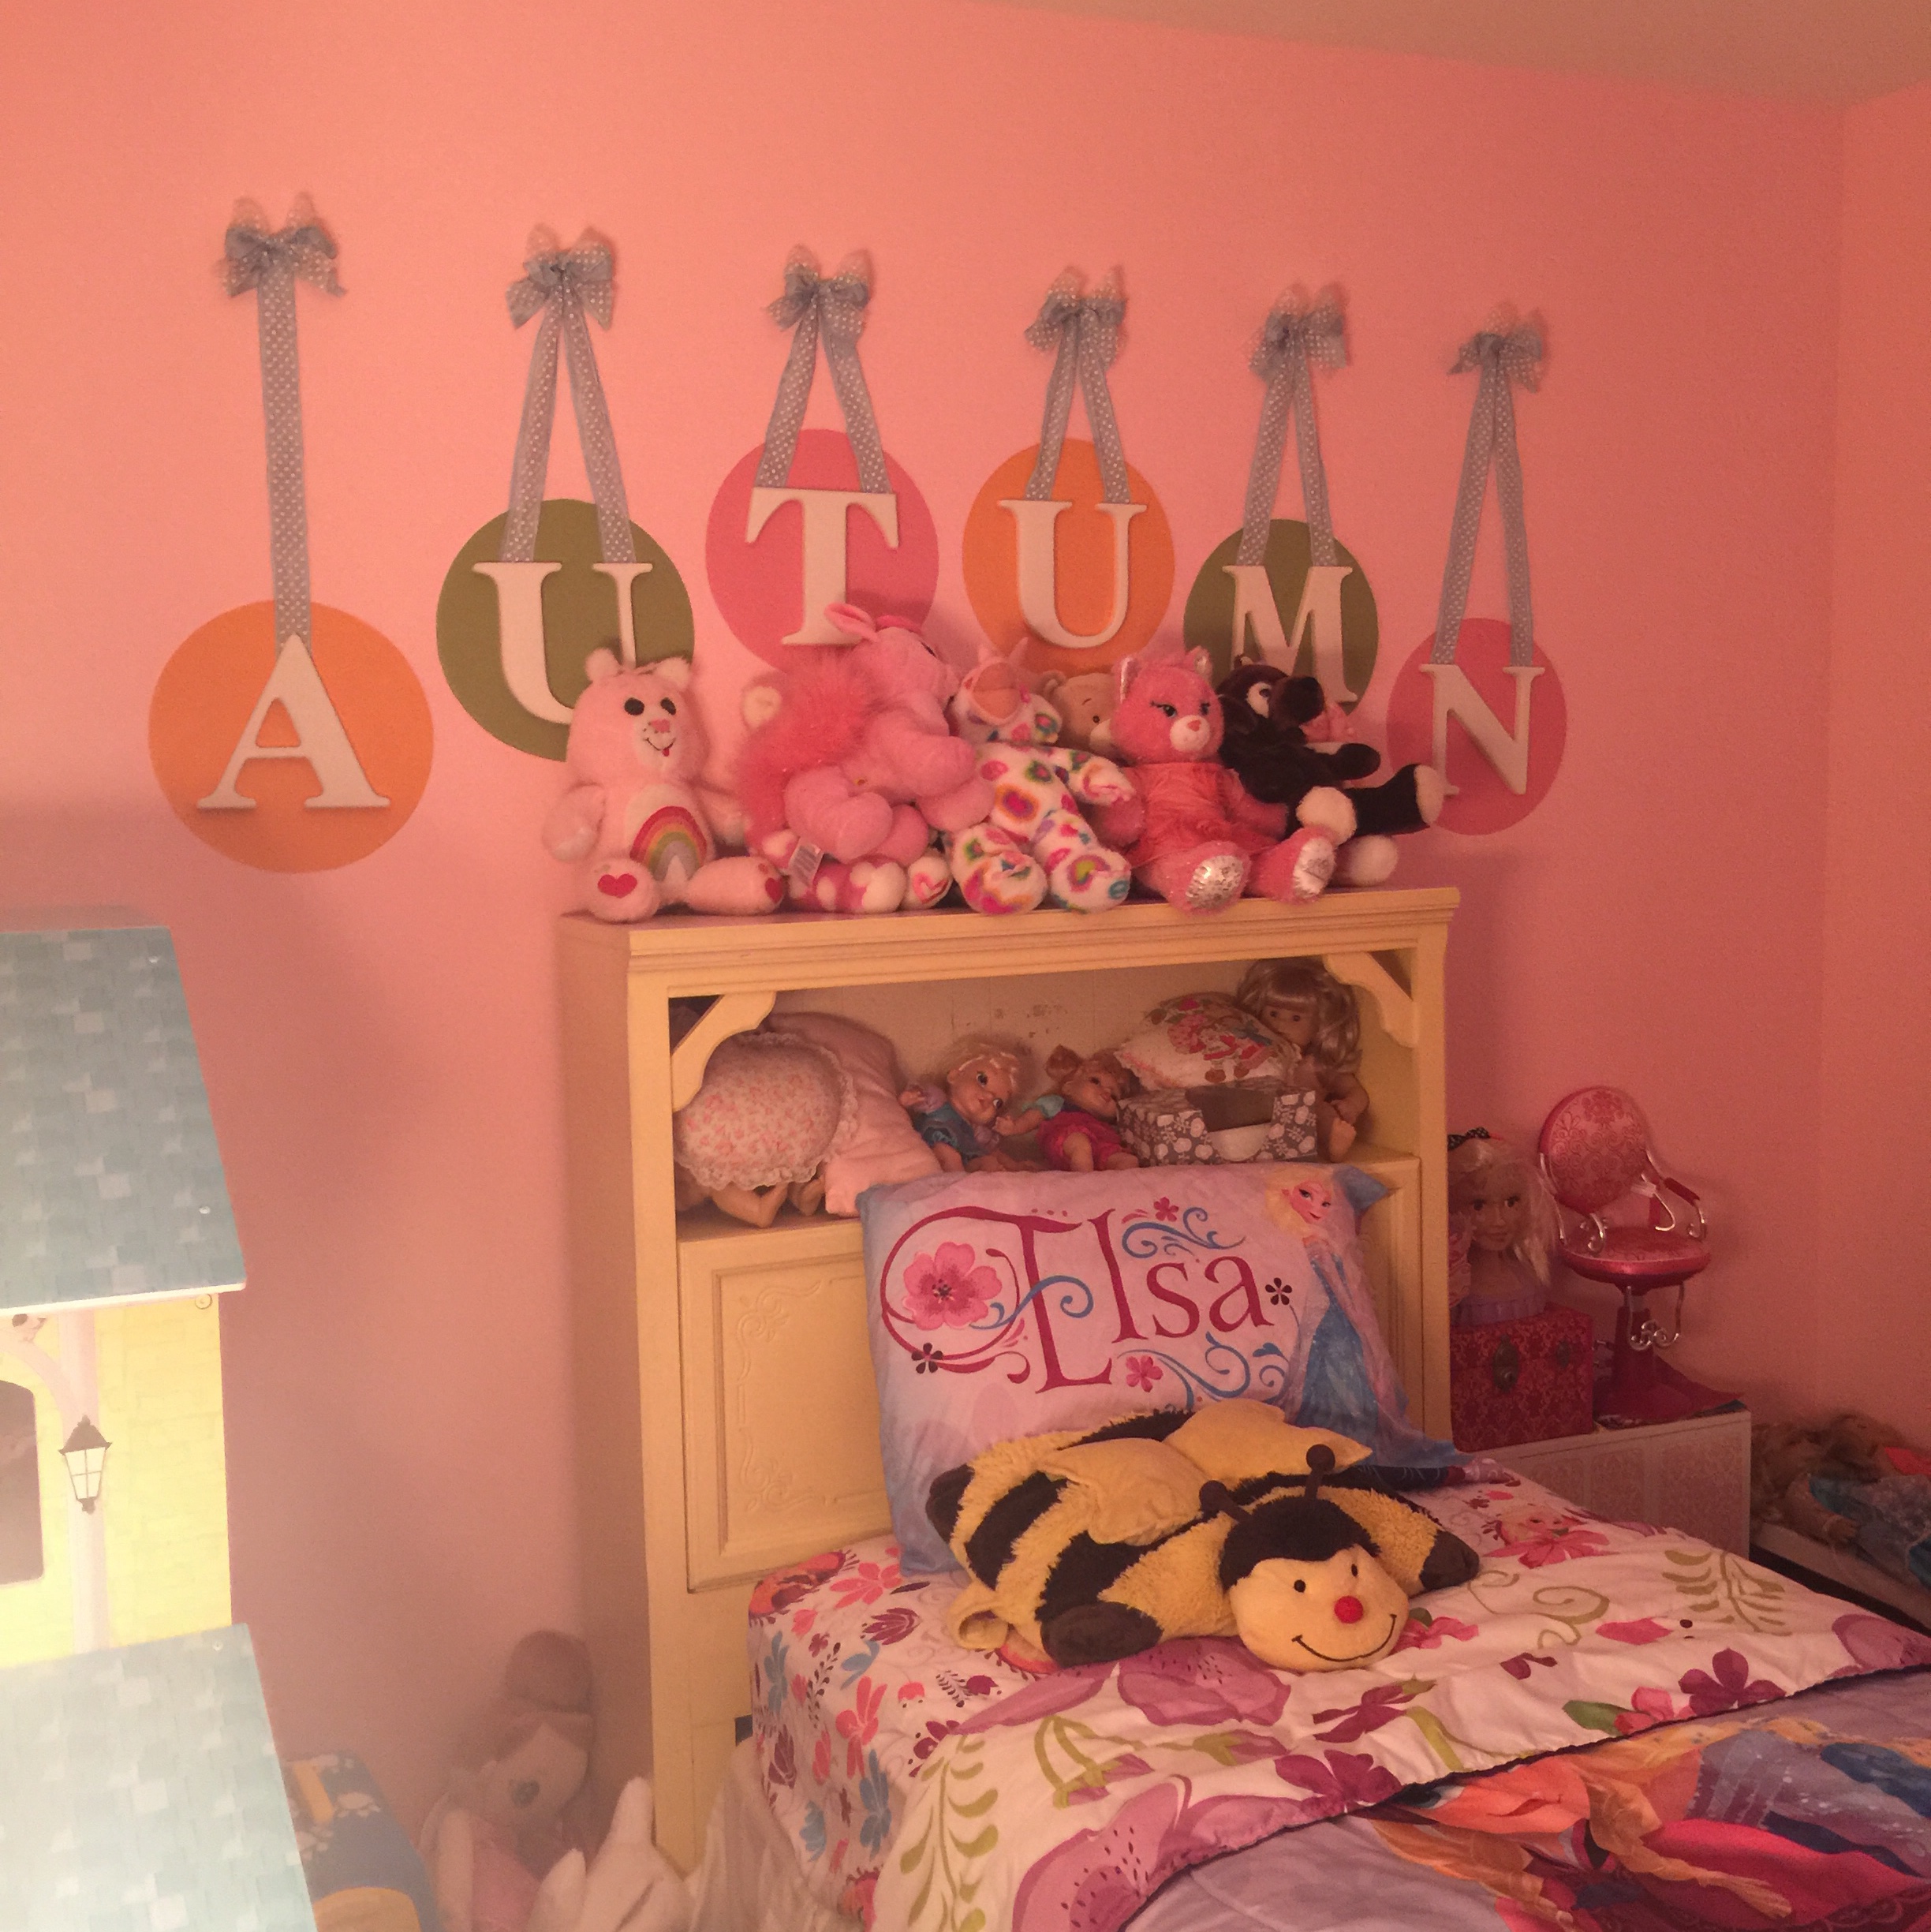
First, I want to show you a BEFORE picture… because, the before pictures are always so fun to look back at! When I planned Autumn’s room when she was in my belly, I purchased a polka dot crib bedding from Pottery Barn Kids. I painted these dots to match her polka dotted bedding and the entire room was painted a hideous pink… I never realized how a little (or a lot) of pink can go a LONG way. Whew. You’ll also notice there isn’t a lot of open floor space in her room… we also moved her furniture around after we painted the room and she has a lot more open space to play.

Before you start painting, figure out the order you want the colors to go in. This is VERY important. At first I thought I wanted a rainbow pattern, but when we did this it left the pink and purple next to each other when we went to start the second set of stripes. The pink and purple stripes do not look good together! Then, I thought about doing a warm color and then a cool color… however, Brian didn’t like the green above the blue color in the second photo. He told me that blue is the sky and should always be above green the grass. So, we nitched these two ideas and went with what you see painted.
Then we primed her room. We had to prime it two times to get that pepto bismol pink color off her walls. Then, we painted the entire room white… we even painted the wall that we planned to paint the stripes on. Then, we took a break and let everything dry for a good 4 hours.
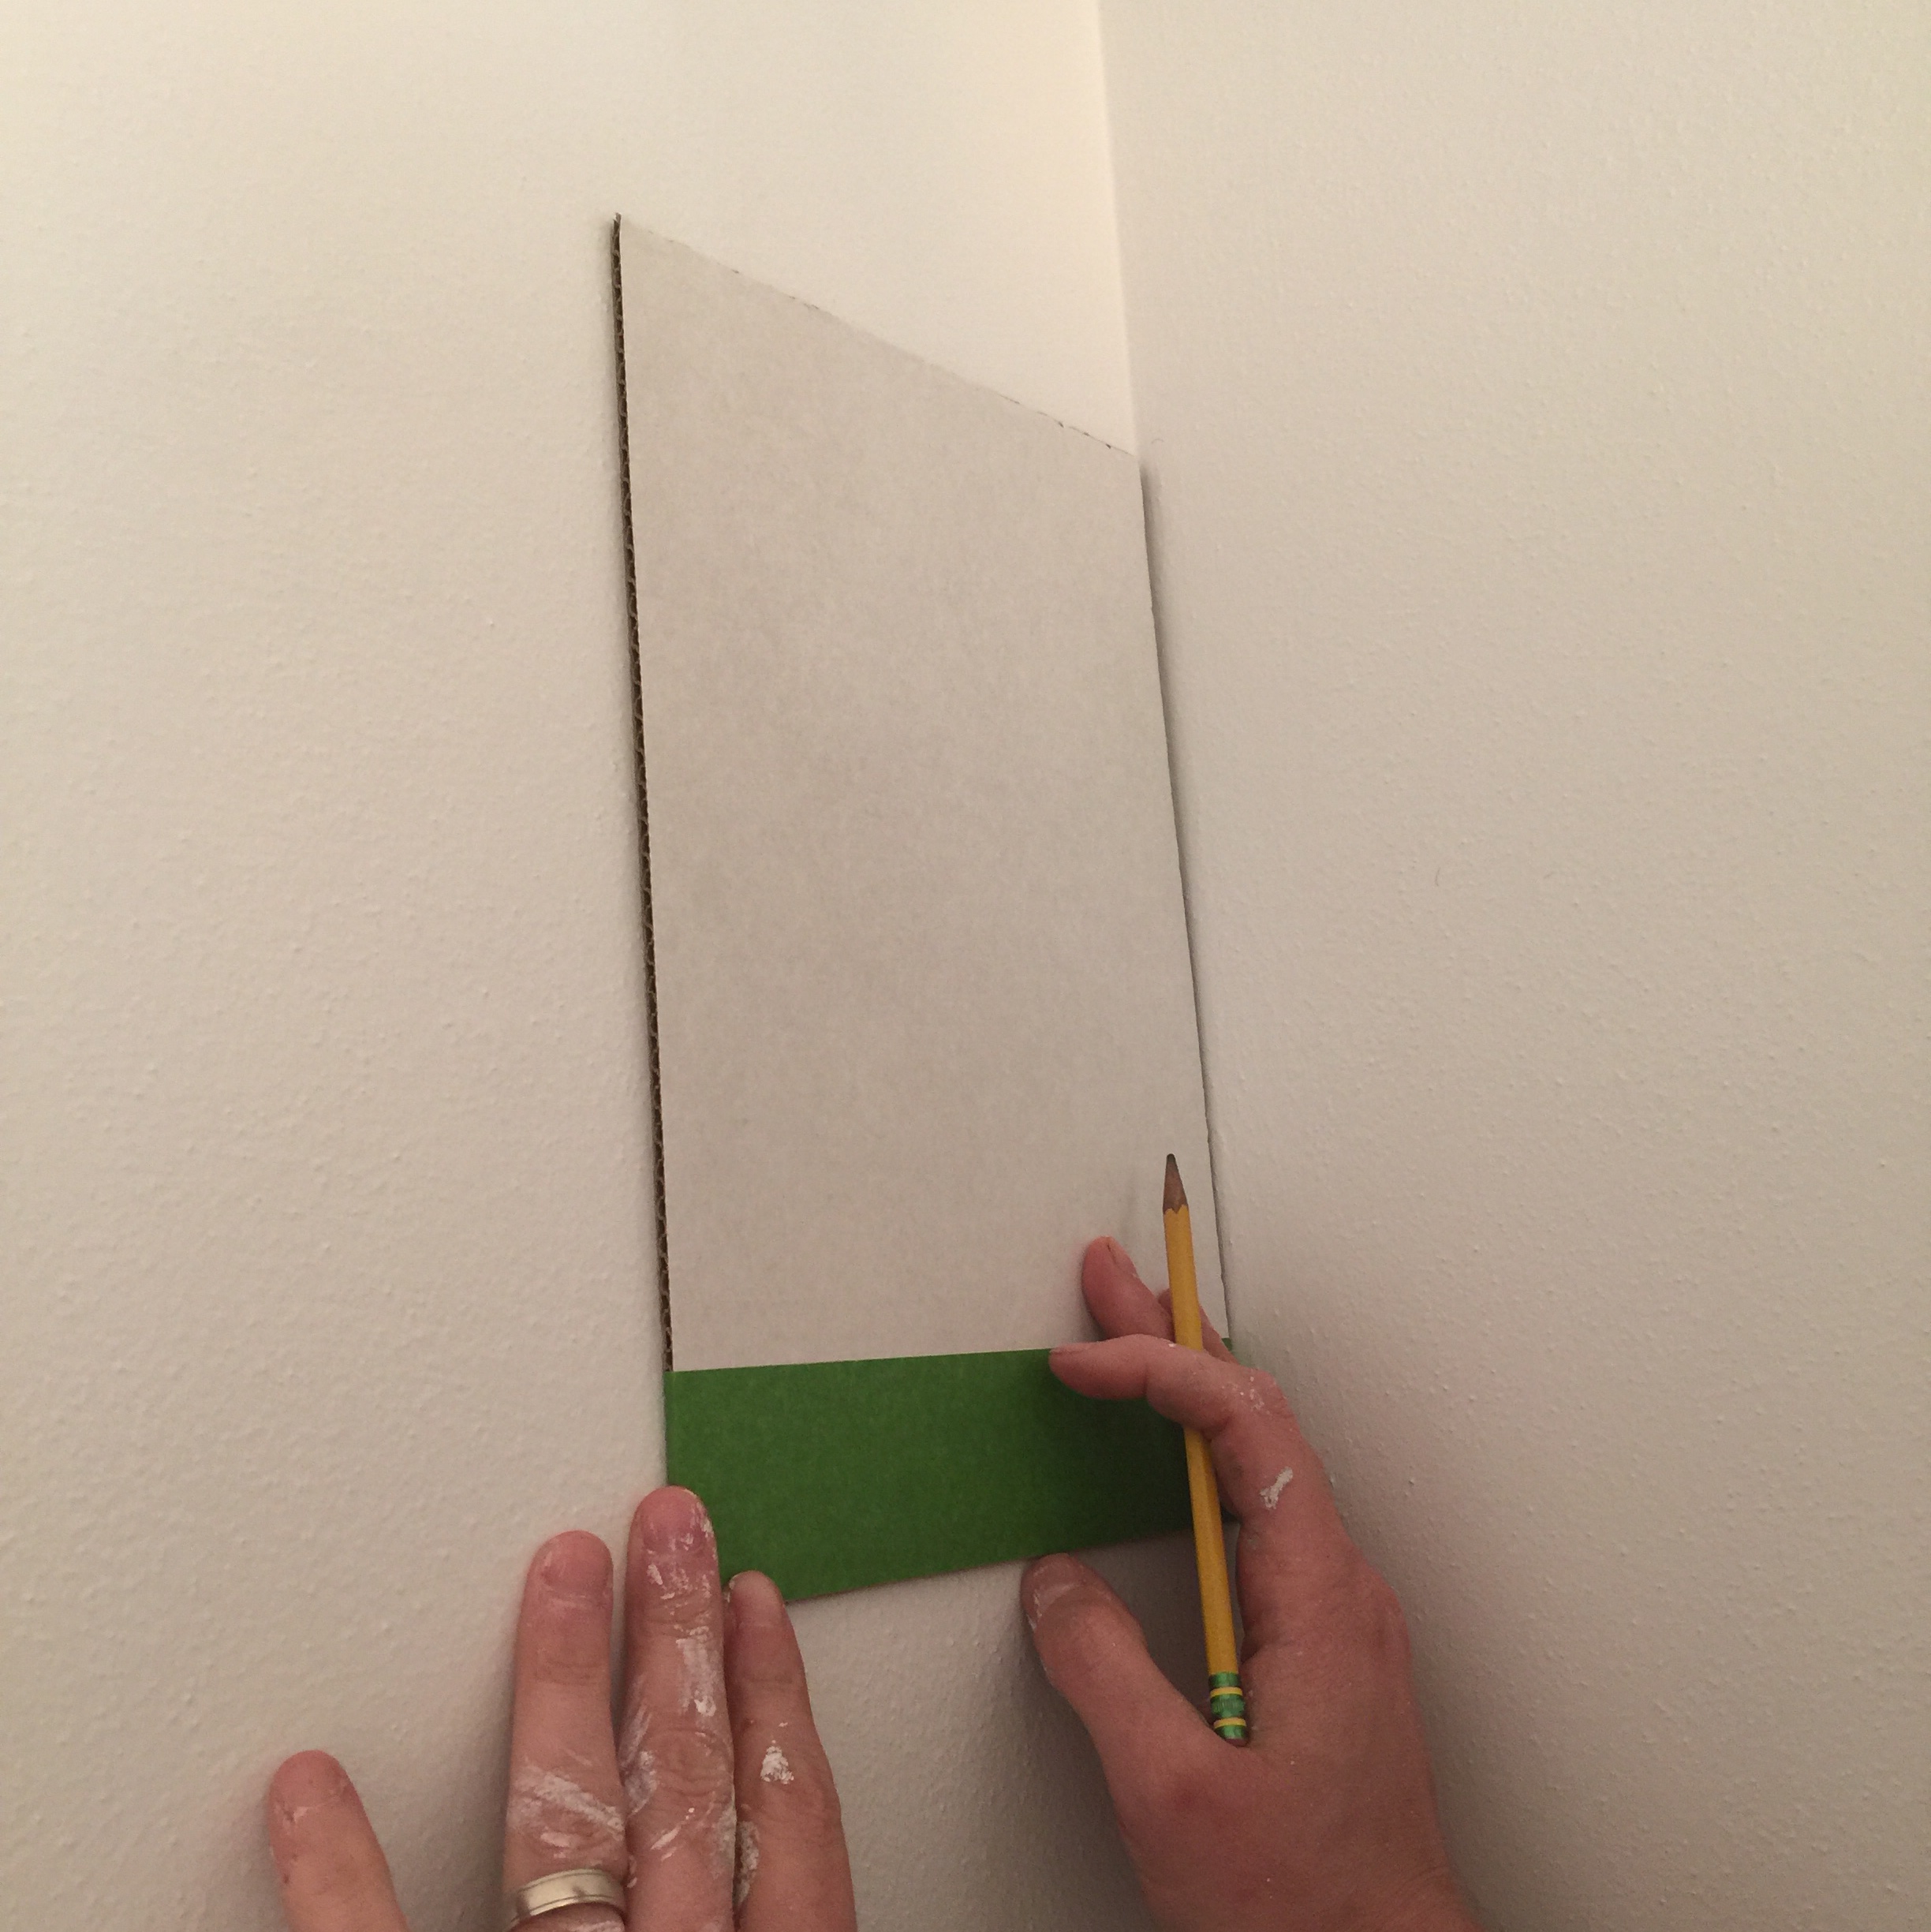
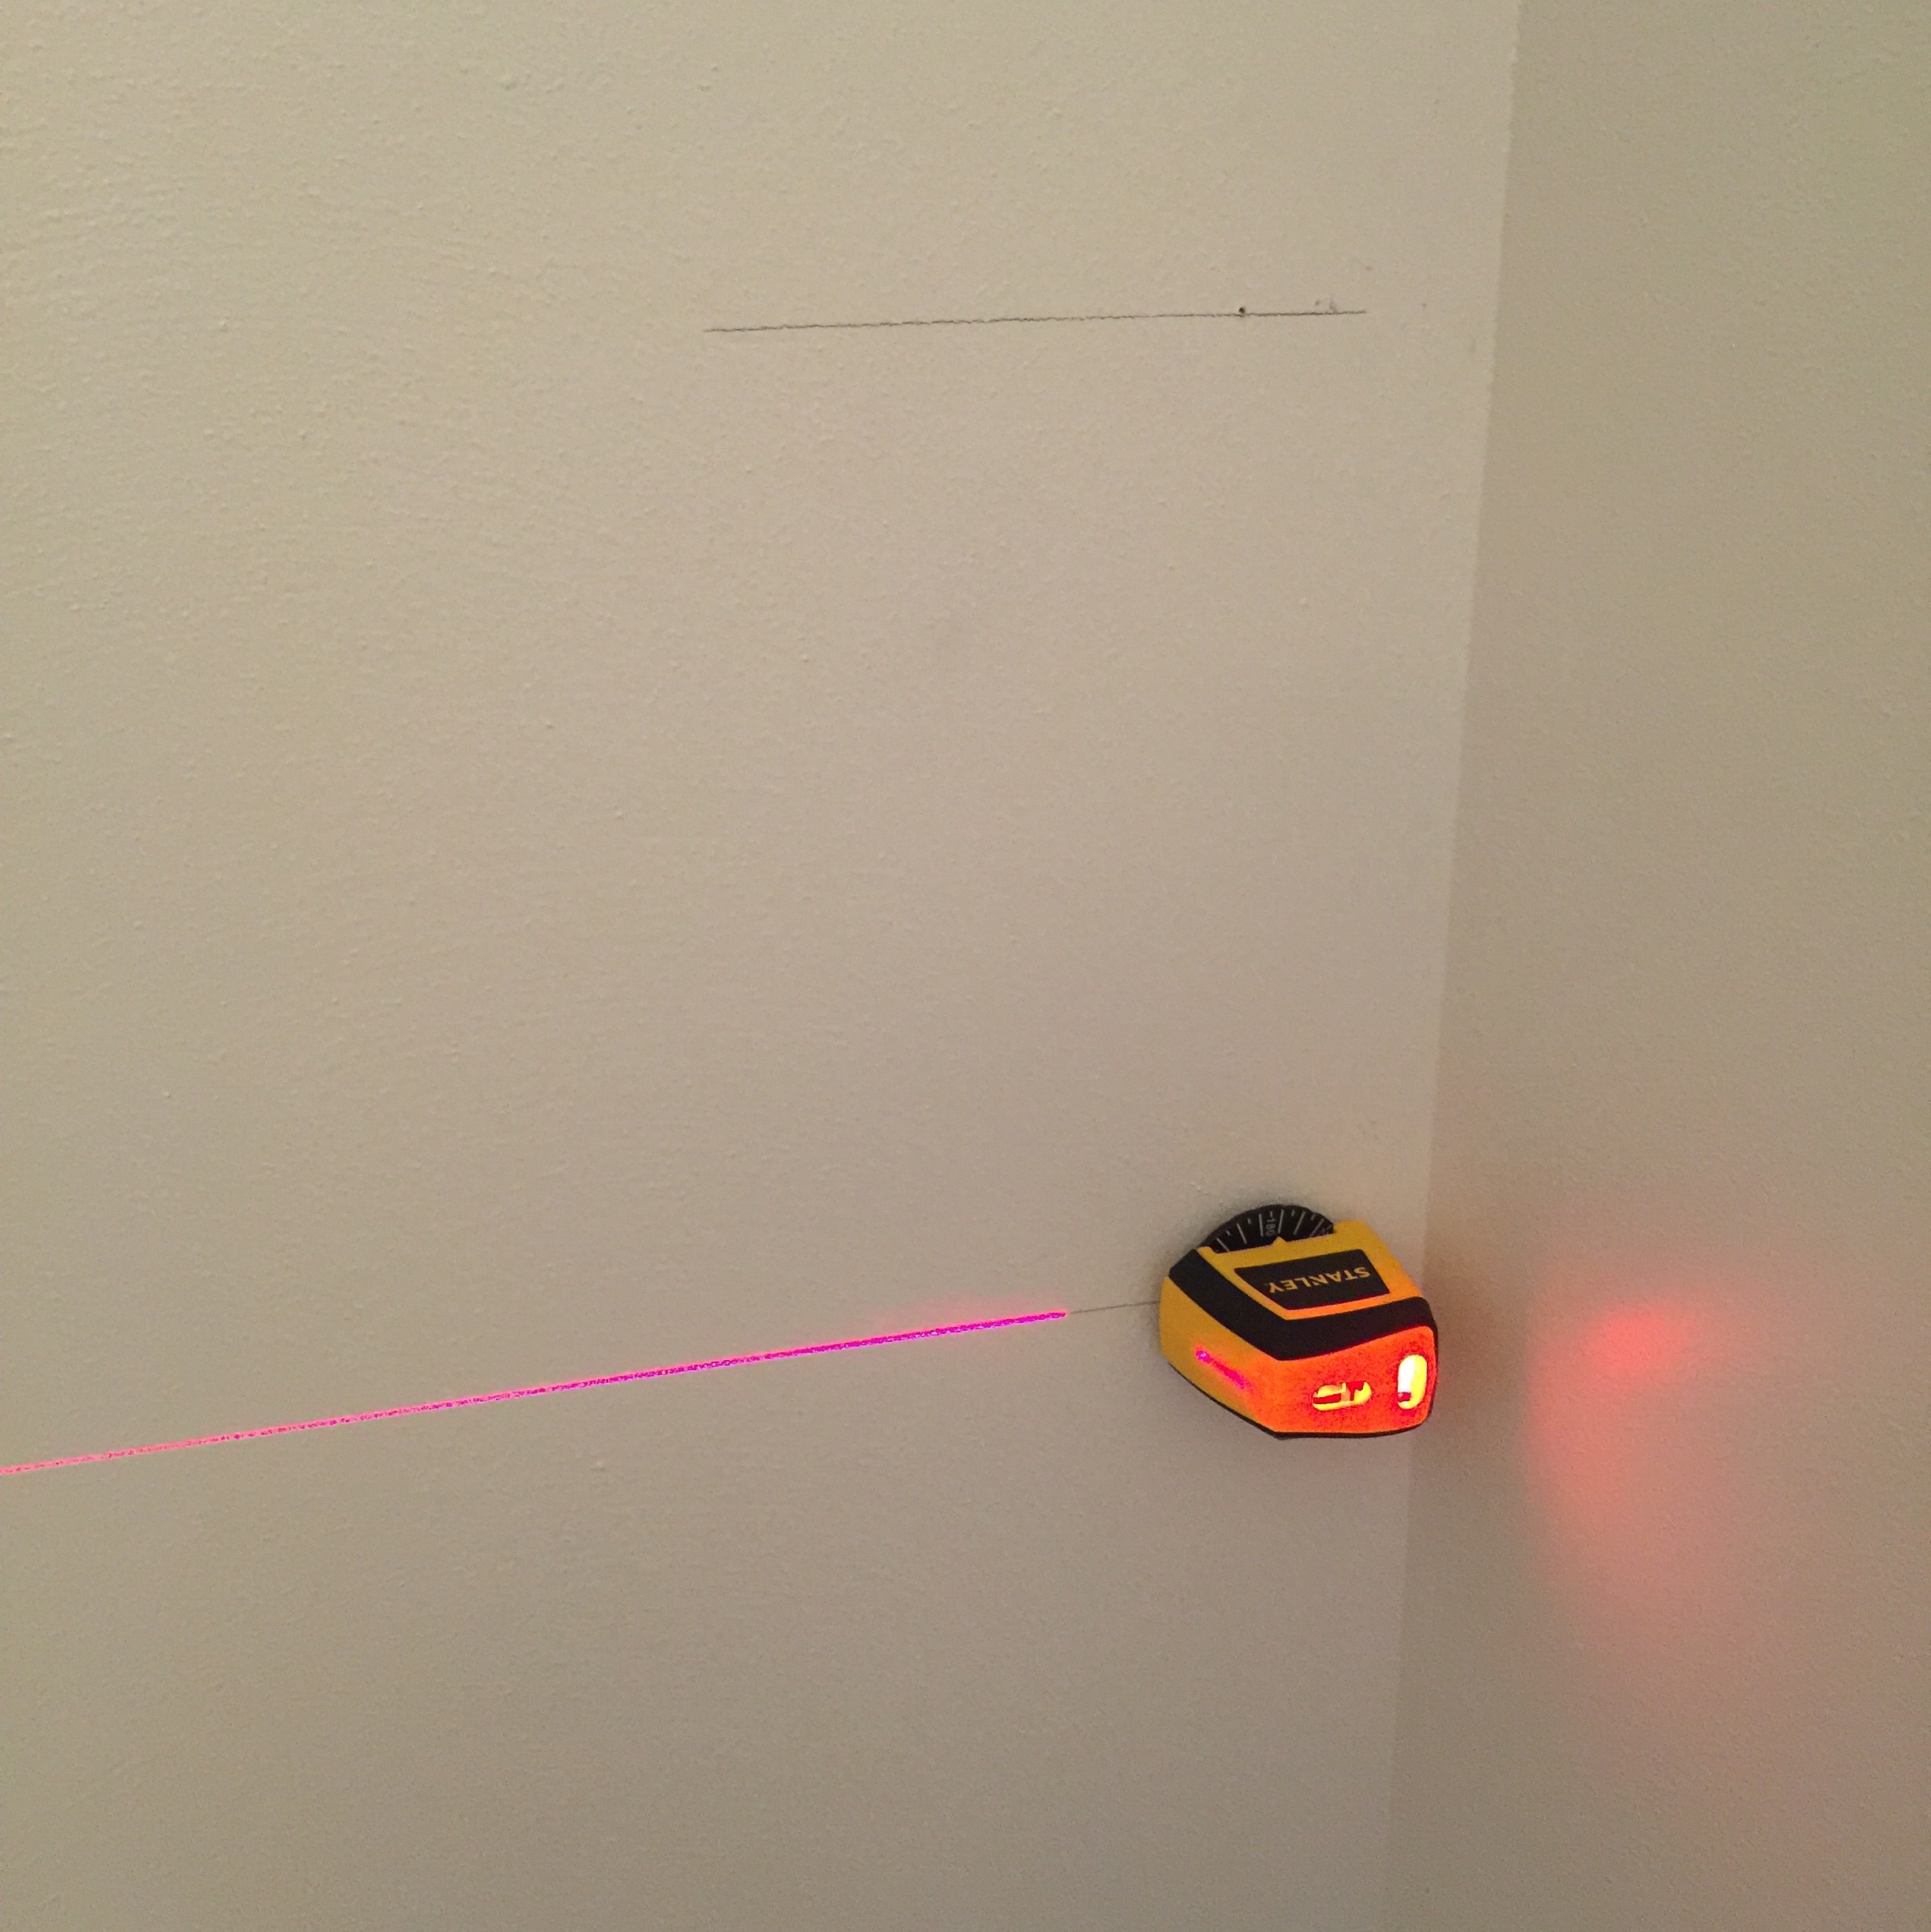
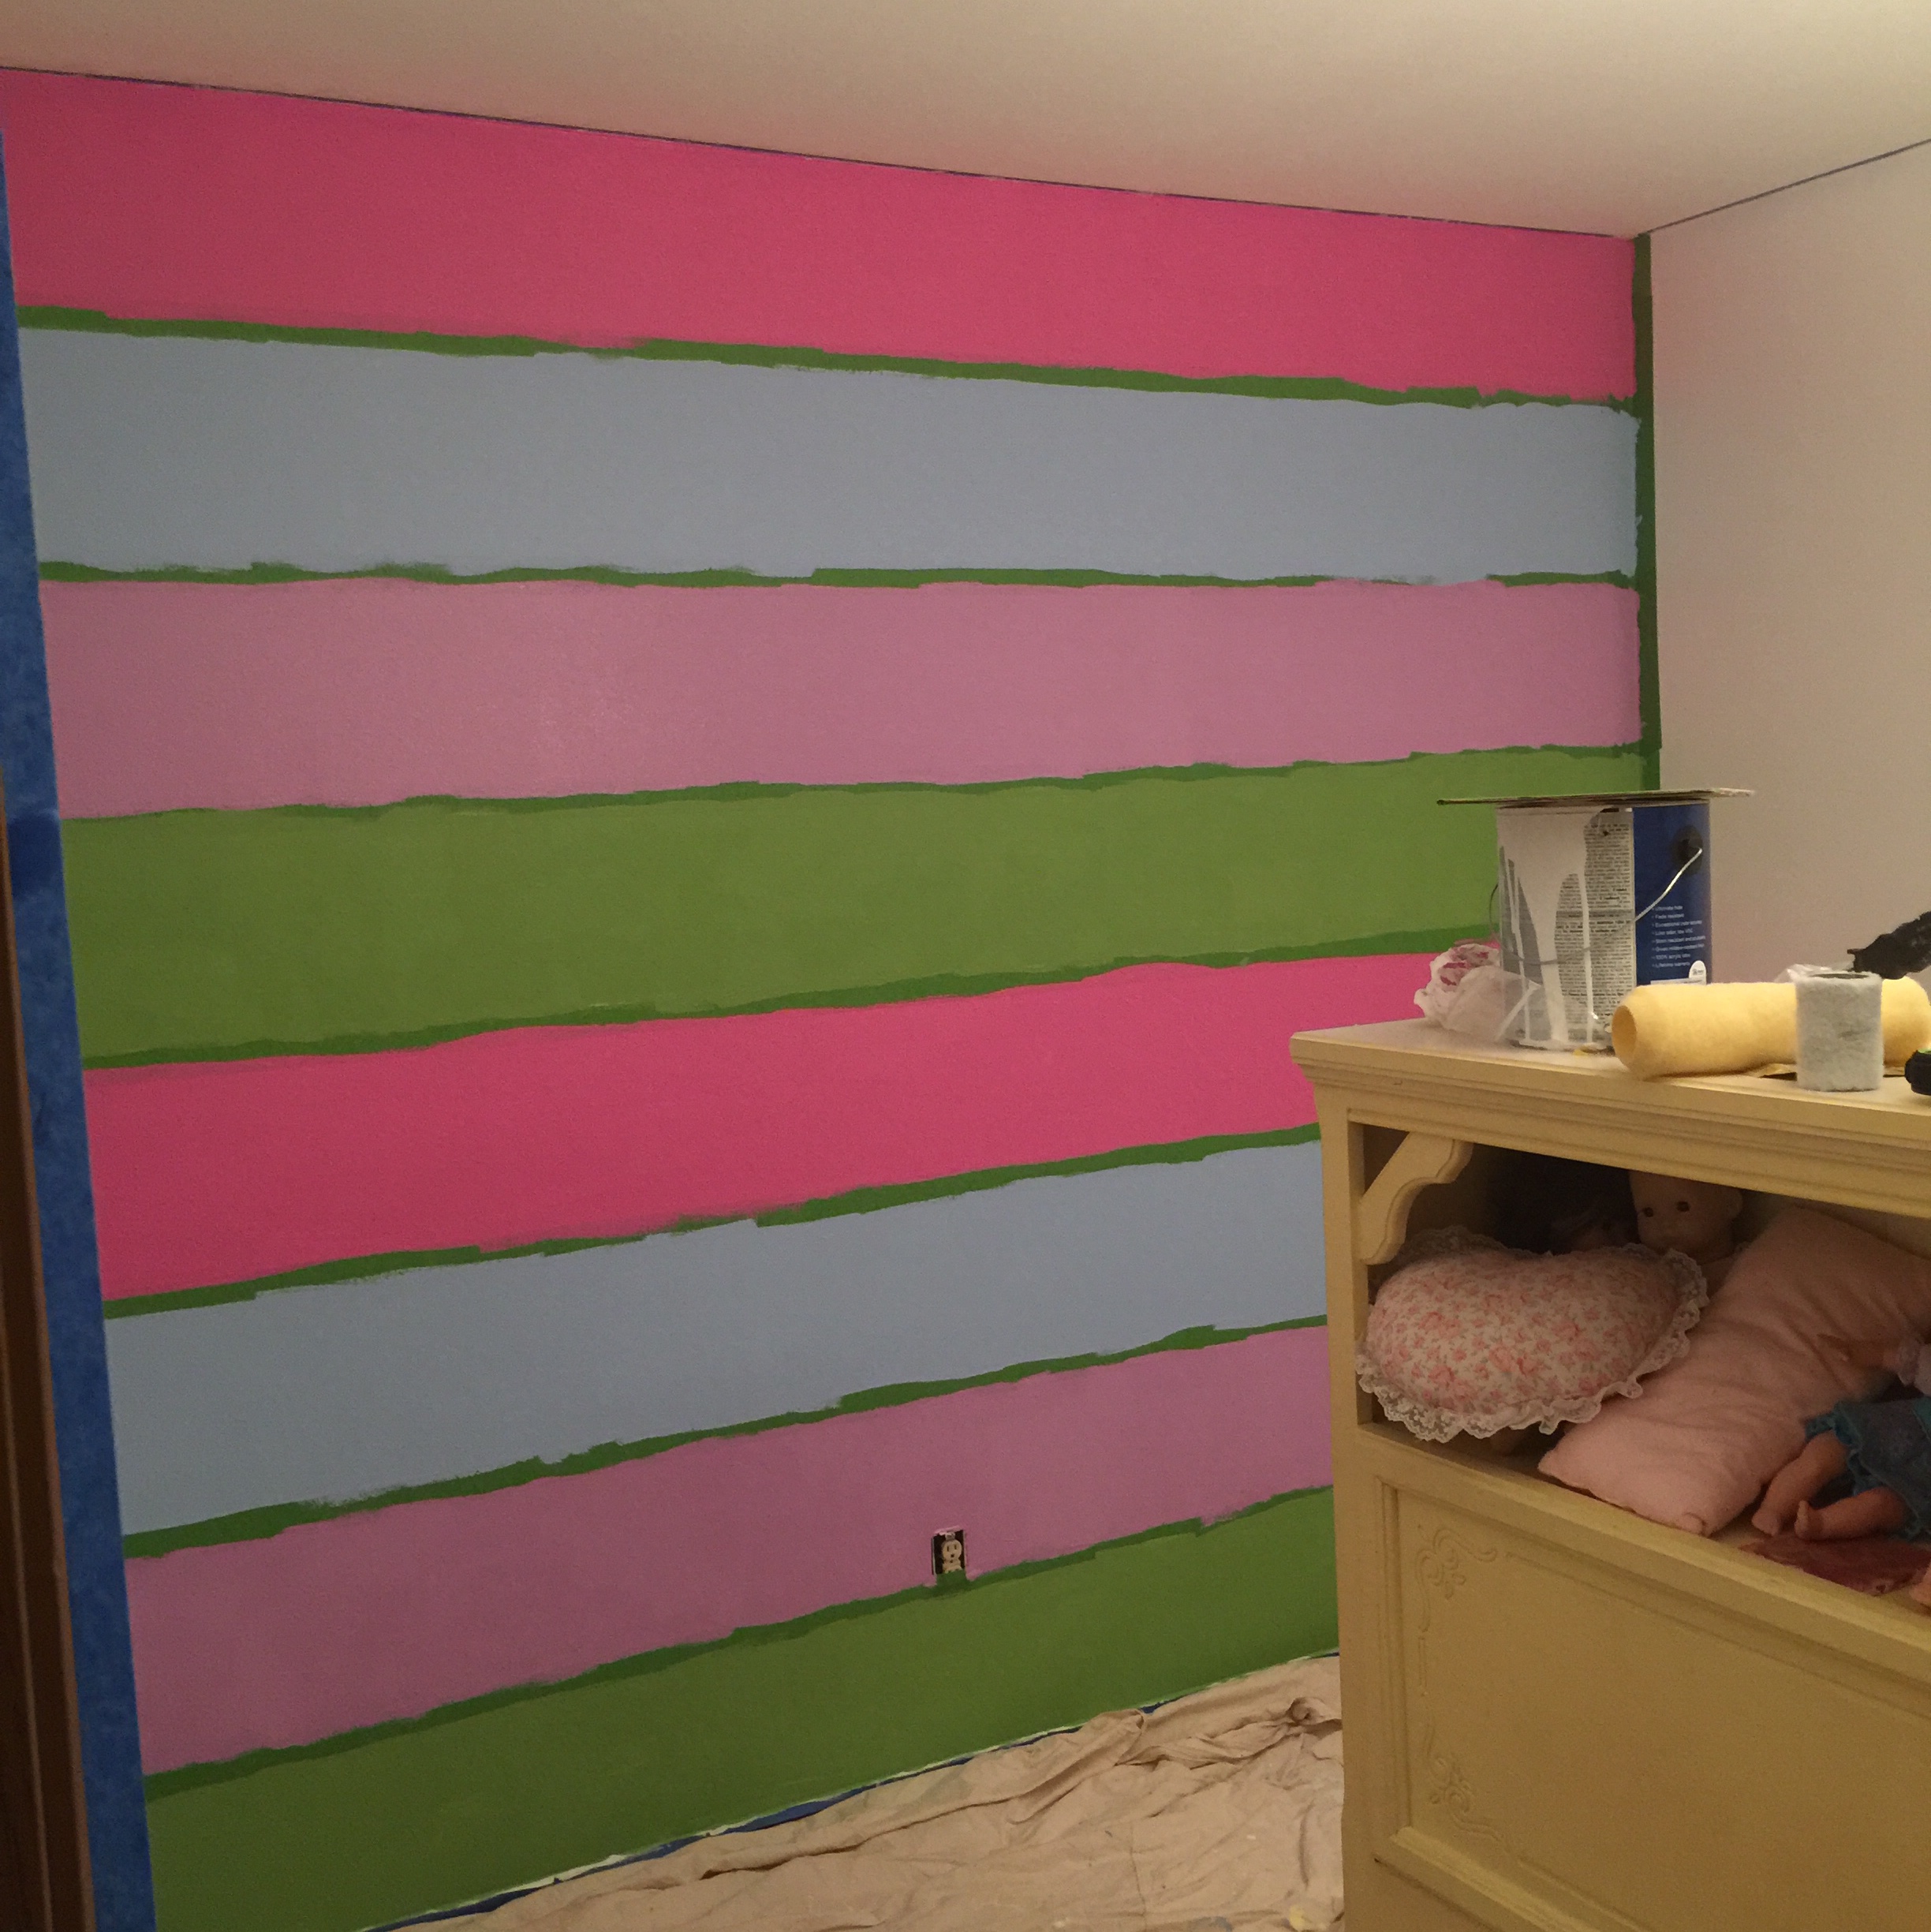
Next, you’ll want to figure out how many stripes you want on your wall. You will want to measure the height of your wall and most walls are 8′ high. Then, figure out the height of the frog tape (we got the thicker tape, so it was approx. 2″) and times it by how many white stripes you will have in-between the colors (we had 7). Then, take that number and subtract it from your wall height of 8′. Then, divide that number by how many stripes you want. You want the stripes to be around 10″ high. We did 10″ high stripes, but 6-8″ stripes work wonderfully if you aren’t doing a rainbow striped pattern. The 10″ stripes worked well for us, because the frog tape was 2″. So, my husband cut a 12″ board out of construction paper and lined the bottom with the 2″ frog tape. He used this board as a template to where he could mark the wall. It made the process SO easy! Then, we used our laser leveler (it sticks to the wall), so we could make marks on the wall all the way down. We used these marks to help us line up the frog tape for each stripe. Since we had already painted the entire wall white, we didn’t need to paint the white stripes that would be in-between the colors. It saved us a lot of tape and a headache!
Here is the math behind it (not sure if this will help you):
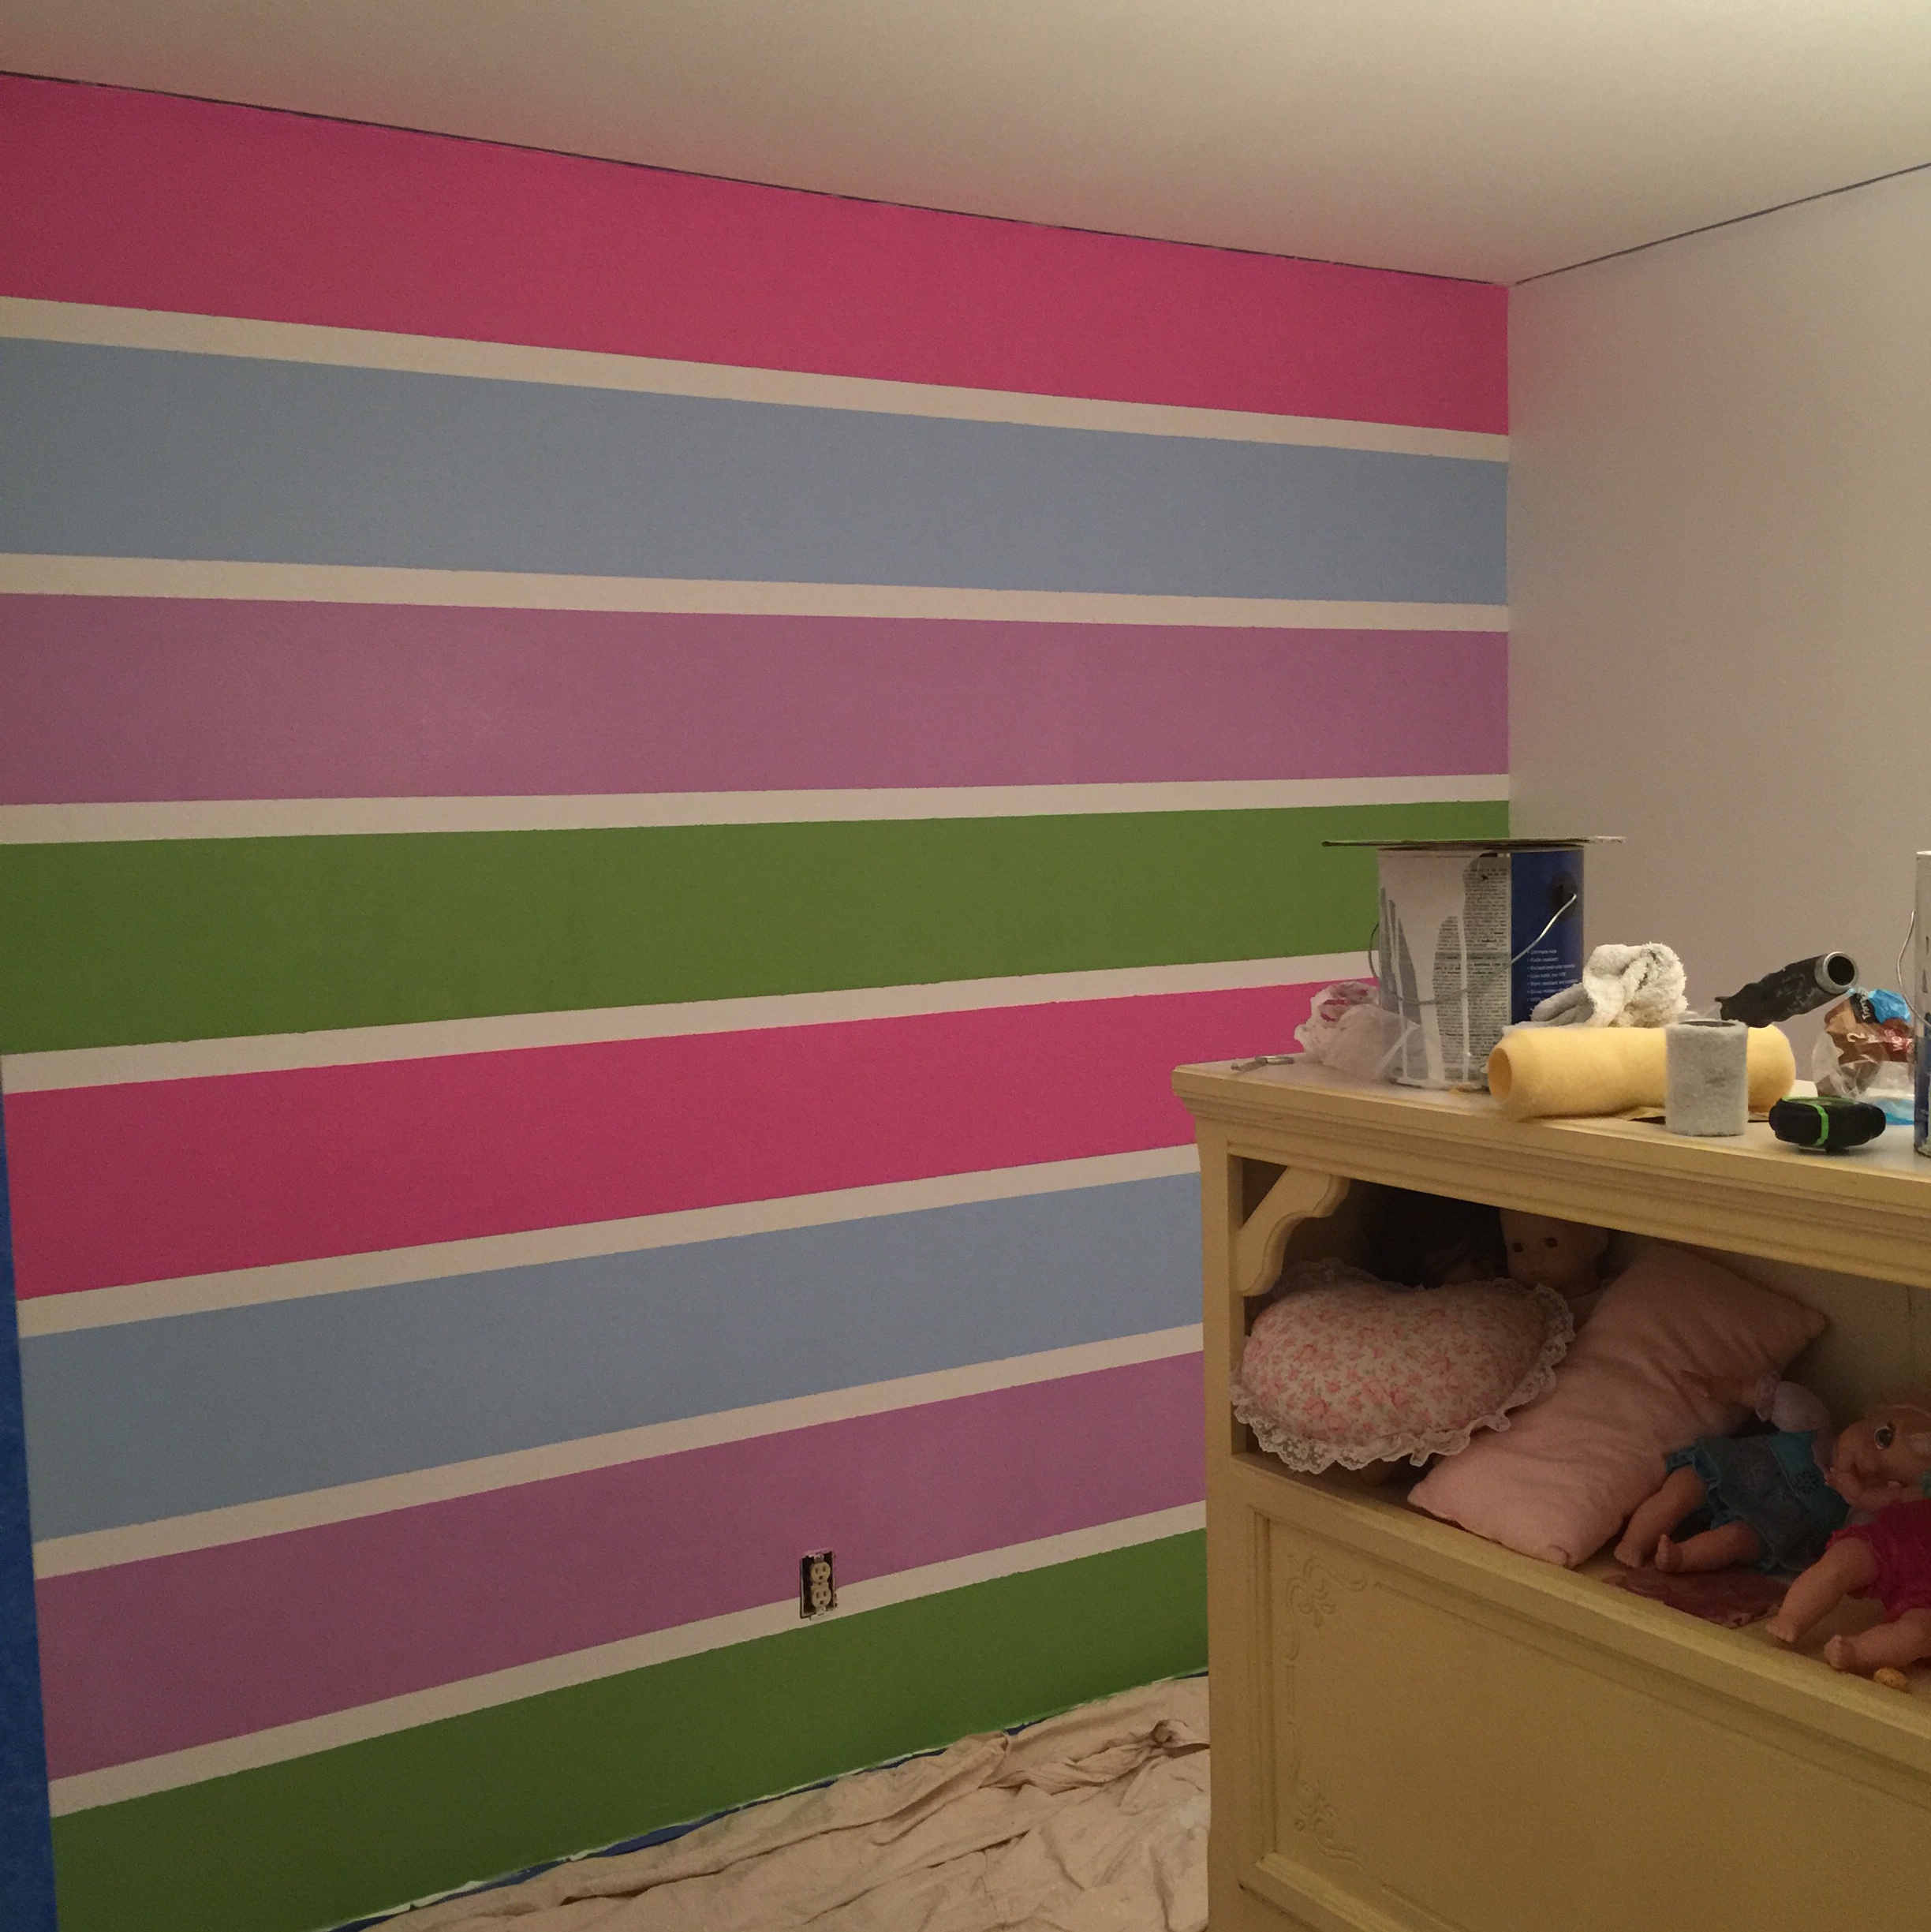
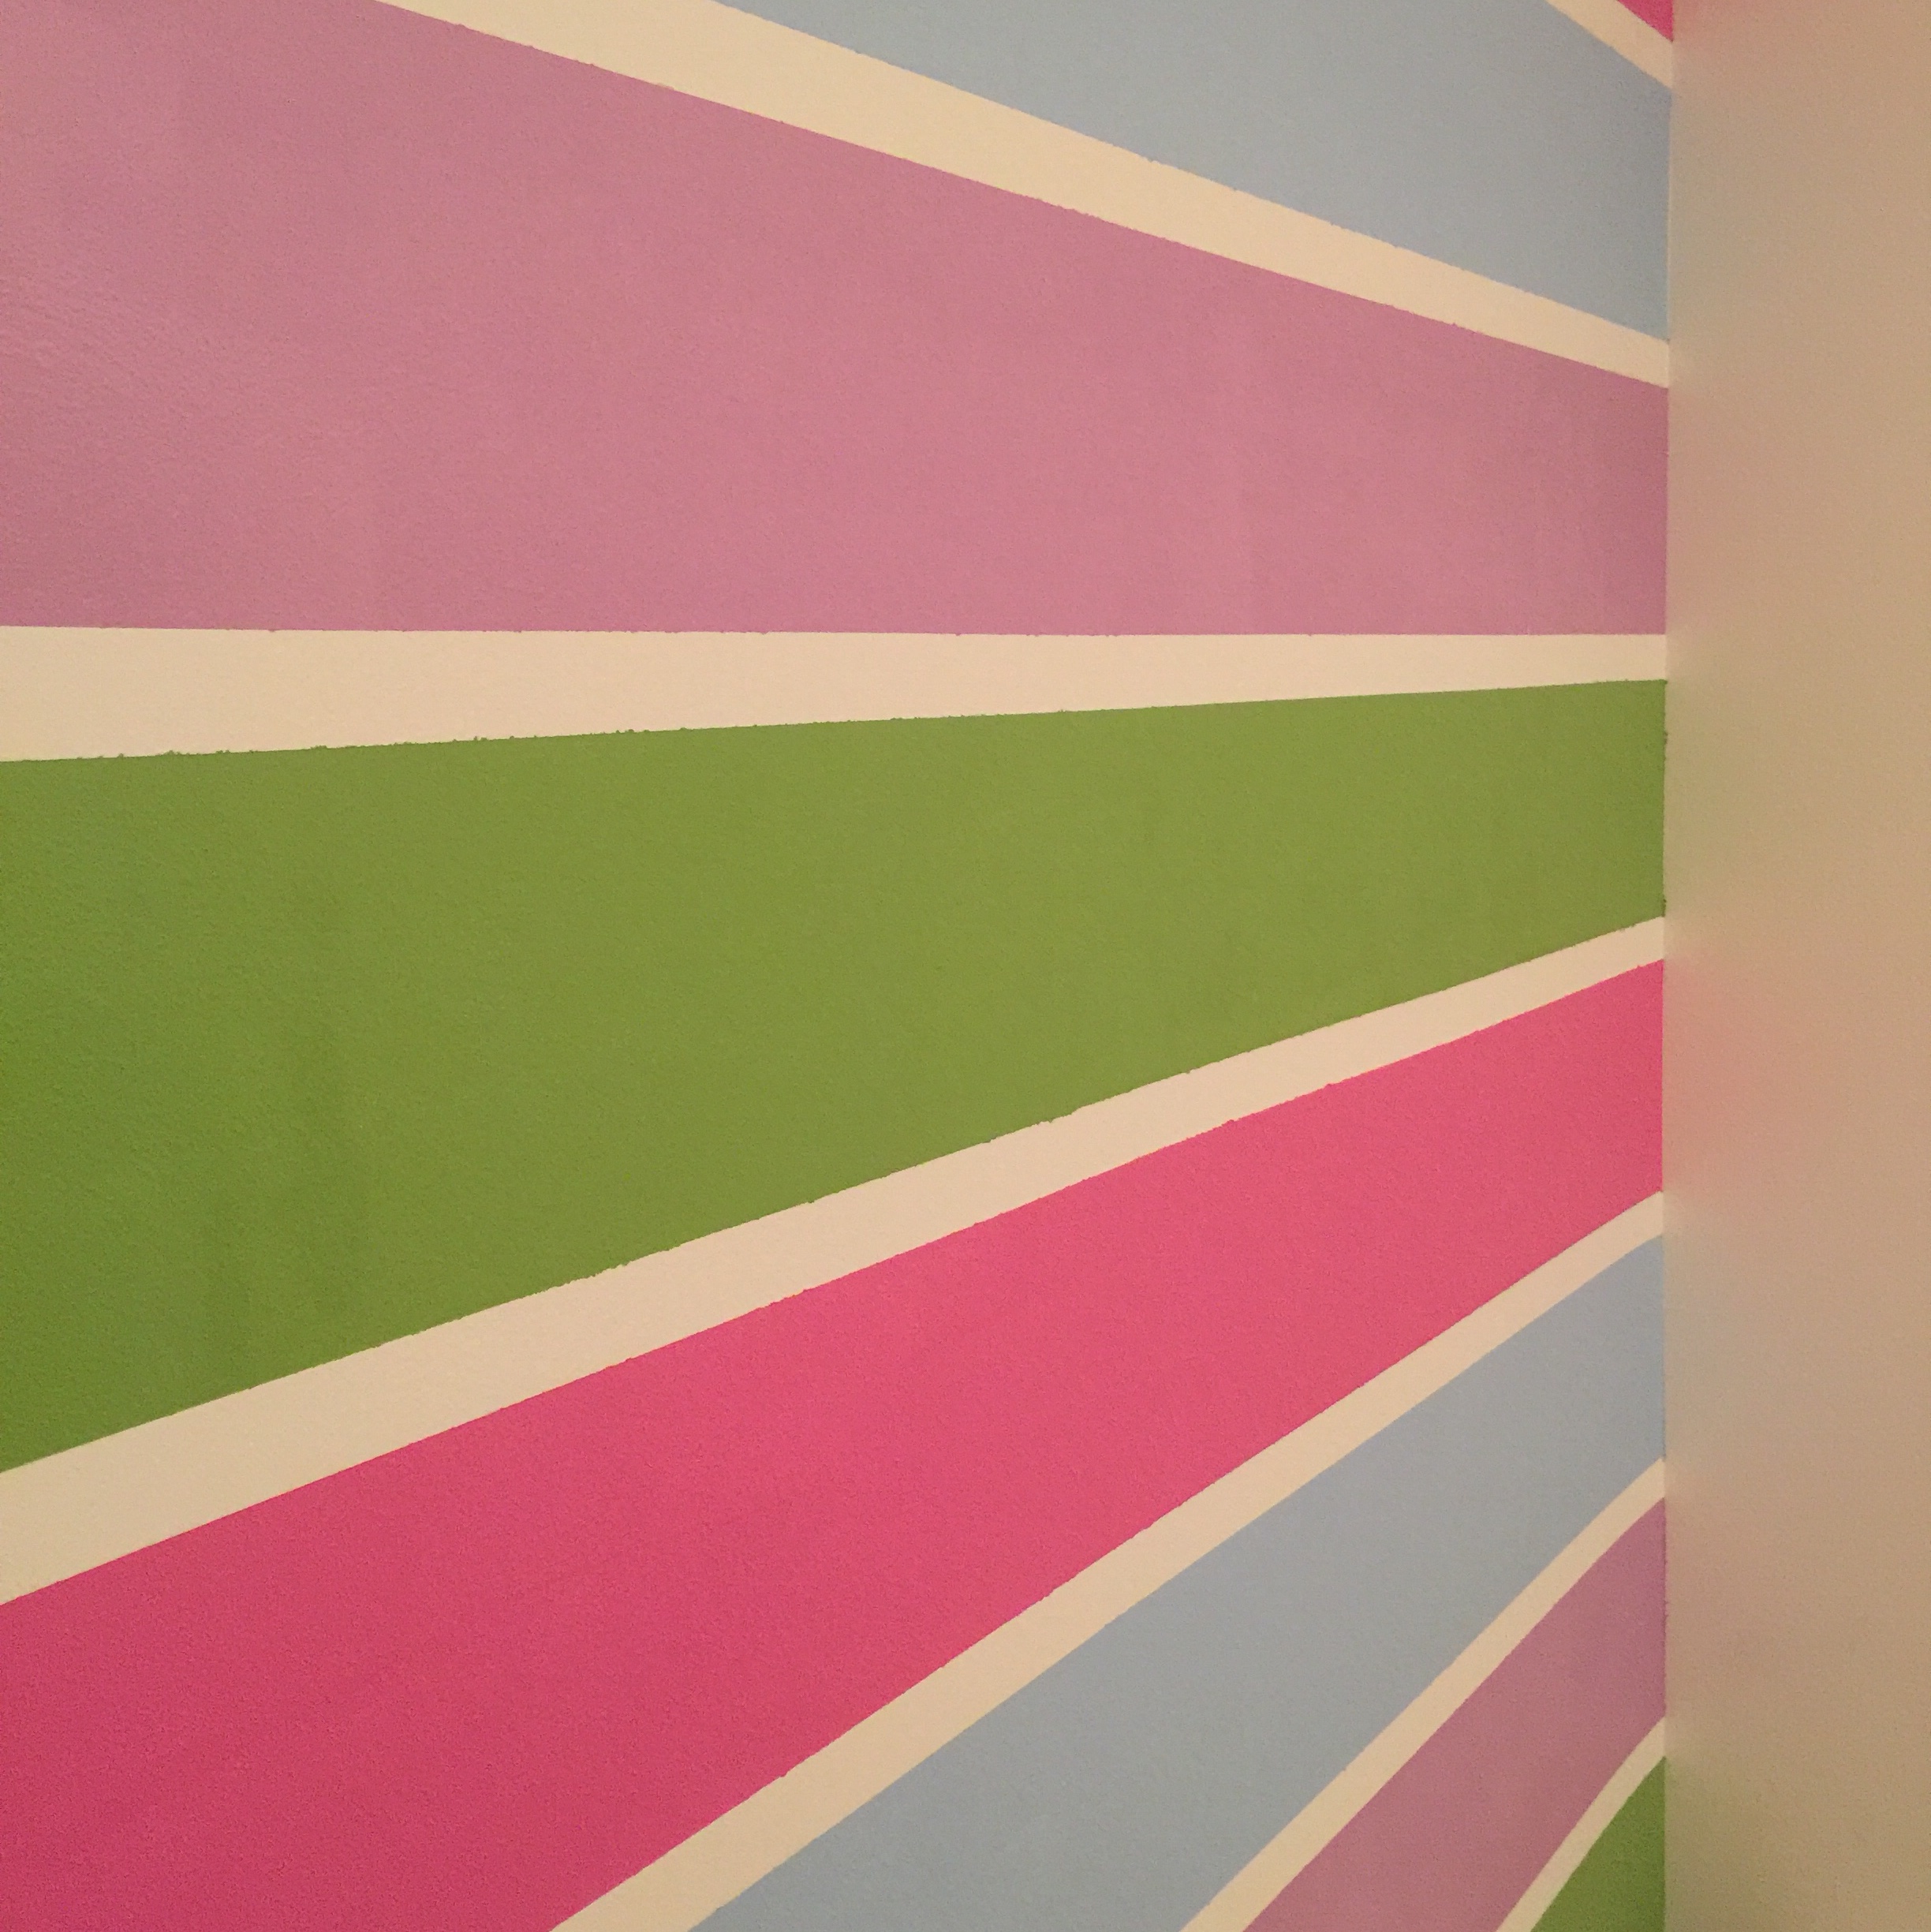
Here is the wall after we finished it. Don’t forget to use FROG TAPE! It will leave you with nice crisp lines… we did have to touch up a little with a small paint brush and white paint, but it wasn’t bad at all!
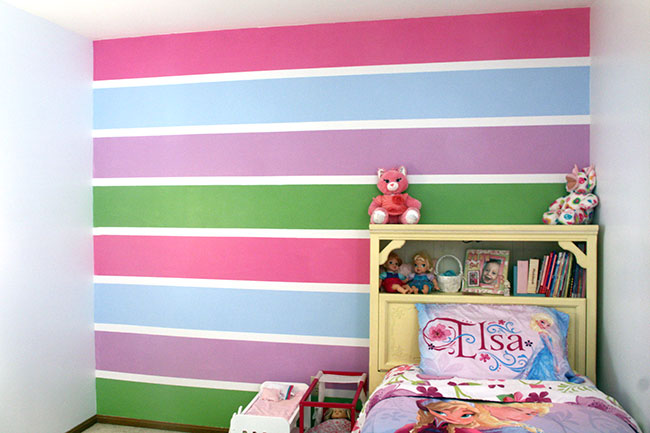
I still have a lot of decorating to do in this room, but we moved Autumn’s bed over so that it is against the wall now and not centered in the middle of the room. I plan to purchase a white wooden monogram with her initials to hang above her bed.
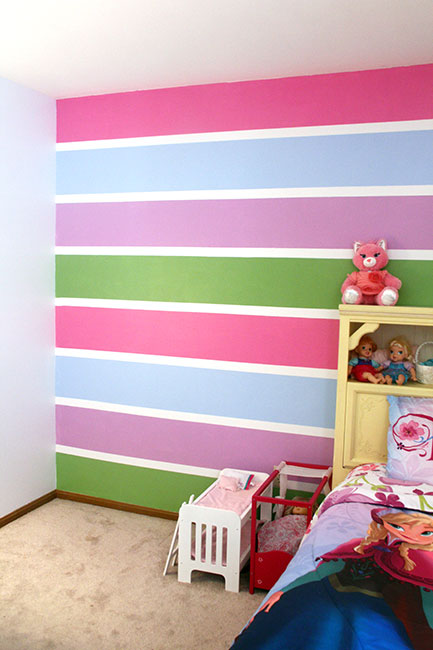
I put her AG doll beds next to her bed. 🙂
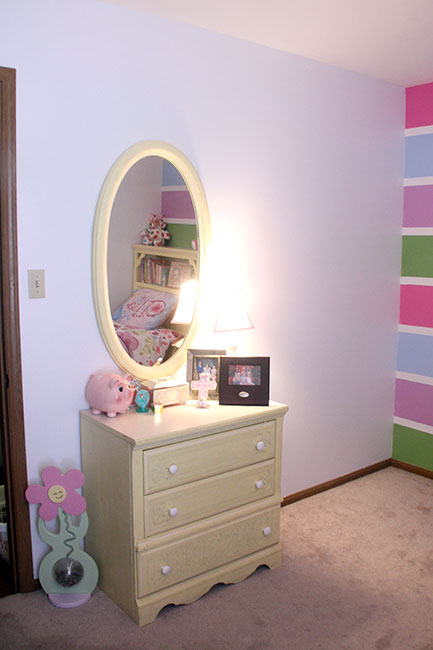
The furniture in this room is actually from my childhood. I think I am going to leave it in yellow, I think if I painted the furniture white it would blend into the wall. I may get pink knobs for her dresser eventually. In this open space next to the dresser we plan to put a BIG GIRL desk with a Mac! I need to get my old desk (which matches the furniture) from my moms and I will need to reupholster and paint the chair that goes with it… I can’t wait to do that DIY project! I may paint the chair purple, or I’ll paint it white and do a fun pattern for the cushion in purple. I also plan to hang a fabric wrapped pin board and mini gallery wall next to the pin board above her desk.
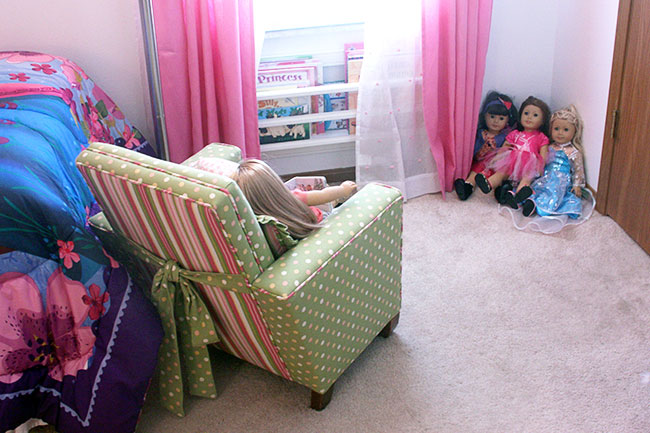
I also set up a little reading ‘nook’ area for Autumn and her dolls. We have had this upholstered chair for her for awhile and I am excited that the green goes so well with her bedding!
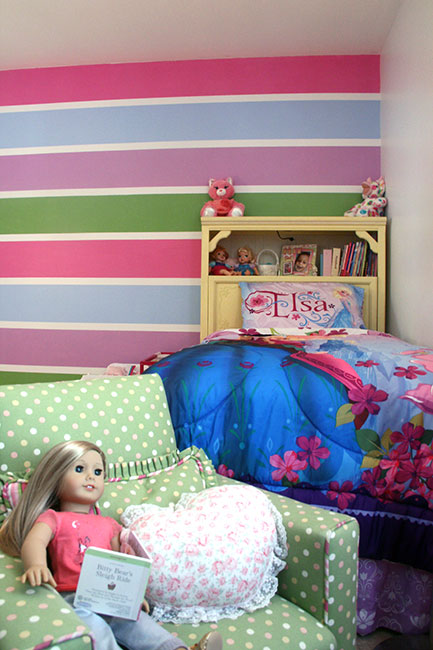
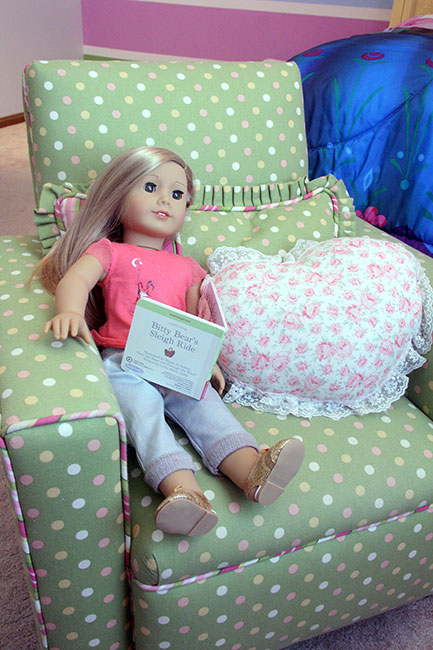
Isabelle is curled up on the recliner with a book. 🙂
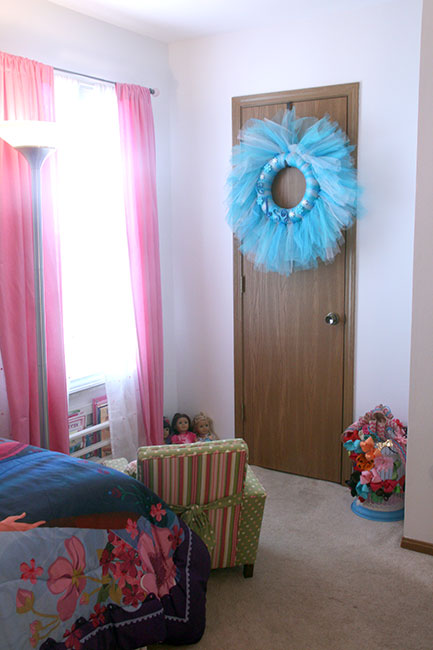
Here is the Elsa wreath that I made for her 6th birthday party (see post HERE) and I plan to hang that bird cage that has all of her bows on it (see post HERE). I may also change the colors of the paint and bow on the bird cage to flow better with her room.
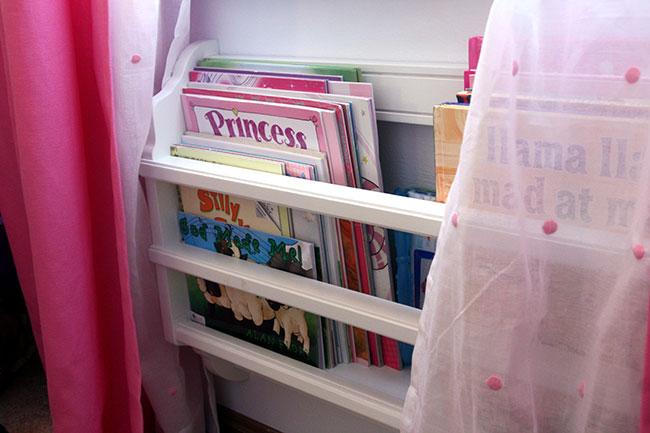
Her book shelf is from Land of Oz… I bought it when she was a newborn and Nathan has one in his room, too. I also keep other books of her in the headboard to her bed, since it has a little cubby.

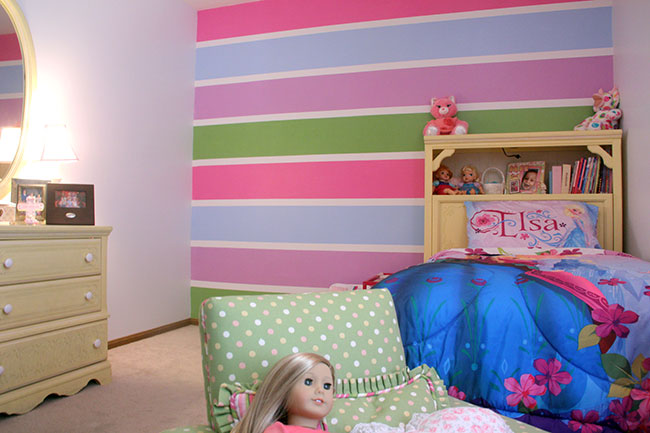
Just another view of the room, her walk-in closet door is behind me.
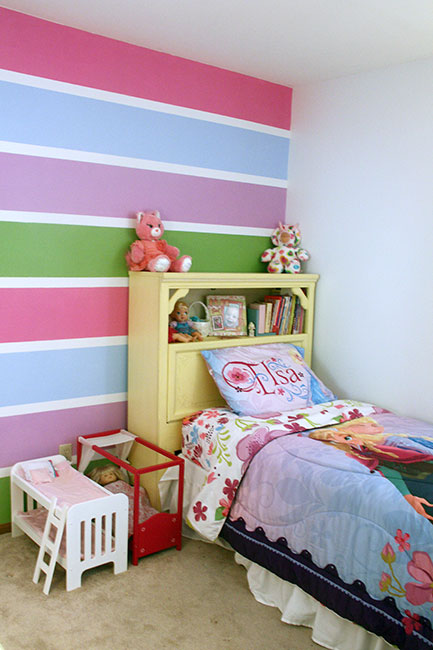
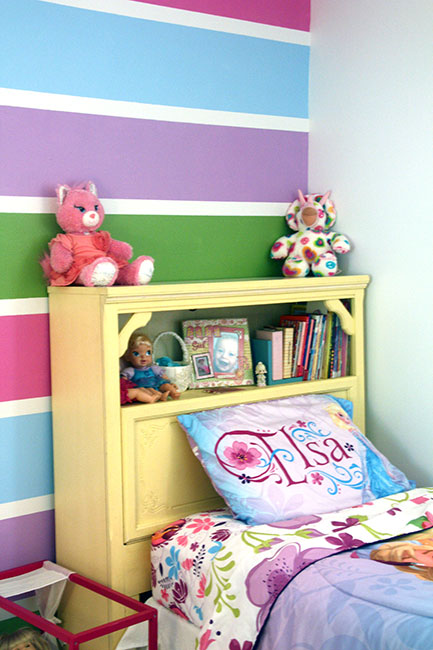
Her headboard is great for storage and there is a door that opens up (behind her pillow) and we keep ALL of her dolls inside there… I also keep a pull out storage container and keep all of her Barbies under her bed. She has quite a bit of toys in her walk-in closet, too!
I am really happy with how the striped wall turned out and even with the other walls being white, her room is so clean and bright now! She also has SO much more floor space and I can’t wait to share some blog posts with you as we get the desk moved into the room and I finish decorating her Frozen room.
Linked up with:
Moonlight & Mason Jars
Talented Tuesday
Worthwhile Wednesday
Create It Thursday
A Little Bit of Everything
Your Turn to Shine
The Inspiration Gallery
Craft Frenzy Friday
Best of the Weekend
Show Me Saturday
Share Your Creativity
Monday Funday Link Party
Frugal Crafty Home Blog Hop
Merry Monday Link Party
Your Designs This Time
Totally Terrific Tuesday
Hit Me With Your Best Shot